Summer of Rhubarb: Rhubarb Custard Pie

Rhubarb Custard Pie (Recipe & Photo from Food Network Kitchen)

Rhubarb Custard Pie
As previously discussed I am not a huge cake fan. For most of my life I either had dairy queen ice cream cakes or cheesecake as my birthday cakes. It should come as no surprise that I decided to not bake a cake for my birthday. Instead I decided to bake a pie.
Specifically a rhubarb custard pie since I had exactly 4.5 cups of rhubarb left in my fridge to use up from my first harvest. I find that using rhubarb fresh is much easier than previously frozen as you don’t have to deal with draining excess fluid or adding more flour or corn starch to thicken it.
This pie is delish and super easy to make. I ended up eating 1/4 of the pie for my birthday.
 Ingredients

Directions

  • Preheat the oven to 350 degrees F.
  • Fit the pie dough into a 9-inch pie plate, fluting the edges, and chill until set, about 15 minutes. Prick the bottom and sides with a fork, and then line the crust with aluminum foil.
  • Fill with pie weights or dried beans and bake until the edges of the crust are just golden, 20 minutes.
  • Remove the foil with the pie weights and continue to bake until the bottom of the crust is dry and lightly browned, another 10 to 15 minutes. Cool completely.
  • Toss the rhubarb with 1/4 cup granulated sugar and the lemon juice until well combined. Transfer to the crust and spread to form an even layer. Place the pie on a rimmed baking sheet.
  • Whisk the eggs with the evaporated milk, flour and remaining 1/2 cup granulated sugar until smooth, and then pour over the rhubarb.
  • Line with edges of the pie with aluminum foil to prevent over browning.
  • Bake until the pie is lightly browned, puffed and no longer wet in the center, about 1 hour 15 minutes. Cool completely on a wire rack. Before serving, lightly dust with confectioners’ sugar.

Summer of Rhubarb: Rhubarb Pudding Cake


I am very picky about cake. I will almost always pass on a store bought cake or even a cake baked by someone and brought into work. You’d think I would bake a lot of cakes but I don’t do that either. Most cakes are only good for a day or two (at most 4 days), so then I am stuck with a large amount of cake not eaten or I have to bring it to work.

With it being summer and my rhubarb in full swing, I decided to try a rhubarb pudding cake. I actually enjoyed it although I preferred the rhubarb blondies I made previously. I did end up bringing 1/2 the cake to work and it disappeared. Everyone loved it so give this recipe a try.


Rhubarb Pudding Cake (recipe from common sense home)

Ingredients
  • 2 cups chopped rhubarb
  • 1 3/4 cup sugar, divided
  • 3 tablespoons butter, softened
  • 1 teaspoon baking powder
  • 1/4 teaspoon salt
  • 1/2 cup milk (I used evaporated milk)
  • 1/2 teaspoon vanilla extract
  • 1/2 teaspoon almond extract
  • 1 cup sifted flour
  • 1 tablespoon cornstarch
  • 2/3 cup boiling water

Instructions

  1. Cover the bottom of an 8 or 9 inch square pan with fruit. (I used a glass pie plate.)
  2. Mix 3/4 cup sugar, butter, baking powder, salt, extracts, milk and flour together (add a little more milk if it is too thick to pour); pour over fruit. Mix remaining sugar and cornstarch; sprinkle over mixture in pan. Pour boiling water over the top.
  3. Bake at 375°F for 45 minutes


Summer of Rhubarb: Rhubarb Blondies


One thing you can always count on is your rhubarb coming to life in the summer. It’s a short window when everyone in Minnesota bakes their hearts out with this beloved vegetable. Most people call it a fruit due to the way it is used in desserts but it’s actually a vegetable.

It is one of my favorites in the summer season. I love being able to bake or cook with what is fresh during the seasons so harvesting and baking up my rhubarb is no exception. I try to make new dishes every year (as well as the classic ones we love), so I decided to give a blondie recipe a try. These bars are delicious. So buttery and caramel-like in flavor from all the brown sugar. I’ve already made two batches of these bars this year so it’s quickly become a new favorite rhubarb recipe of mine.

Rhubarb & White Chocolate Blondies (recipe from goodness gracious)

INGREDIENTS
  • 8 tablespoons melted butter
  • 1 cup light brown sugar
  • 1 large egg
  • 1 1/2 teaspoons vanilla extract
  • 1 cup all purpose flour
  • 1 1/4 cups diced rhubarb
  • 1/2 cup white chocolate chips
INSTRUCTIONS
  1. Preheat the oven to 350 degrees F. Line an 8×8 baking dish with parchment paper. Spray with cooking spray or grease with butter.
  2. Pour the melted butter into a large bowl.
  3. Whisk in brown sugar until smooth.
  4. Add the egg and vanilla extract, whisk again until combined.
  5. Add the flour and mix until no lumps are visible.
  6. Fold in the diced rhubarb and chocolate chips.
  7. Transfer the mixture to the prepared pan and spread it out to make even.
  8. Bake in the oven for 30-35 minutes.
  9. Let cool for at least 20 minutes before slicing.

Summer of Rhubarb: Rhubarb Meringue Dessert

I made this awhile ago with my first harvest of rhubarb from this summer. Summer came & went super quickly. I won’t complain. Fall is my favorite time of year. The majority of people in Minnesota would agree with me. Fall is the best season with the cooler weather, leaves changing, pumpkins, Halloween, etc. Other people would add football to the list and I suppose I will too. Not because I like watching it but because I like making food for other people and using that Sunday time to bake. A time for me to relax in the kitchen & try new things. While I am exited for the pumpkins, squash, & root veggies to take over, I have to say I will miss being able to go pick fresh rhubarb from the garden. Gardening is the main thing I enjoy about summer. At least I have a little stockpile in the freezer which I will probably use to make this dish again. It may just be my new favorite rhubarb recipe.

Rhubarb Meringue Dessert (from Betty Crocker)

  • 1/2 cup butter or margarine, softened
  • 1 cup Gold Medal™ all-purpose flour
  • 1 tbsp sugar
  • 3 eggs, separated
  • 1 cup sugar
  • 2 tbsp flour
  • 1/4 tsp salt
  • 1/2 cup half & half or whipping cream
  • 2 1/2 cups chopped rhubarb
  • 1/3 cup sugar
  • 1 tsp vanilla
  • 1/4 cup flaked coconut

Heat oven to 350ºF. Mix butter, 1 cup flour and 1 tablespoon sugar. Press evenly in ungreased square pan, 9x9x2 inches. Bake 10 minutes.

Mix egg yolks, 1 cup sugar, 2 tablespoons flour, the salt and half-and-half in large bowl. Stir in rhubarb. Pour over hot crust. Bake 45 minutes.

Beat egg whites in medium bowl with electric mixer on high speed until foamy. Beat in 1/3 cup sugar, 1 tablespoon at a time; continue beating until stiff and glossy. Beat in vanilla. Spread over rhubarb mixture; sprinkle with coconut. Bake about 10 minutes or until light brown; cool about 30 minutes. Cut into about 3-inch squares.

Crispy Walleye Sandwich


Yesterday was the official start to Baking Sunday. I do tend to bake year round on Sundays but since football season started yesterday my true Baking Sunday began as well. I don’t just bake on these “Baking Sundays.” I use them for various activities. I try to blog, make new recipes in general, meal plan, do canning, etc.

I did actually bake something yesterday. I made an apple quick bread. I was going to make pepper jelly as well but didn’t get around to it. I also made lunch for my guy who happened to have the day off which was a nice surprise.

He rarely has weekend days off as he is a fishing guide. Sounds awesome in theory but as a consequence we don’t get many weekends together in the summer. We do get to eat walleye on a fairly regular basis though. Normally I make cajun walleye which is baked in the oven so it’s very light. He eats a lot of fried fish while working so we tend to stay away from beer battered walleye as delicious as it is.

I decided to make a crispy walleye sandwich. I thought it would be the perfect Football Sunday lunch. I have to say I was very pleased with how it turned out. The walleye was perfectly crispy & the garden fresh lettuce & tomatoes gave it just the right touch. Of course the tartar sauce is absolutely necessary as well. I make mine to be a smidge spicy but of course the sweetness of the relish shines through and pairs amazingly well with the pan fried fish.


Crispy Walleye Sandwich (serves 2)

  • 2 walleye fillets
  • Blackened Seasoning
  • all-purpose flour
  • 1 egg, beaten
  • panko breadcrumbs
  • vegetable oil (for frying)
  • brat buns (or hoagie buns)
  • lettuce & tomato
  • tartar sauce
    • You can use store bought but homemade is so much better. Mix 2 tbsp mayo, a few splashes lemon juice, 1 tbsp relish, onion powder, garlic powder & dill to taste, 1/2 tsp hot sauce (I used asian chili sauce). Adjust seasonings as needed.

Season the fillets liberally with blackened seasoning (if using salt free seasoning add salt as well). Dredge the fillets in flour, followed by the egg, and finally the panko breadcrumbs.

Place enough oil in a large frypan to be about 1/2 inch deep. Heat oil over medium heat. Place fillets in hot oil and cook over medium heat for 1-2 minutes. Turn heat down to medium-low & cook for an additional 3 minutes. Flip fillets over and cook for about 5 minutes (you may need to turn the heat back up for a minute or so to get a nice crisp & golden color).

Bake or broil buns until warmed through & slightly crispy. Slather with tartar sauce. Top with lettuce, tomato & crispy walleye.

50 States, 50 Cookies: New York


While doing this cookie challenge of baking a cookie from every state, I have realized a few things thus far. One thing I’ve realized is that a lot of these cookies are hard to actually write about besides giving a general review. This cookie is different. It’s different because of the ingredients I used to make them and it’s different because I have a memory of New York which is the state that these cookies are from.

I visited New York briefly. Very briefly. I think I was there for a whopping 3 nights or a whole 2 days. I went to visit a friend who was home for Christmas (she has been residing in France for 10 years now if you can believe it).

I remember a lot about that trip now that I’m actively thinking about it. I had never been to New York before. I had to fly into New Jersey and take a train the rest of the way. Emily said she’d meet me at the train station in New York. I was wearing a red hoody and had dyed my hair red for the first time a few months prior. I told her this. Seeing as how I’d be completely red I thought she could find me easily.

This was not the case. For whatever reason I could not find her. I heard my name over the intercom, I think. The person did not enunciate well. All the words got mushed together. They repeated it, “Angela….go to…” that’s all I could here. Where was I supposed to go? I had no clue. I tried to find the place where people could page one another. I heard another one. Again, I had no clue what they were saying. Finally we found each other. We must have looked like a bunch of silly school girls running towards each other all smiles and laughing and hugging. I’m pretty sure that scene has been created in movies numerous times and it was probably based on us.

We went to her parents’ apartment in Manhattan and then proceeded to hang out. We didn’t really do a whole lot. There wasn’t really time for it. Plus, we have a certain rhythm together. We are fine not doing “activities” per say but just enjoying one another’s company and whatever fills the time with that is fine. We went to the Met Museum which was fun. I’ve been to many a museum with Miss Monaco who is a great museum partner. We can go and not be rushed and take our own time together or separately. It all works out.

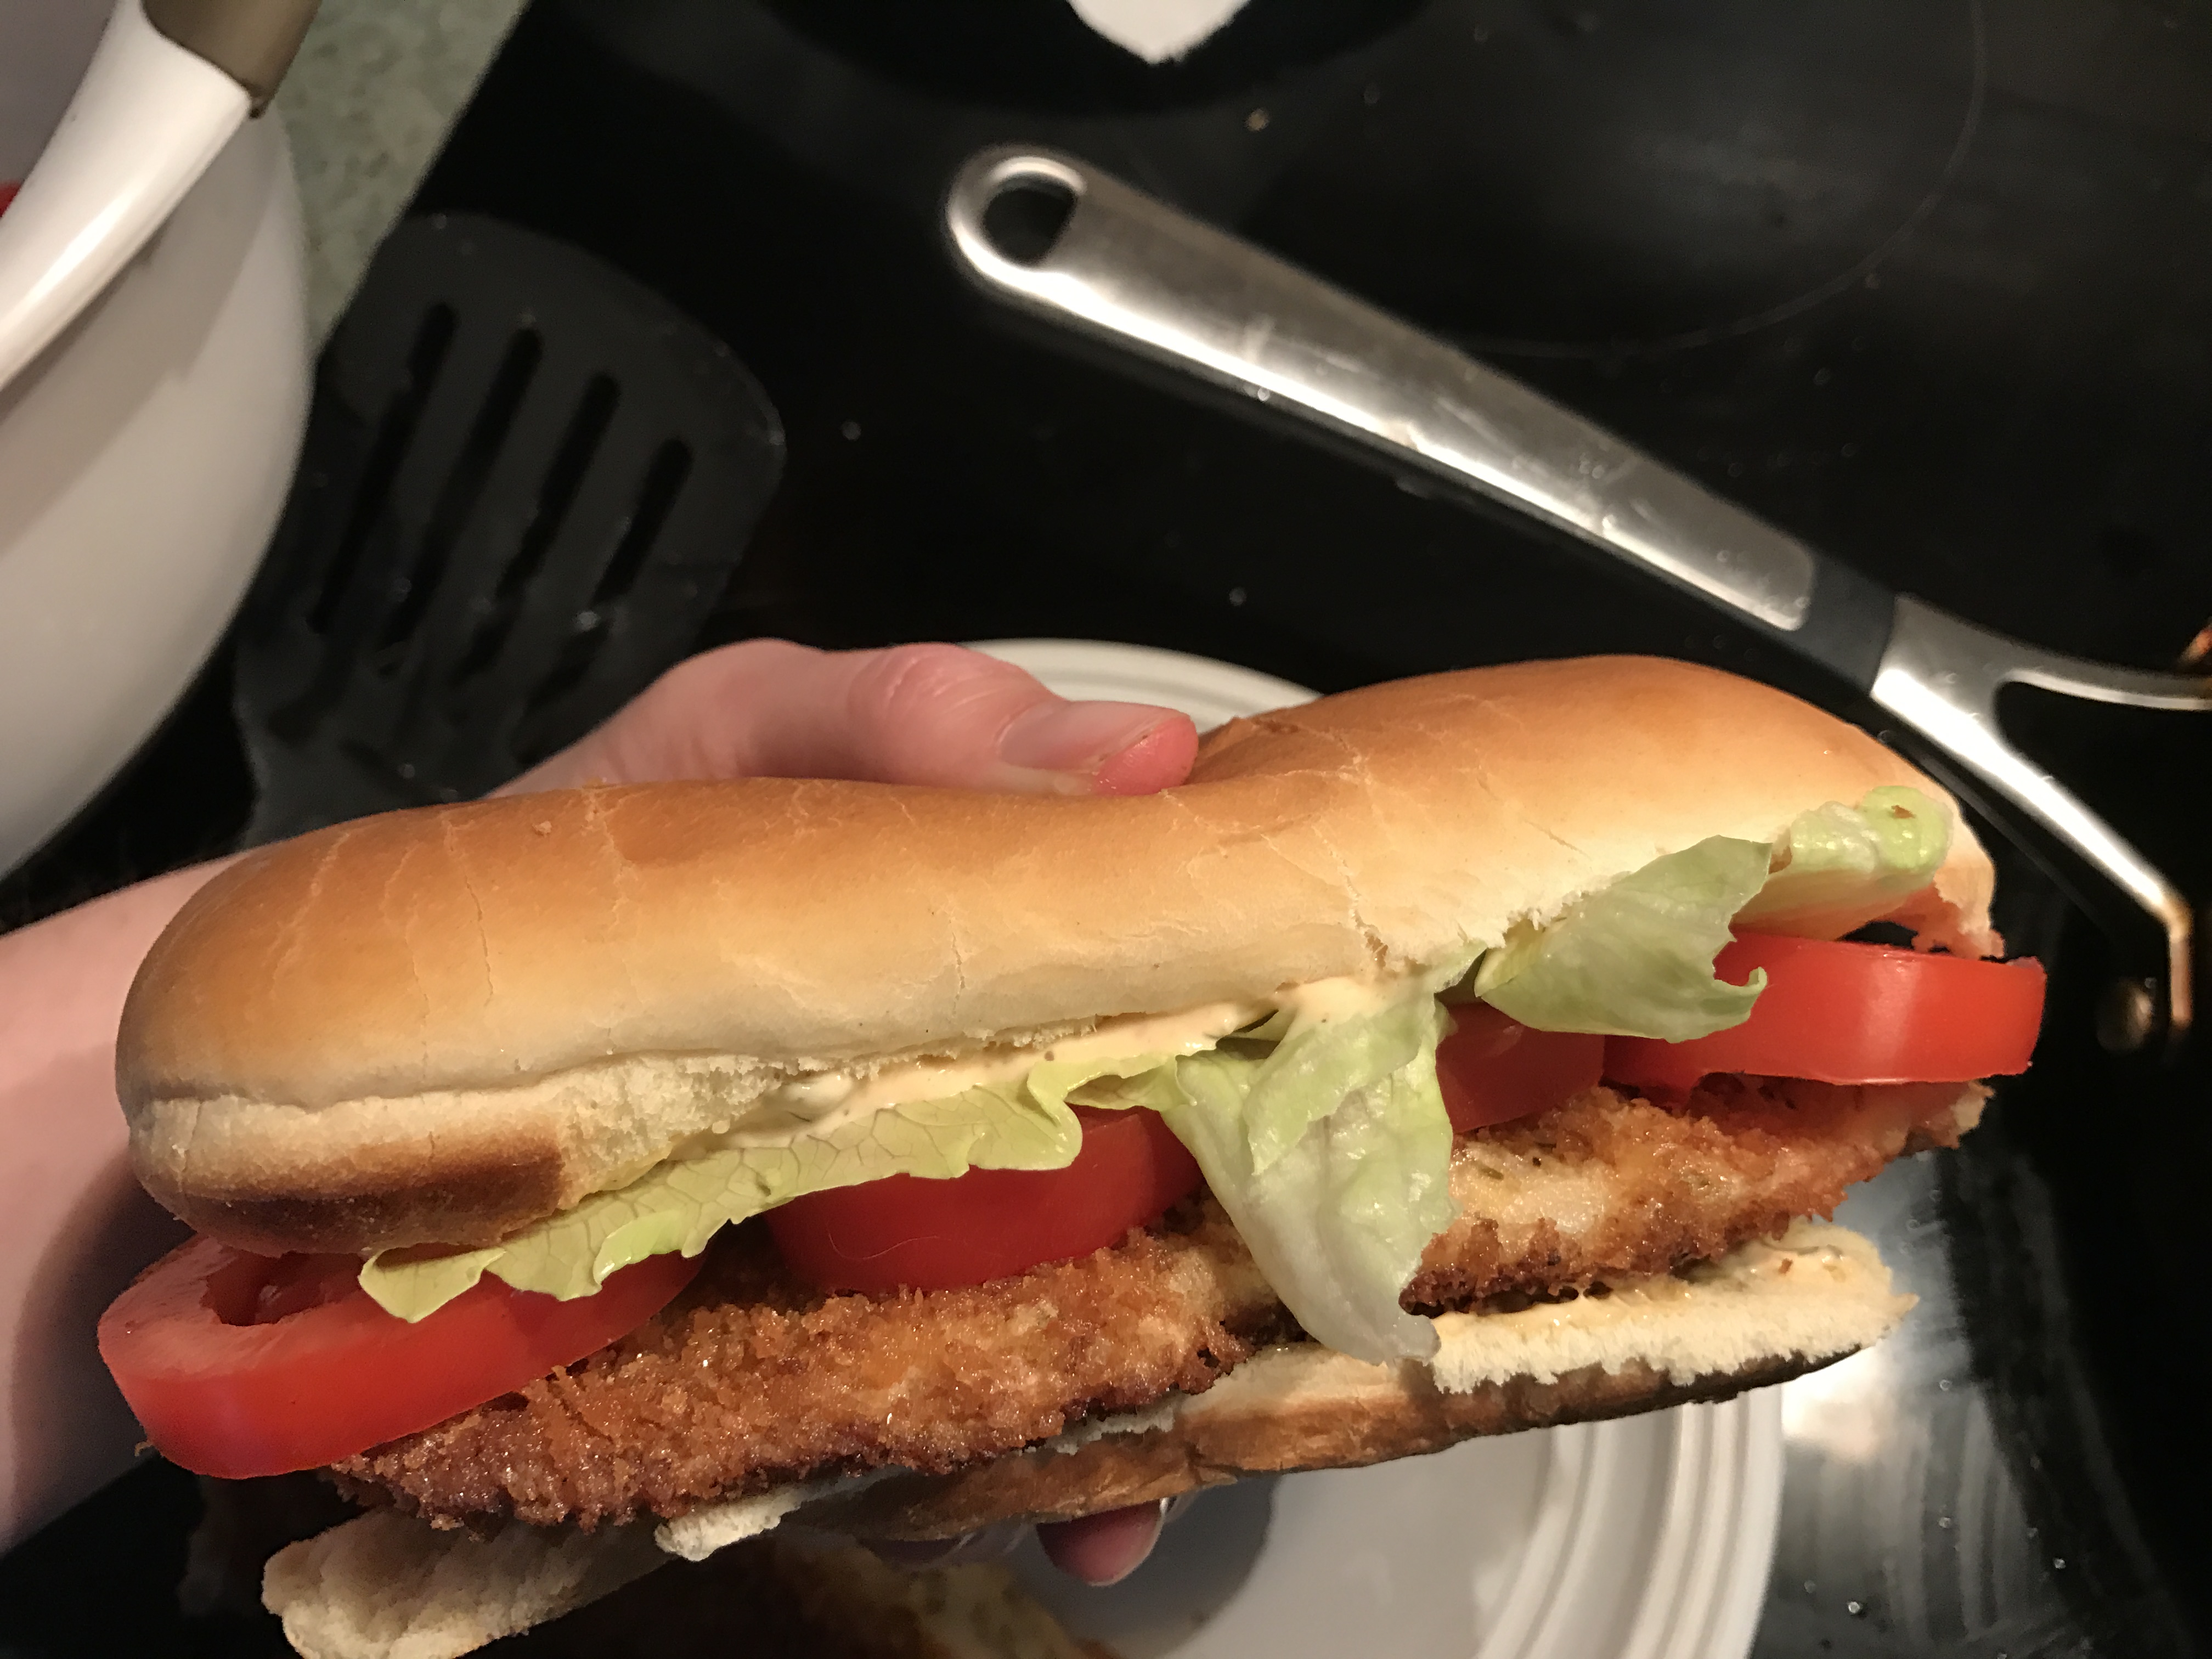
We also went to Carnegie Deli which was one of the only things I had requested we do while I visited. I wanted to eat there and I had a request from a friend to bring back a dried sausage. It was amazing. Emily said we should split a sandwich cause they were huge. She wasn’t joking.

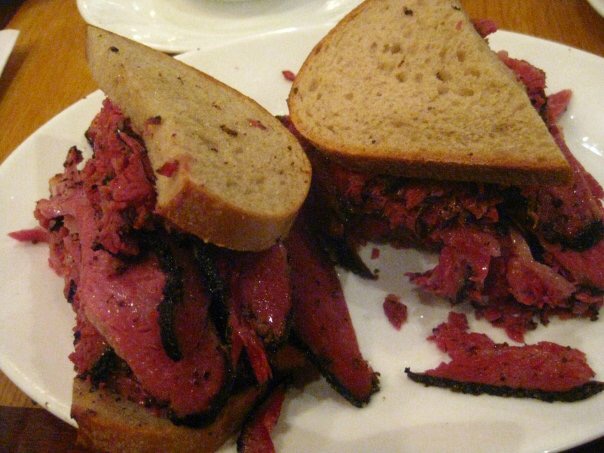
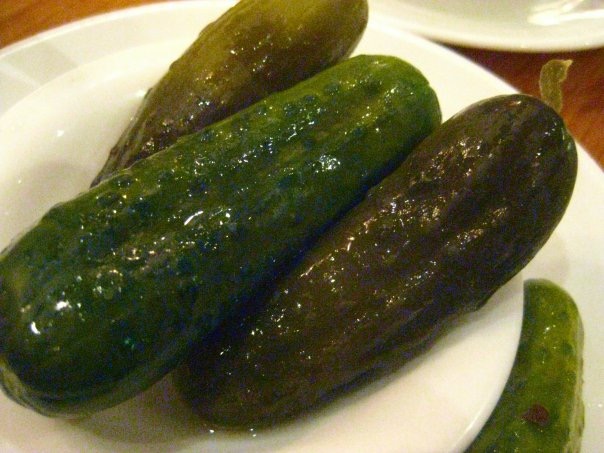
It was served with a side of coleslaw and pickles (which were sooo good). They just look pretty.

After we ate I tried to go buy a salami and the guy handed me a bag with a sandwich. I explained I wanted a dried sausage/hard salami & pointed to the ones hanging up. He laughed and said not many people buy those (i.e. only tourists do).

Those are the only things I can remember except for a few miscellaneous memories. I remember the smell of burnt toast in the morning and Emily explaining that her sister would only eat it when it was basically completely charred. I remember being there for garbage day. I had always heard about garbage day in New York. About the gabage bags being stacked higher than head level all down the streets because there was no where else to put it for collection. People live stacked on one another in apartment buildings so it makes sense that the garbage would be the same. I also remember going out with her and her friends.

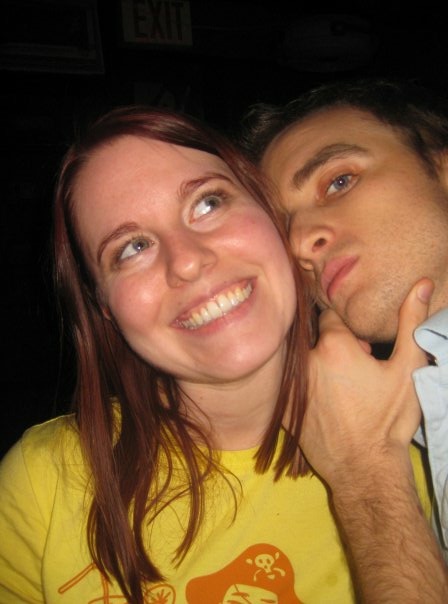
We went to a bar and proceeded to drink, talk, laugh, and basically just have a fun night out.

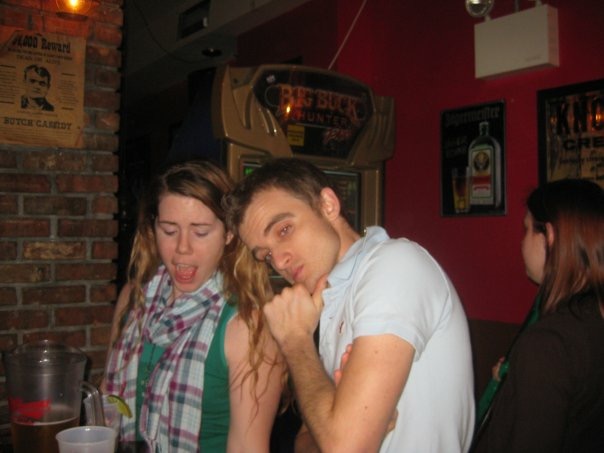
If you look closely at this photo I am in the background staring at Big Buck Hunter. Being from Minnesota everyone assumed I’d kick ass at the game but I had to explain I had never been hunting let alone played that game. Little did I know that I would become a hunter within a few years.

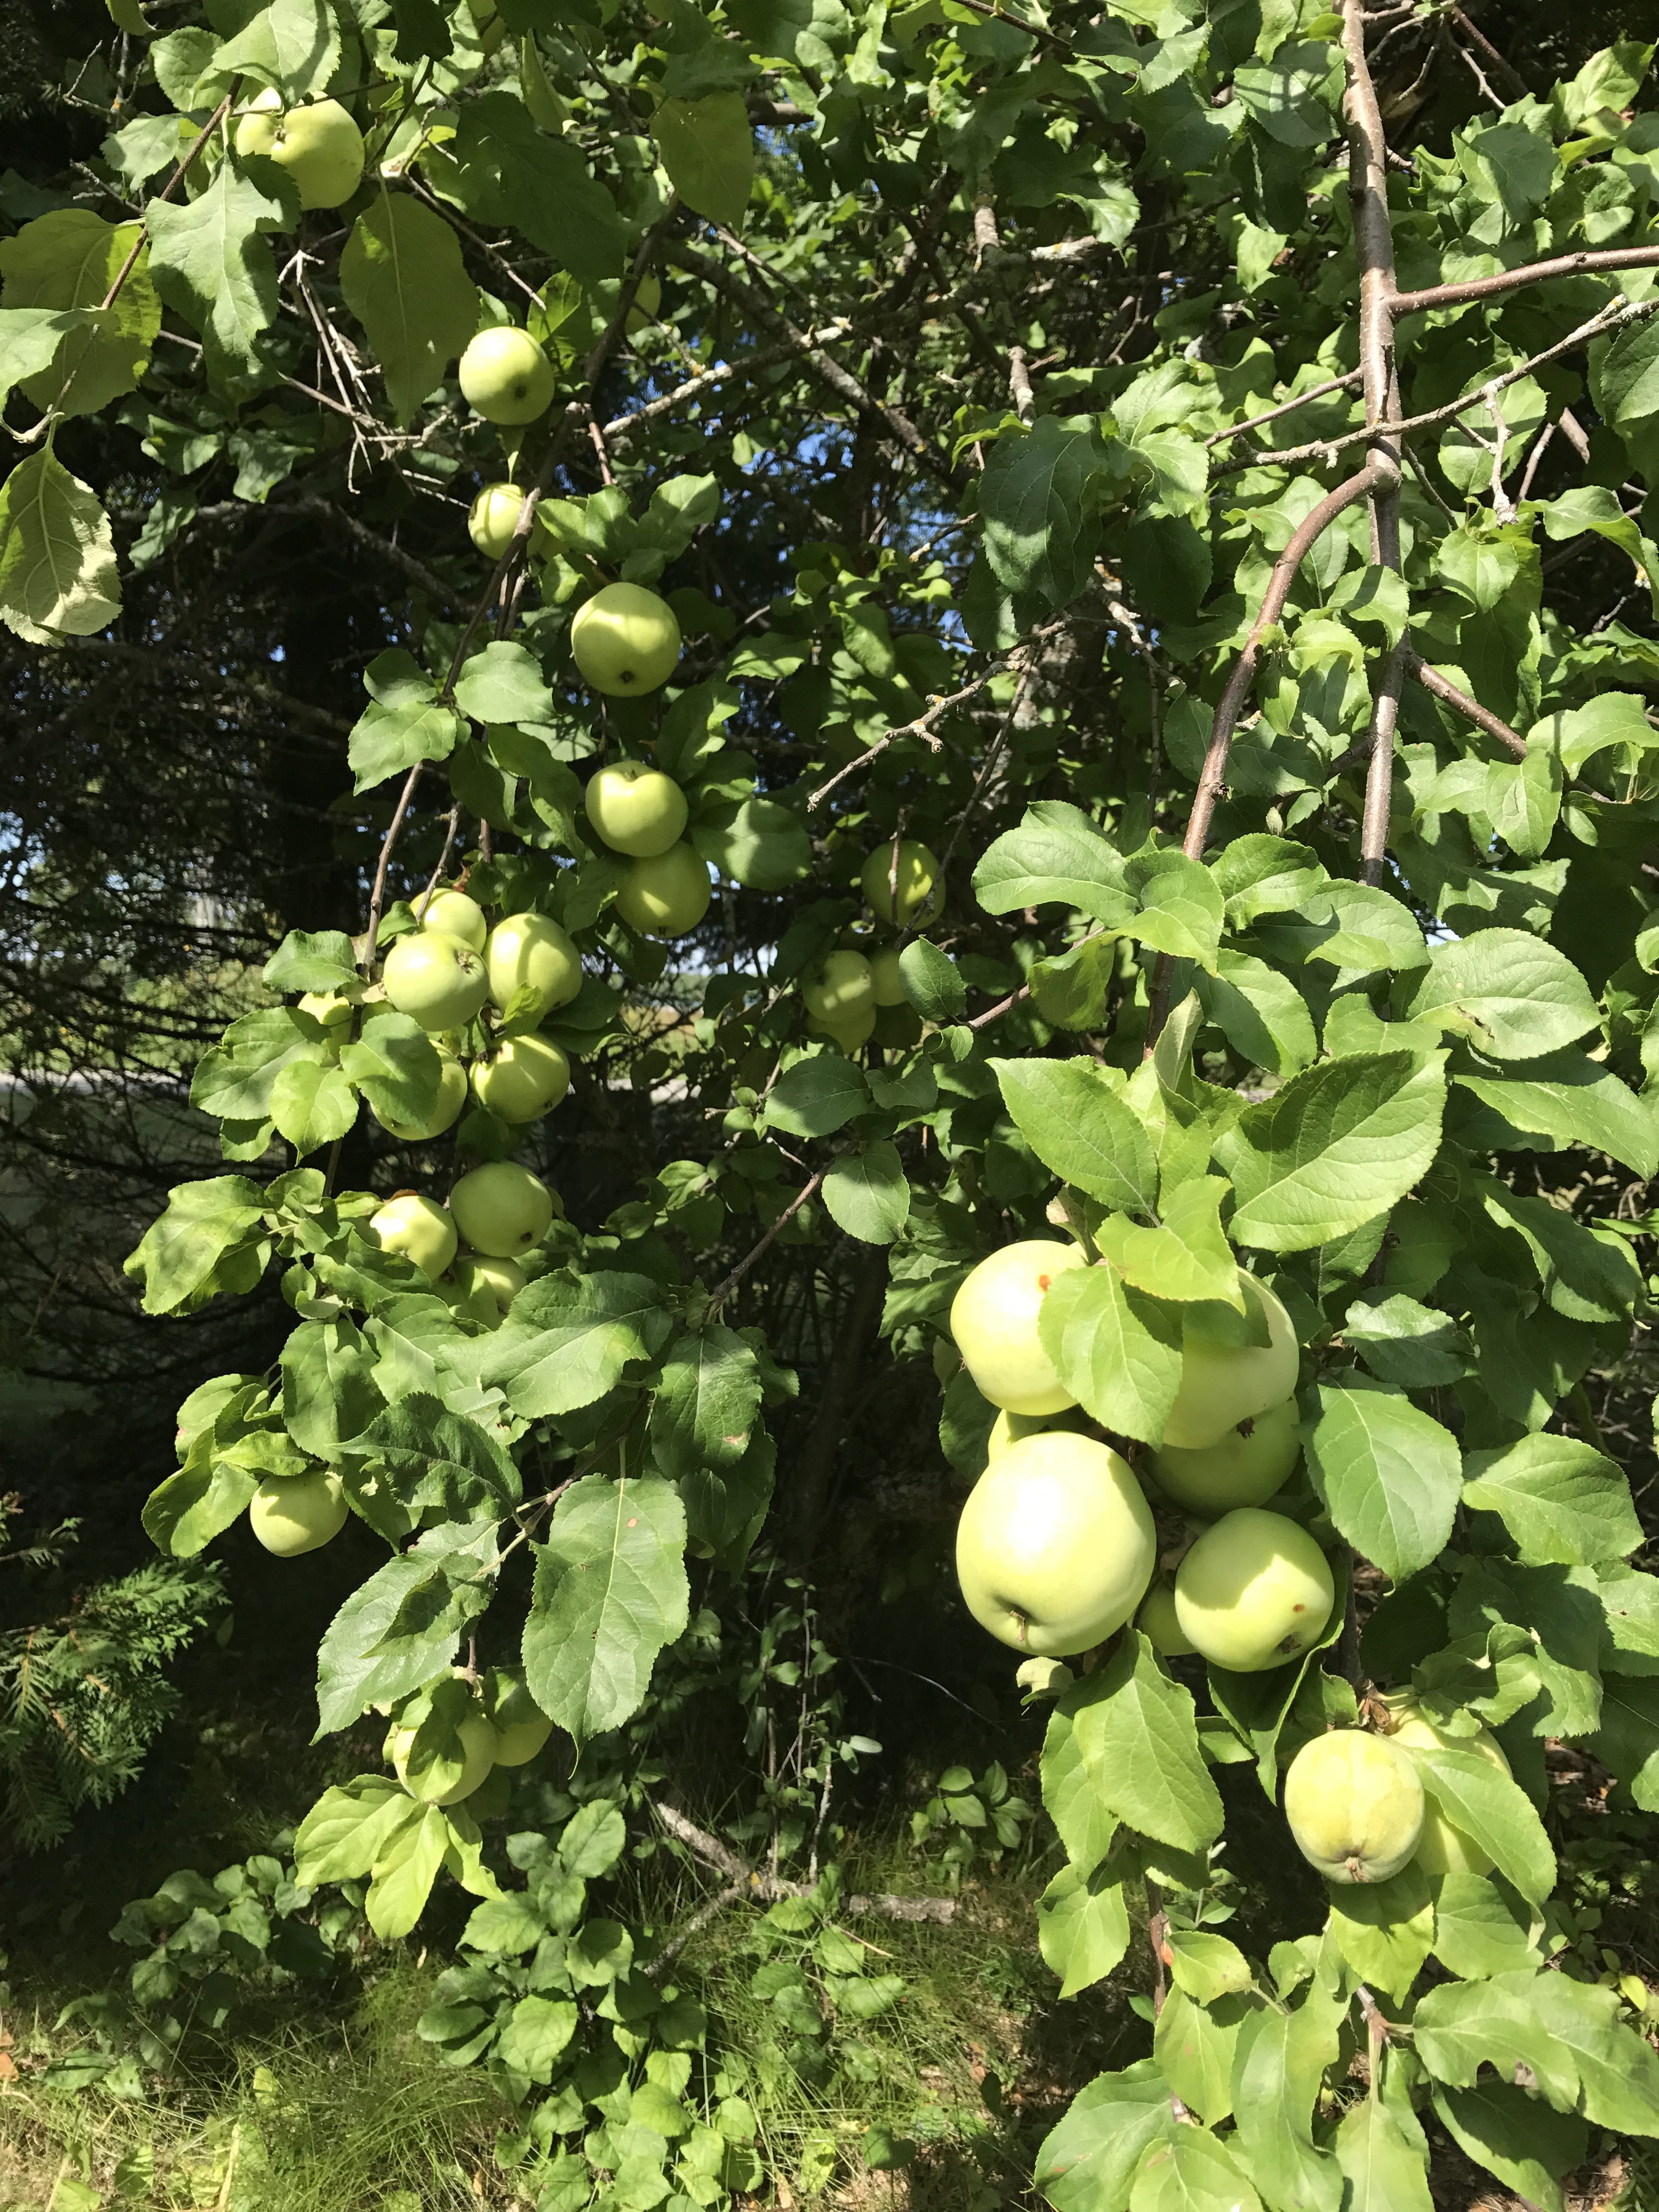
Which brings me to today (7 years later). I have been living in Almost Canada for almost 4 years now. I still haven’t played Big Buck Hunter since that time in New York but I now hunt for real. We also have a garden which is the one of the few things I like about summer. The chance to get to eat fresh veggies all the time. This year we discovered we had an apple tree. A small one but how cool is that!

We also have too many deer eating our garden and tree this year. Not cool. I went out and picked all the apples I could once I realized we had a deer problem. I ended up getting just a handful (I had 4 more but I used them to make these cookies)


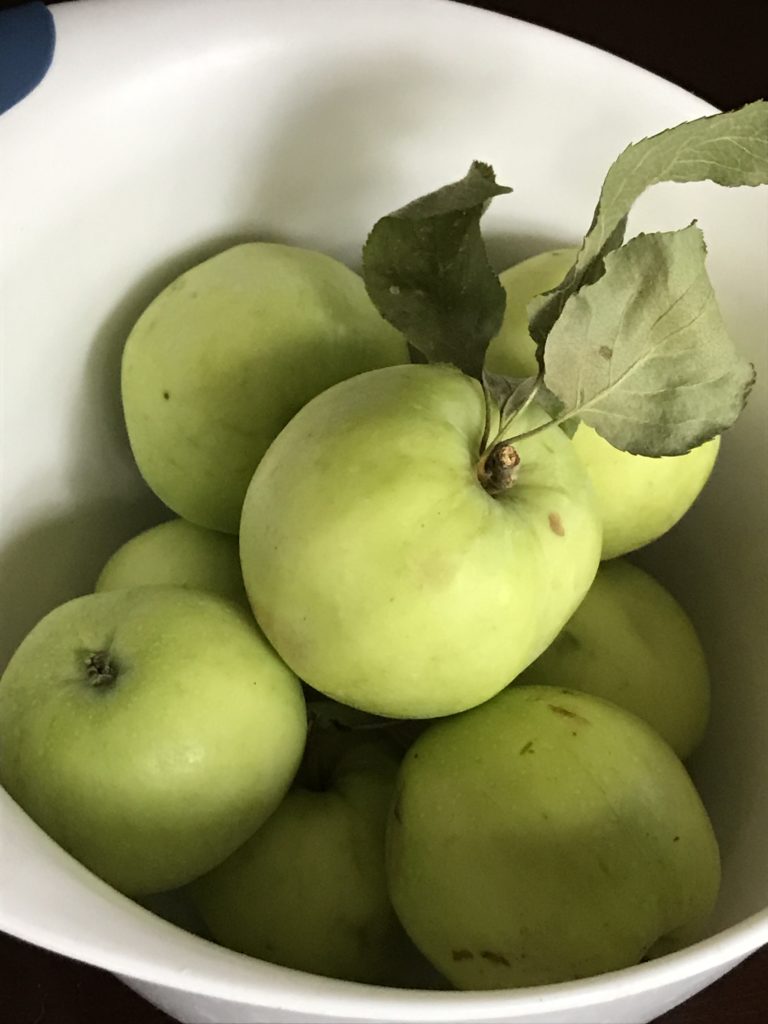
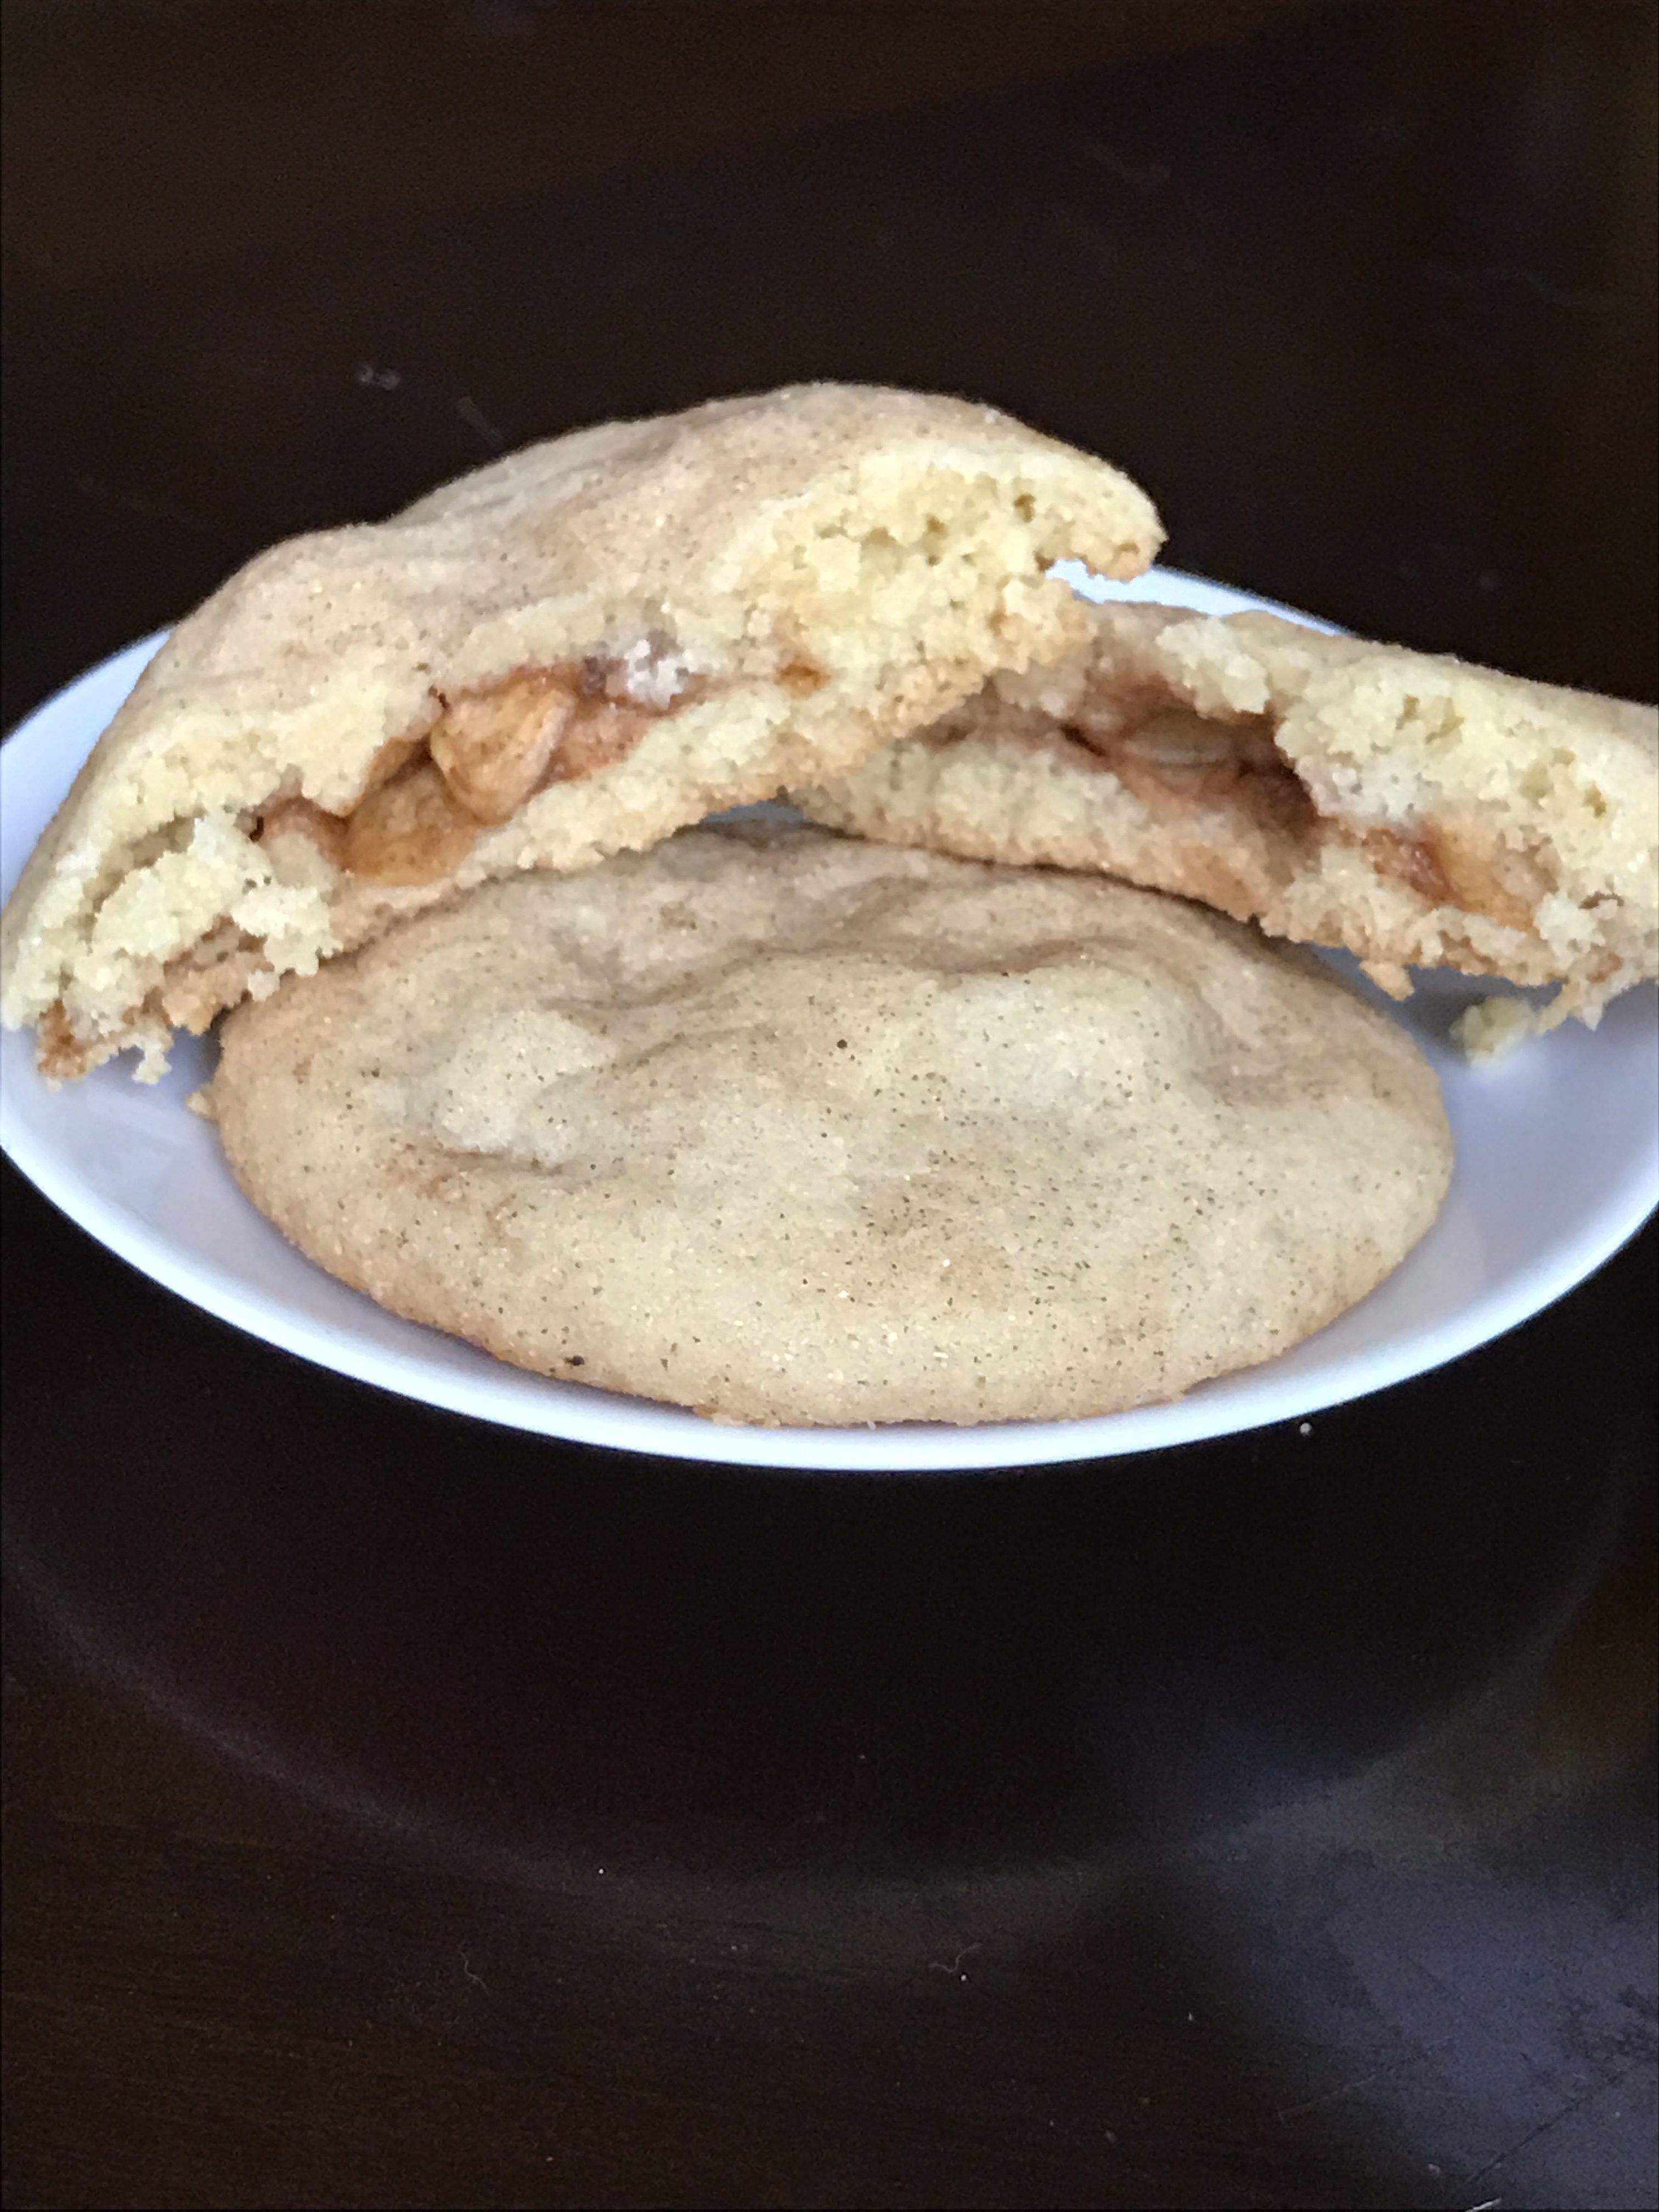
These apples are definitely a bit tart but still delicious. Finding that apple tree to make these cookies in my 50 States, 50 Cookies challenge couldn’t have timed out any better.

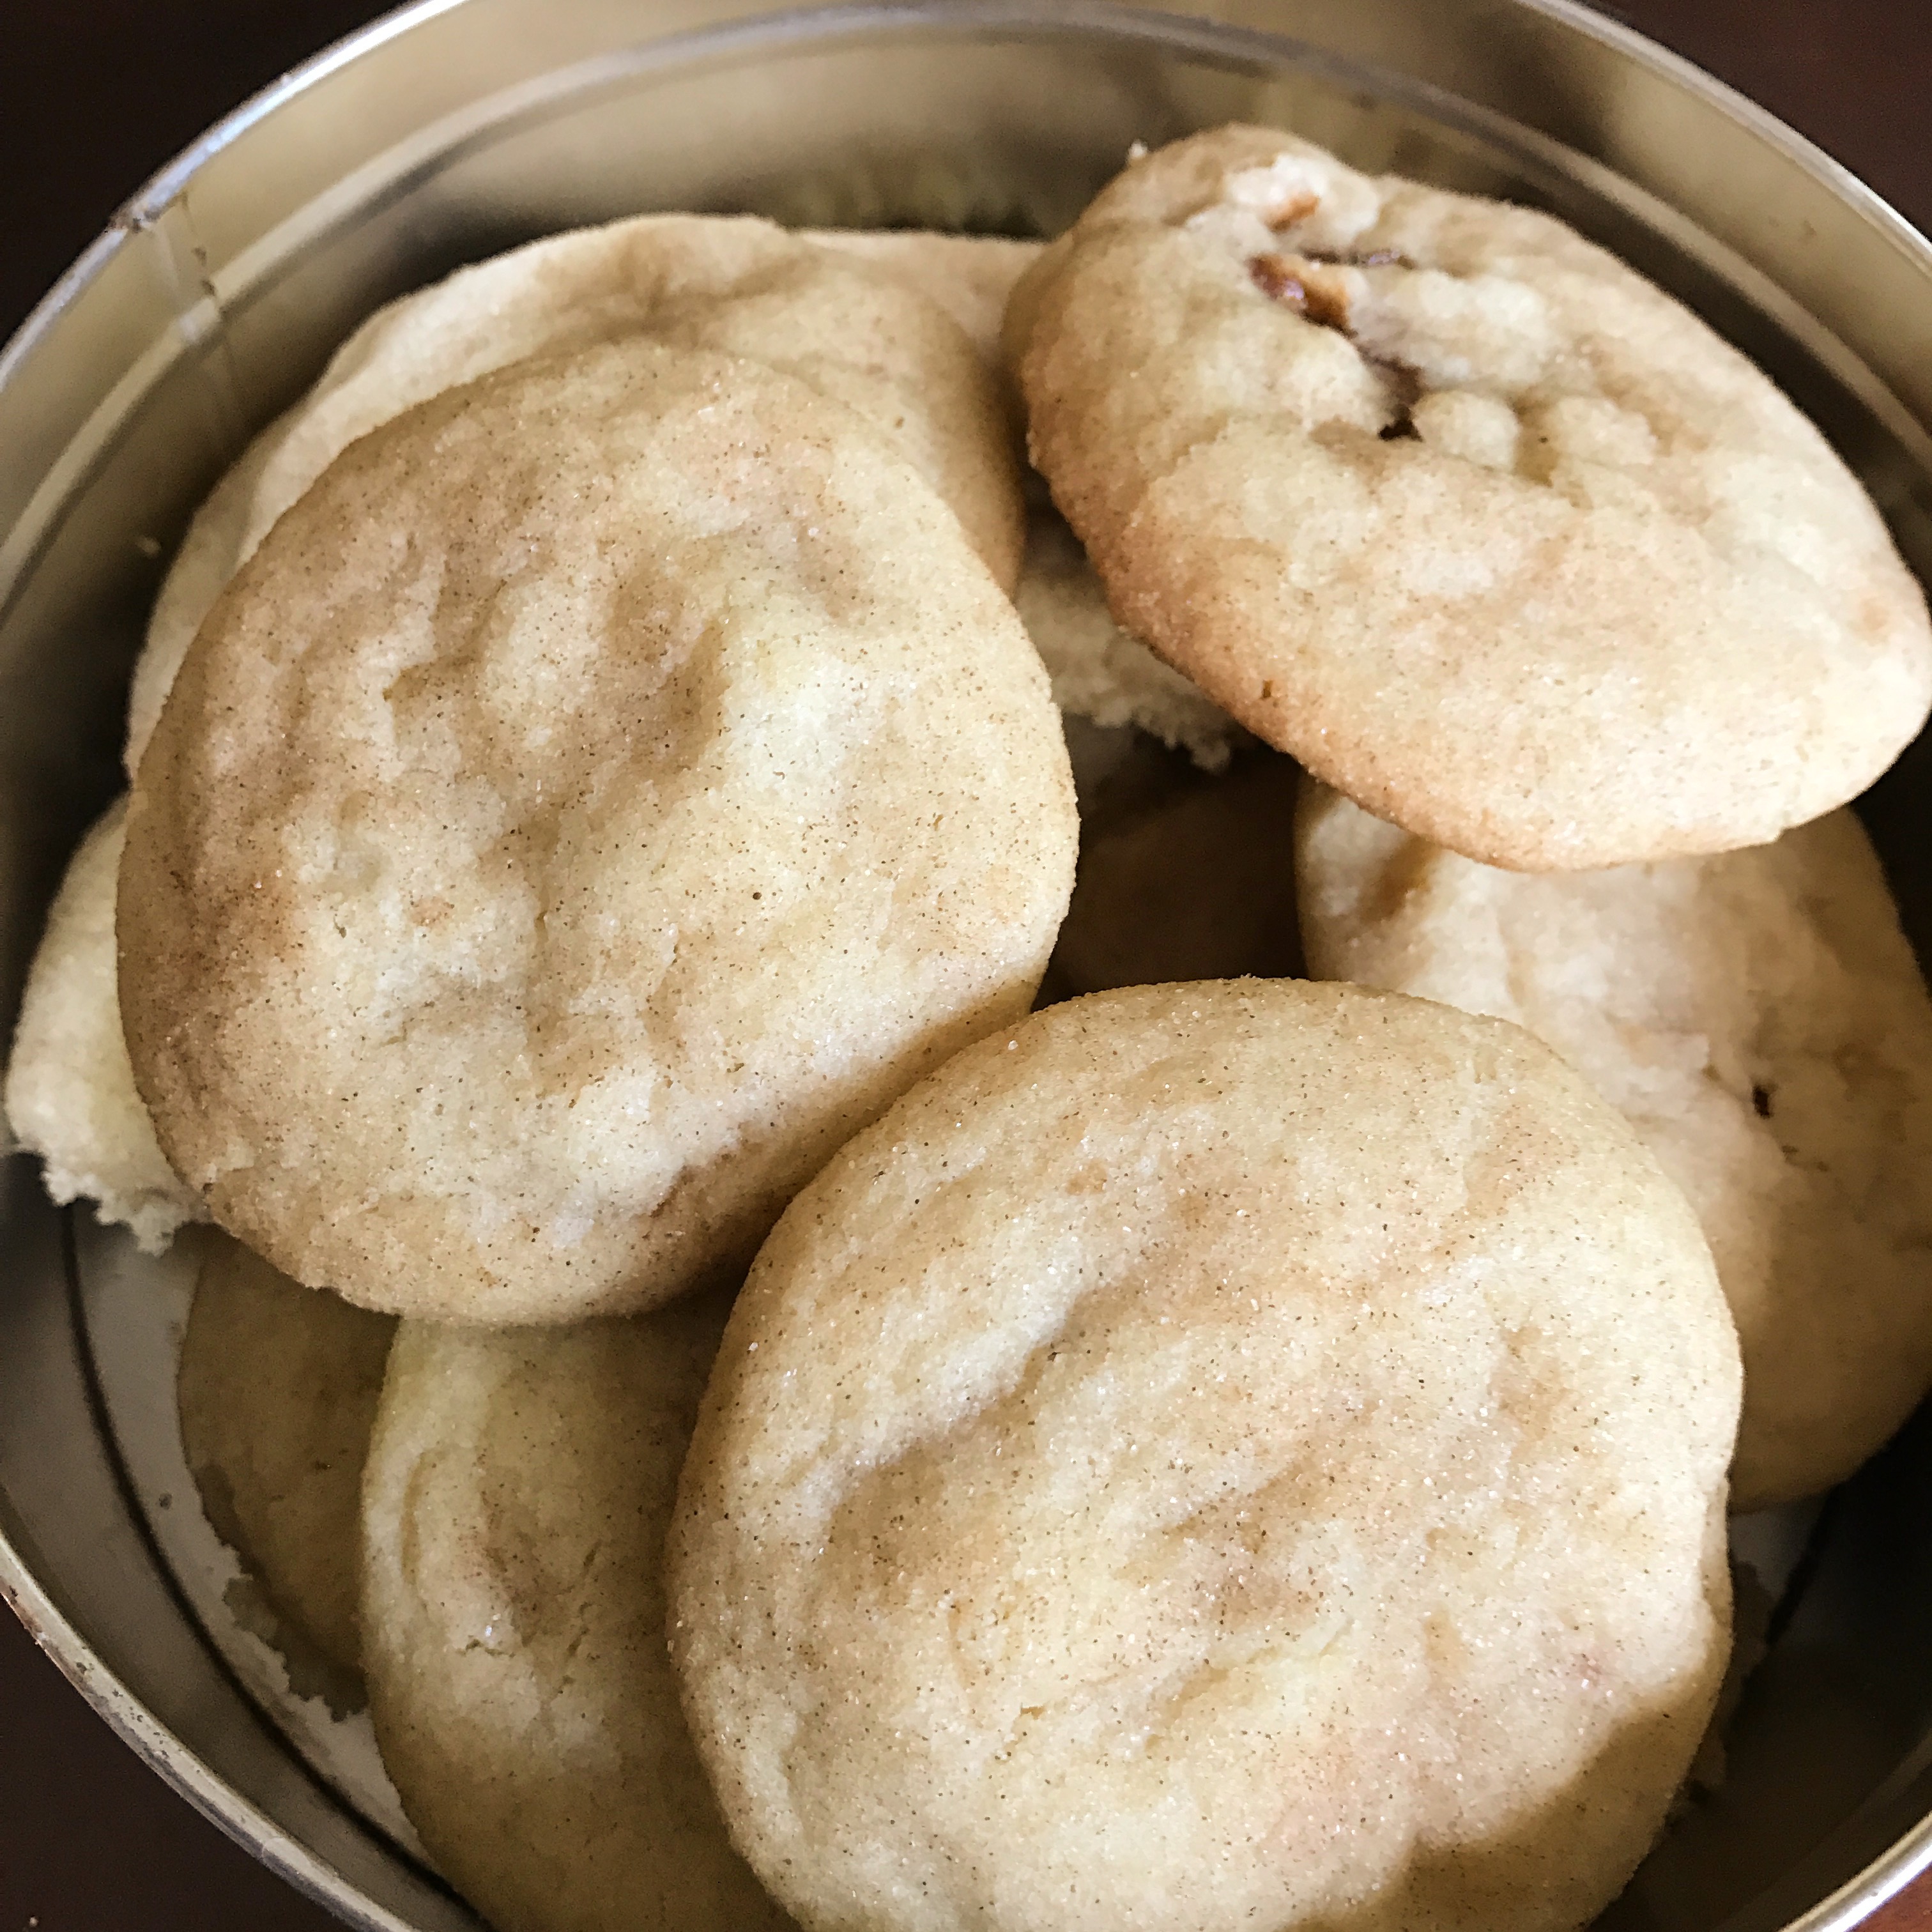
Apple Pie Stuffed Snickerdoodles (from Bob’s Red Mill United States of Cookies)

Ingredients

Apple Pie Filling

  • 2 medium Apples peeled, cored, diced (1-3/4 cups)
  • 3 Tbsp Light Brown Sugar packed
  • 1/2 Tbsp Unbleached White All-Purpose Flour
  • 1 tsp ground Cinnamon
  • 1 Tbsp Butter

Snickerdoodles

  • 1/2 cup Butter room temperature
  • 1/2 cup Shortening
  • 1 cup Granulated Sugar
  • 1/2 cup Light Brown Sugar packed
  • 2 Eggs
  • 1 tsp Vanilla Extract
  • 2+ 3/4 cups Unbleached White All-Purpose Flour
  • 1+ 1/2 tsp Baking Powder
  • 1/4 tsp Salt

Coating

  • 1/2 Tbsp ground Cinnamon
  • 1/2 cup Granulated Sugar
Instructions
Apple Pie Filling
  1. In a medium saucepan, add in the apples, brown sugar, flour, cinnamon and butter. Stir to combine.
  2. Place saucepan over medium heat and let it come up to a simmer and simmer for about 3 – 4 minutes until the syrup is thick. Be sure to stir continuously. The apples will be soft.
  3. Remove from the heat and let cool while you make your cookie dough.
Cookie Dough
  1. Preheat oven to 350 degrees. Line your cookie sheet with parchment paper.
  2. In the mixing bowl, add in the butter and shortening. Using a paddle attachment on medium speed, mix until combined. Scrape the sides of the bowl down.
  3. Add granulated sugar and the brown sugar. Mix on medium until light and fluffy.
  4. Add in the vanilla and one egg at a time and continue mixing. Once the egg is incorporated add in the second egg and continue mixing. Once both eggs are incorporated, scrape down the sides.
  5. Add in the flour, baking powder, and salt. Mix on low until the flour starts to combine with the wet mixture. Scrape down the sides and turn the mixer up to medium until everything is combined.
  6. Using a large ice cream scoop, scoop the dough up. Make a well in the center of the cookie using your thumb.
  7. Add a small spoon full of apple pie filling into the cookie.
  8. Cover the well up with more cookie dough. Press to together and even it out with the top of the cookie scoop.
  9. In a shallow bowl, add in the granulated sugar and cinnamon for the coating. Stir together.
  10. Place into the cookie into the cinnamon sugar. Roll the dough into it’s completely covered.
  11. Place on baking sheet to bake. Leave 1 to 2 inches between each cookie.
  12. Once the cookie sheet is full, bake for 12-16 minutes depending on the size of your cookies.
 

Summer of Rhubarb: Rhubarb Drop Scones


The summer of rhubarb has begun! Rhubarb screams summer and Minnesota cooking to me. I have grown up with rhubarb & have always loved it (no berry mixing required). These drop scones are not like your traditional scone in texture but are perfect for breakfast or with a coffee or tea.


Rhubarb Drop Scones

Ingredients:
2 1/2 cups flour
1/2 cup sugar
1 tablespoon baking powder
1/2 teaspoon salt
5 tablespoons butter, cut into pieces
1 egg
1 egg yolk

1 cup sour milk ( 1 tbsp lemon juice with 1 cup milk & let stand for 5 min)
raw sugar for sprinkling

Directions:
Preheat oven to 400 degrees.

In a large bowl, whisk together the flour, sugar, baking powder and salt. Add the butter pieces and, using a pastry blender & your hands, mash it all up until the mixture resembles coarse meal and the butter is worked throughout. Add the rhubarb.

In a small bowl, whisk together the egg, egg yolk and sour milk. Add this to the flour-fruit mixture. Stir until combined.

Drop large spoonfuls of the dough onto a large baking sheet lined with parchment paper. Pat them down slightly until they are a uniform thickness (about 1/2 – 3/4 inch). Sprinkle the tops with raw sugar. Bake for about 20 minutes (a little less if you opt for smaller scones) or until the scones are golden and the edges beginning to brown. Cool completely on a wire rack.


Summer of Rhubarb: Rhubarb Torte


us

It has been a long time since I have had time for anything let alone time to bake. This is my first creation on my first Baking Sunday in a long time. The reason I have been absent is because I was busy planning a wedding and European honeymoon. I love planning. I always say that if I weren’t a chemist that I would be an event planner.

Our wedding was small but that doesn’t mean I had any less work to do. The only thing I didn’t have to deal with was the processional and music that coincides with that as well as bridesmaids dresses or bridesmaid flowers since I didn’t have any of those (honestly bridesmaid flowers are super easy because you just make them similar to the bride’s bouquet but have less flowers or simpler flowers). My flowers I spent a lot of time designing. I had a florist do the final arrangement but I gave specific flowers with colors and just told her (Kim from Artemisia) to arrange them.

flowers

Everything else I had to plan and I even had to write an entire ceremony since we did not have a church wedding which is not very easy to do. In addition, finding a venue for a small wedding (50 or less) is very difficult. All venues hold 100-300 so finding one with charm is not an easy task.

We ended up finding W.A. Frost which turned out to be absolutely amazing. It’s a small restaurant in historic St. Paul full of charm & beauty.

IMG_4794

It is gorgeous inside and no decorations were needed.

IMG_4791

The two rooms we rented held 57 max so it was perfect. We went there for lunch before we picked it and I tried the bouillabaisse and my guy got a cheeseburger. We figured that if they could cook a high-end dish and a simple cheeseburger that no matter what we ordered for the reception would be fantastic. We weren’t disappointed. Everything was delicious. For the night of we went with a walleye dish, a pork dish, as well as a bistro steak. I had the steak the night of and it was incredible. For our cake we went with tiramisu for our top layer and strawberry lemon for the bottom layer from Buttercream. Buttercream is expensive but it is worth it. They really are the best for wedding cakes in Minnesota.

cake

I should also mention that my photographer (Angela from Angela Divine Photography) was absolutely amazing and all my wedding photos are from her. I told her we only needed a few hours of coverage and she did better than I could have imagined. I knew I wanted her once I saw her portfolio as she did many small weddings, and with our wedding being under 50 it was a perfect match.

I could talk about all the other details of event planning but this post would go on forever. Needless to say it takes a lot of time to research options for every single item for a wedding and a European trip. There is a lot to consider but just take it one thing at a time while always thinking about the next 20 tasks coming up if that makes any sense. I guess that’s why I am good at planning. I’m great at multitasking & thinking about the future while enjoying & living in the present.

As of now, my rhubarb is growing like crazy. I will have plenty of things to make rhubarb-wise in the future so prepare yourself. Maybe I could actually remember to take a decent photograph of my baked goods before they all get eaten.

Rhubarb Torte

For the crust

  • 1 1/2 C flour
  • 7 T sugar
  • 1 1/2 sticks cold butter, cut into cubes

Heat the oven to 350°F. In a large mixing bowl, combine the flour and sugar. Cut in the butter as if you’re making a pie crust. Press the dough into a 9- by 13-inch pan.

For the custard

  •  2 eggs
  • 3/4 C granulated sugar
  • 3/4 C brown sugar
  • 1 tsp vanilla
  • 1 C flour
  • 3/4 t baking soda
  • 1/2 t salt
  • 3 C fresh rhubarb (I used the red variety)

In a large mixing bowl, beat the eggs and sugar until combined. Stir in the vanilla. Stir in the flour, baking soda, & salt. Stir in the rhubarb. Let sit for 30 minutes. Pour the custard into the crust, and bake for 35–45 minutes, until the torte is set and slightly golden, not toasty brown. Store any leftovers, covered, at room temperature.

IMG_4649

The Return of Baking Sunday 2015

Last Sunday was the commencement of true Baking Sunday Season. I try to bake on Sundays year round, but once football season starts that is when my baking season starts as well.

I use it as my time to do something I love. I try to bake new things but sometimes get set in my old favorites. Either way, it is my time.

Here is what I did last Sunday.

I made a margherita pizza for lunch. I did make the crust myself. The recipe I got from Giada De Laurentiis.

IMG_2566


I canned some salsa.

IMG_2589


And then I made cream puffs. I have never made these before and am glad I did. They were delicious. I was told I could make these every Sunday.

Chocolate Glazed Cream Puffs (makes 6)

pastry

  • 1/2 cup water
  • 4 tbsp butter
  • pinch salt
  • 1/2 cup flour
  • 2 eggs
  • 1/2 tsp vanilla

cream filling

  • 2 eggs
  • 1 1/2 cups milk
  • 1/3 cup granulated sugar
  • 2 tbsp corn starch
  • pinch salt
  • 2 tsp vanilla

chocolate glaze

  • 2 tbsp butter
  • 2 oz unsweetened chocolate
  • 3 tbsp water
  • 2/3 cup powdered sugar
  • 1/2 tsp vanilla

Prepare the cream filling first. It needs to set in the fridge for two hours.

Separate the eggs. Save the whites for another use. Place the yolks in a small bowl and whisk in the milk. In a small saucepan stir the corn starch, sugar, and salt together. Whisk in the egg-milk mixture. Stir over medium heat until thick and bubbly. Remove from heat and press plastic wrap over the top. Place in the fridge for two hours until set. Stir before use

IMG_2572

Meanwhile, prepare the pastry. In a medium saucepan combine the water, butter, and salt. Bring to a boil. Make sure butter is melted and then add the flour stirring vigorously.

Cook and stir until the mixture forms a ball. Remove from heat and let cool for 10 minutes. Add eggs, one at a time, beating well after each addition with a wooden spoon. Stir in 1/2 tsp vanilla.

Drop 6 heaping tablespoons of dough onto a parchment lined baking sheet (or a greased baking sheet). Bake for 30 minutes or until golden. Remove and let cool on a wire rack.

IMG_2557


Cut off the tops. If the dough on the inside is a bit fluffy just push it into the walls (you could tear it out but why waste it). Fill with the cream filling.

IMG_2577


Replace the tops and then drizzle or completely cover with chocolate glaze. I suggest to completely cover them.

To make the chocolate glaze, melt the butter and chocolate over low heat. Remove from heat and stir in powdered sugar. Stir in the water and place over the heat again and stir until combined evenly. Add more water as necessary to thin out. You don’t want it too thin though. Stir in vanilla.

IMG_2583


Finally, enjoy.


Key Lime Pie


IMG_2351


I love working out. I love how I feel afterwards. I love how it makes my body & mind feel great. I love feeling strong. I also hate working out. Mainly because I hate the concept of working out. I think it stems from being in dance my whole life. I never had to work out. When I was a child I had gym class, played outside, and danced. Let’s be honest, kids don’t need to work out. They are simply very active. I feel that many adults can learn from this.

As I have gotten older I still like being active but I don’t really enjoy most workouts. A problem many people experience. I prefer to take classes or do videos. I like to do things outdoors. I also try to walk to work whenever I can. If I walk to and from work I get over 3.5 miles in. I consider that my “workout” for the day.

As I was trying to force myself to commit to a workout on Sunday, I thought about just going for a walk instead. I decided to walk into town to get some sweetened condensed milk to make a key lime pie. Workout done. Bonus, I got to bake a pie and then enjoy eating it as well.

Key Lime Pie

Crust

  • 18 graham crackers
  • 1/3 cup butter, melted
  • 1/3 cup sugar

Filling

  • 2 cans sweetened condensed milk
  • 1/2 cup sour cream
  • 3/4 cup lime juice

Crumble graham crackers. Mix in sugar and then melted butter. Press into pie plate. Bake in a 350F oven for 5-8 minutes until golden brown & set. Cool slightly.

Mix filling ingredients together. Pour into crust. Bake for 15-20 minutes or until filling is set.

IMG_2351