50 States, 50 Cookies: Massachusetts


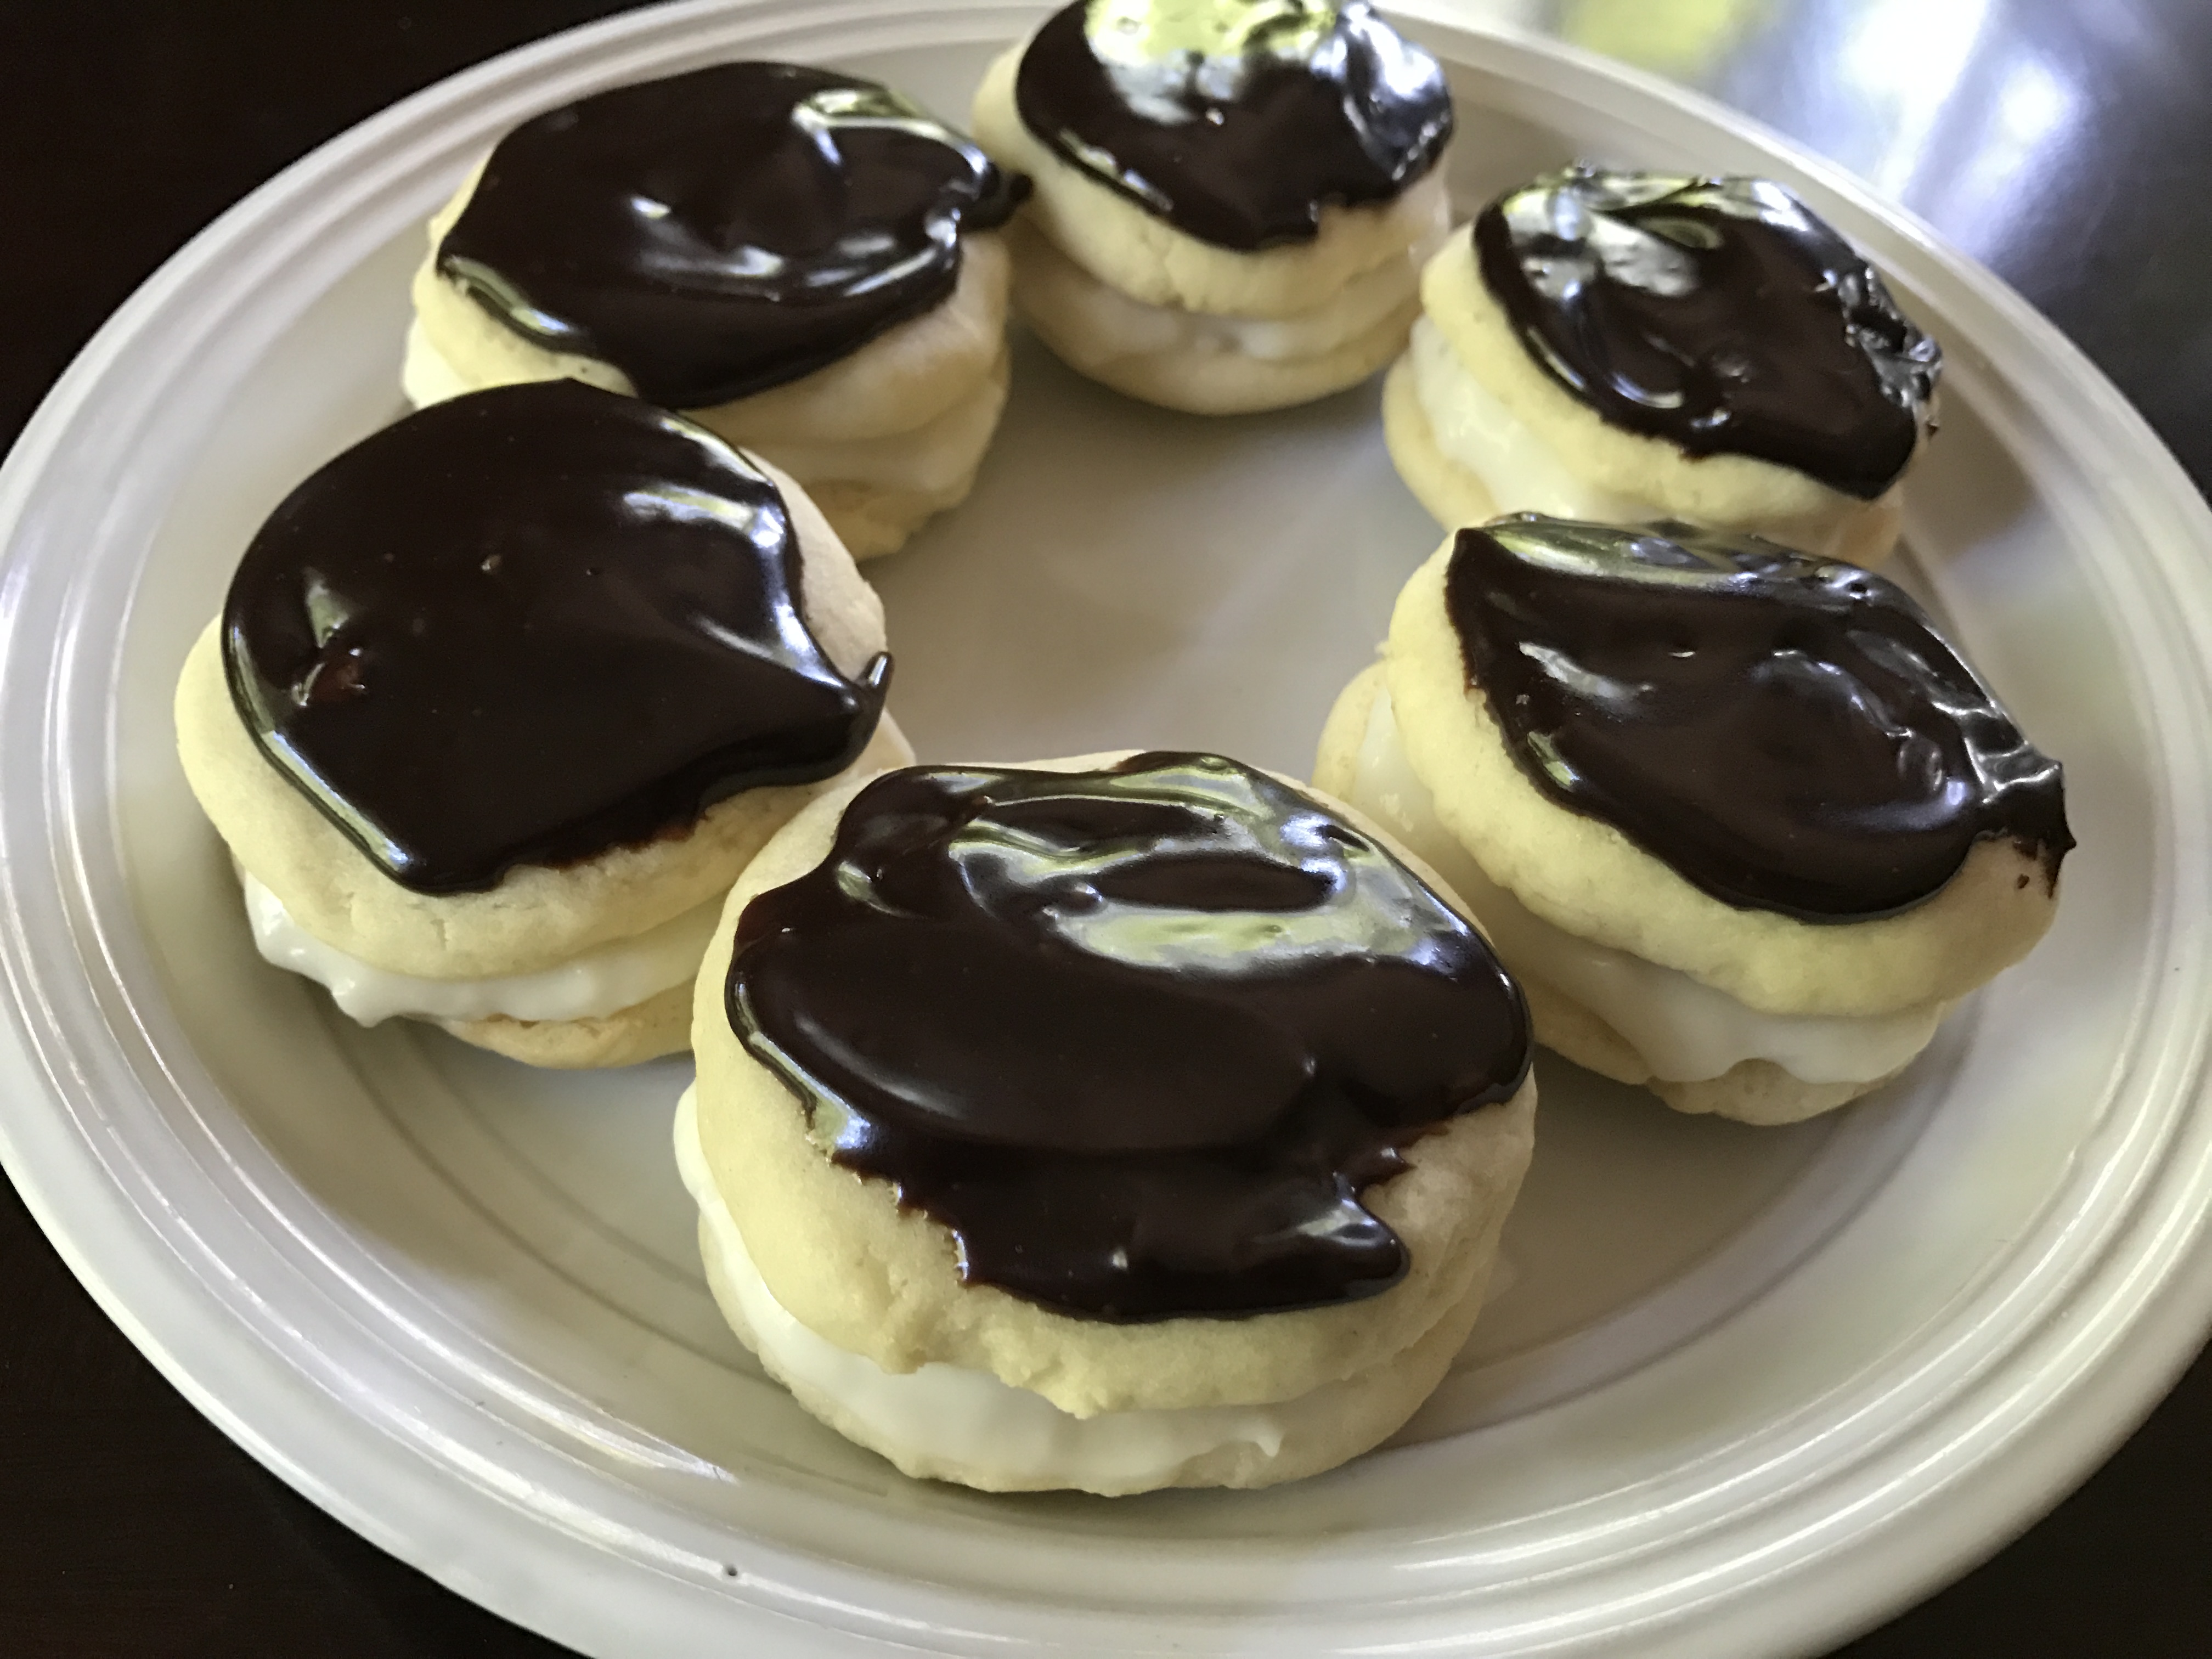
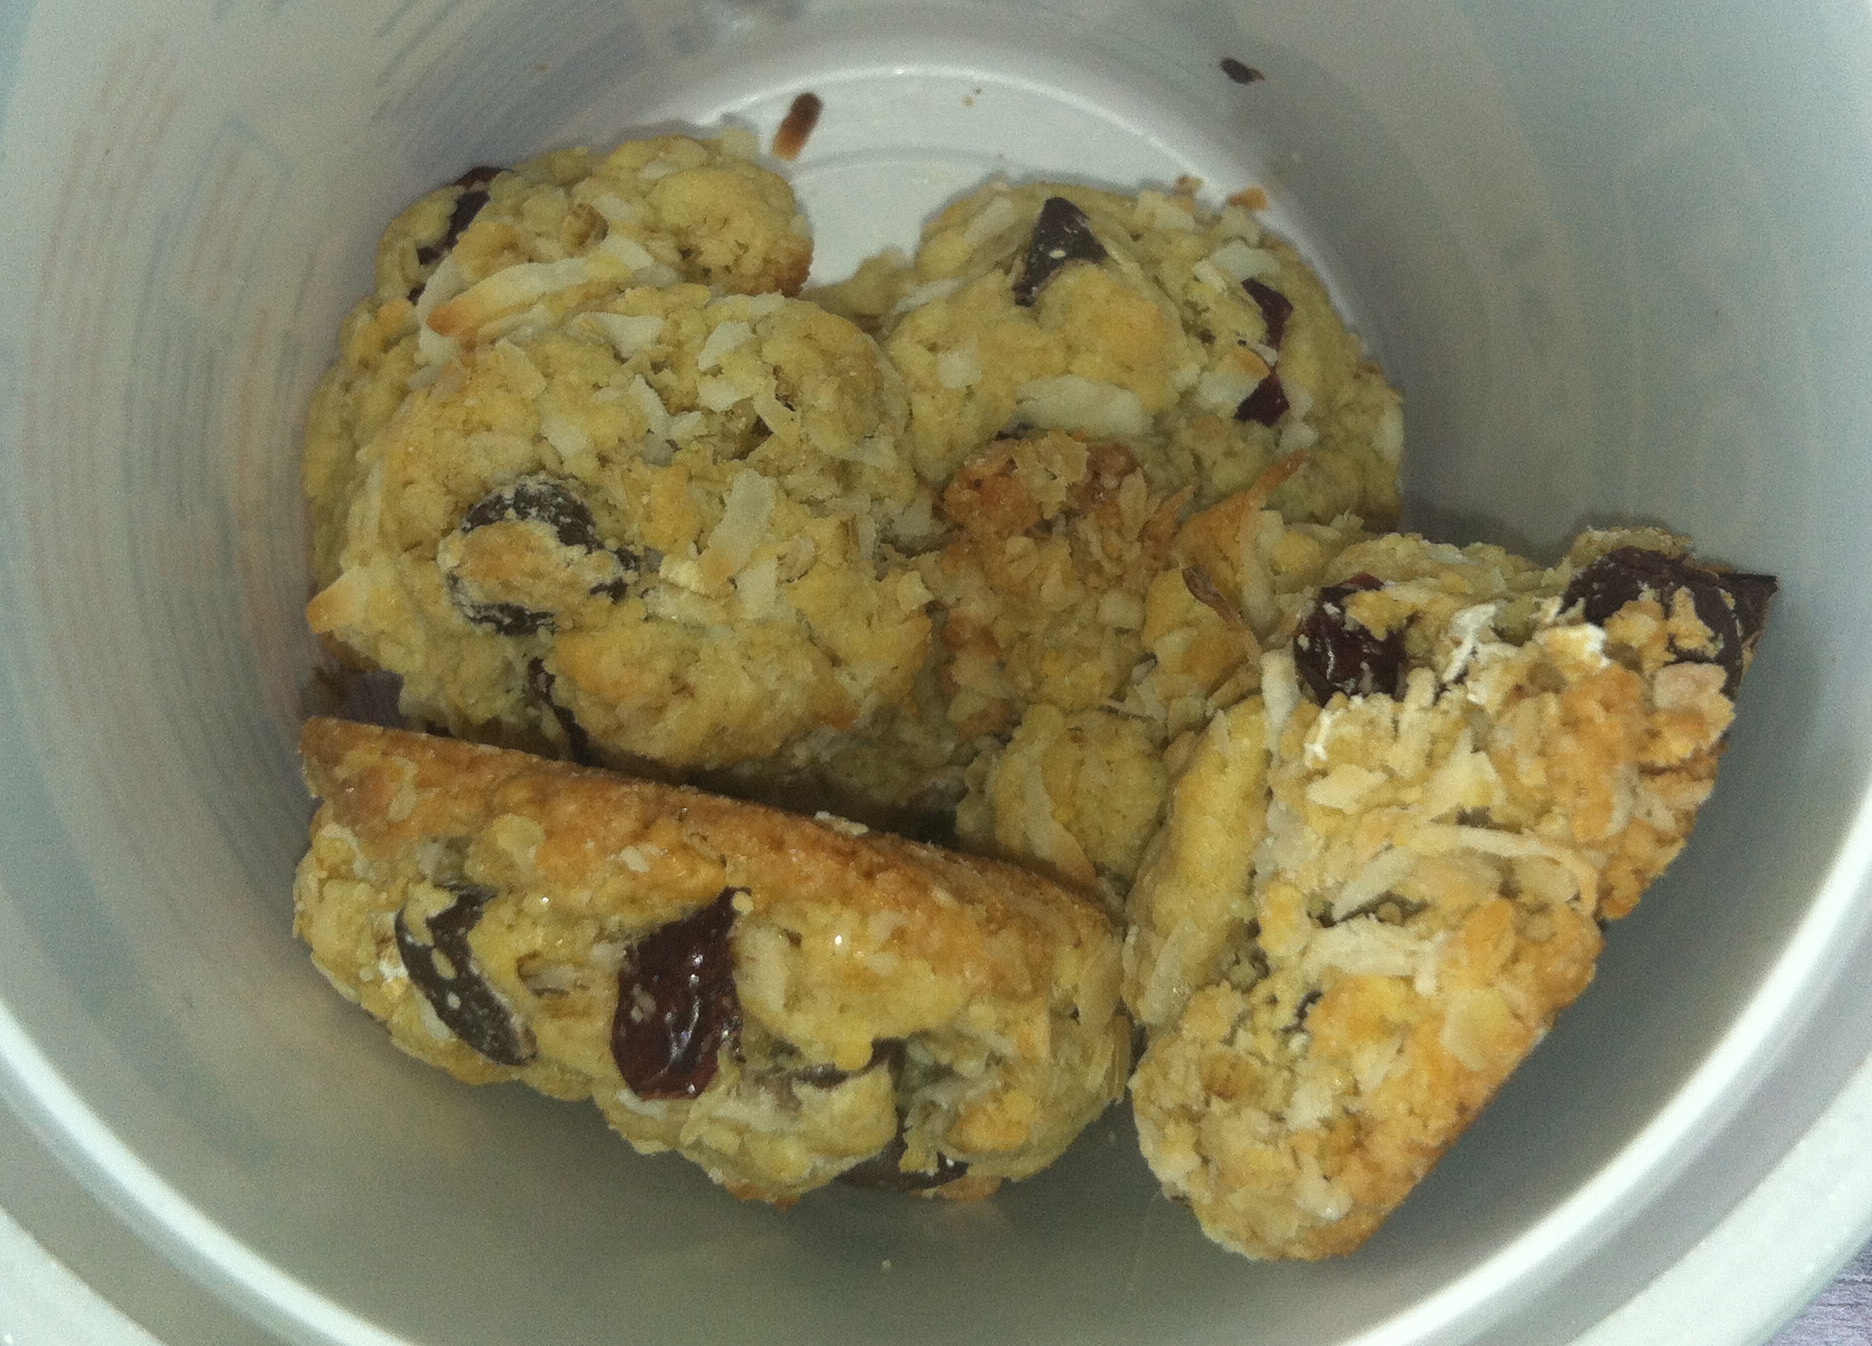
I did not follow this recipe with it’s ingredients. I used regular all-purpose flour, regular butter, & regular chocolate chips. I didn’t add any maple syrup to the ganache & used heavy whipping cream in place of the non-dairy creamer. I also used 1 cup unsweetened coconut milk and 1/2 cup heavy whipping cream for the filling. I also used the unsweetened coconut milk in place of the almond milk in the cookie. That being said…I really enjoyed these cookies. I think the main take away here is that you don’t have to follow the recipe. Yes, if you want a vegan cookie than you do. As I am not vegan I adapted it to my own needs & what I had on hand. I liked the concept of these. They definitely need to set up in the fridge for a bit so that the filling lightly absorbs into the cookie & doesn’t smash out when you bite into them.

Boston Cream Pie from Bob’s Red Mill United States of Cookies

Ingredients

for the vanilla cream filling:

  • 1-1/2 cups Plain Unsweetened Almond Milk
  • 2-1/2 Tbsp Corn Starch
  • 1/3 cup Organic Cane Sugar
  • 1 Tbsp vegan butter
  • 1 tsp Vanilla Extract
  • pinch Fine Sea Salt
  • pinch ground turmeric (optional for color)

for the vanilla cake cookies:

  • 1-1/3 cups organic Powdered Sugar sifted
  • 1/3 cup vegan butter room temperature
  • 1/2 cup Plain Unsweetened Almond Milk
  • 1 tsp Vanilla Extract
  • 2 cups Organic Unbleached White All-Purpose Flour
  • 1-1/4 tsp Baking Powder
  • 1/2 tsp Fine Sea Salt

for the chocolate ganache topping:

  • 1/2 cup Vegan Chocolate Chips
  • 2 Tbsp Plain Non-Dairy Creamer
  • 1 Tbsp Pure Maple Syrup
  • Vegan Sprinkles for decorating optional
Instructions
Prepare the cream filling:
  1. Add the almond milk and cornstarch to a medium saucepan and whisk well to combine. Turn the heat to medium, then add the sugar and bring to a low boil, whisking constantly.
  2. Once boiling, reduce the heat to low and cook for 2-3 more minutes, still whisking constantly. Turn off the heat and stir in the buttery spread, vanilla, salt, and turmeric (if using).
  3. Pour the mixture into a small mixing bowl and allow to cool on the counter for 20 minutes. Cover with plastic wrap (it should touch the surface of the pudding to prevent a skin from forming) and cool in the fridge for at least 1 hour or until cold.
While the filling cools, make the cookies:
  1. Preheat the oven to 350° F. Line two baking sheets with parchment paper.
  2. In the bowl of a stand mixer, beat together the powdered sugar and buttery spread on low speed, then add the almond milk and vanilla and beat once more. Sift the flour, baking powder, and salt over the mixture and beat on low speed until just combined (be careful not to over-mix).
  3. Use a level cookie dough scoop to portion out the dough onto the baking sheets, spacing them 2 inches apart. Freeze for 12 minutes, then use your hands to roll the dough into smooth balls and flatten them into ¼ inch thick rounds.
  4. Bake for 9-10 minutes, or until the tops spring back when lightly touched. (The cookies won’t brown at all.) Remove the cookies from the oven and allow them to cool completely.
Meanwhile, prepare the chocolate ganache:
  1. Add the chocolate chips, non-dairy creamer and maple syrup to a small microwavable bowl. Microwave for 30 seconds, then use a spatula to stir the mixture until the chocolate is fully melted, about 2 minutes. Let cool to room temperature.
Assemble the cookies:
  1. Add a spoonful (about 1 heaping teaspoon) of cream filling onto the center of the flat side of half of the cookies. Top with the remaining cookies, flat side down. Spoon about 1 teaspoon of chocolate ganache on top of each cookie sandwich, then decorate with sprinkles (if using). Allow the chocolate to set before serving.


Mini Veggie Burgers

IMG_3149

I have been in the process of planning a wedding (and honeymoon) for roughly 1 year. Everything is almost done except for the final details and miscellaneous items. This has consumed my time greatly and I haven’t been blogging as much as I could. Not that it really matters as there are about a handful of people who actually read this but that is not the point. The point is that I have been absent and miss it as it is a hobby of mine.

Most people planning a wedding go on diets & complete fitness programs in hopes of having a “wedding body” that will look great in person, but also very importantly, in photos. I did no such thing. I recently lost a lot of weight in the previous 1.5 years (all of 2014-june 2015) but that is a different topic related to health that I will write about at a later date. No. I did not do the wedding plan diet/work out craze.

I don’t really believe in them. I believe in eating well but enjoying my food & being active because it makes me feel good, takes away stress, and I sleep better. Instead, I have been doing what I always do when it comes to food and fitness. So today was like every other winter saturday as my guy is out being an ice fishing guide.

When he is out on the ice I am left alone to do what I want to do. To cook what I want to cook. Since he is a meat & potatoes guy, I try to experiment with vegetarian dishes as I know he would otherwise disapprove. As I was staring into my pantry (fully stocked as I live in the middle of nowhere) I noticed a can of garbanzo beans or chickpeas. I immediately knew that I was going to make veggie burgers. So simple & so delicious. It won’t hurt your waistline either. So if you are trying to find healthy new recipes because you are on a diet (I won’t judge), you just like to eat well, or you are experimenting with vegetarian dishes like me, than this is a recipe you should try. I think even my meat & potatoes man might like it (he used to think falafels were made of meat after all).


Mini Veggie Burgers (serves 1)

  • 1/2 cup canned chickpeas (drained & rinsed)
  • 1/4 cup rolled oats
  • few splashes lemon juice
  • 1-2 tsp mayonaise
  • few dashes each onion powder, garlic powder, oregano, paprika, cumin, & cayenne
  • salt to taste
  • 2 tsp olive oil

Mash the chickpeas into a bowl. Add all the other ingredients except the olive oil and mix well. Form into two patties. Heat the olive oil in a small skillet & cook the patties for about 3 minutes per side on medium heat or until golden & slightly crispy and heated through. Serve on a bun with burger condiments or serve plain with a side of your choice (I ate mine plain topped with spicy asian chili sauce & used a can of green beans for my side as it was in my pantry).

IMG_3149


Savory Oatmeal

IMG_3092


It’s finally here. Ice season is upon us. My guy is now an ice fishing guide once again. This gives me plenty of alone time. Time to do various things, one of which is making food for myself. Normally I go vegetarian as he frowns upon meals without meat, but today I decided to give savory oatmeal a try. I have to say…I am a fan. I plan on experimenting a lot more with savory oatmeal in the future.

Savory Oatmeal (serves 1)

  • 1/3 cup onion, chopped
  • 1 tsp olive oil
  • 2oz kielbasa, sliced
  • 1/2 – 1 tsp garlic juice (from jar of minced garlic)
  • 1/2 cup old-fashioned oatmeal
  • 1 cup water
  • pinch salt
  • 2 tbsp shredded cheddar cheese

Heat oil in a skillet. Add chopped onion & sauté for 3-5 minutes until softened. Add kielbasa & cook for 3-5 minutes more. Add garlic juice and sauté for one minute more. Meanwhile, combine oats, pinch salt, & water in a small pot. Heat to boiling & then reduce heat to a simmer & cook for 3-5 minutes until desired consistency. Stir in cheddar cheese and then top with onion & kielbasa.

IMG_3092

Ricotta Cheese

I like to try new things. This is a true statement although sometimes it doesn’t appear as such. The reason being is that I am also tentative to try new things. It’s not that I am afraid, it is just easier to do things that I already know how to do. For example, I love to bake. I love to bake on Sundays in particular and yet, there are still many baked goods that I have yet to set out and conquer. The same thing is true for making cheese.

I received a cheese making kit for my birthday last year. I soon found out that making hard cheeses was going to be very time consuming. I made yogurt and that was super easy but knew I wanted to make an actual cheese.

I finally decided to make ricotta cheese as it is one of the easiest cheeses to make. You really only need a pot, a thermometer, and some cheesecloth so I didn’t have to worry about numerous steps. It was super easy. I ended up using it for lasagna.

IMG_1911

My next cheese I will attempt is mozzarella. It is another easy cheese to make and it will be a staple in my household with the fresh garden tomatoes that will be in season very soon.

I am trying to get better at baking or making new things. It is a constant work in progress, but as long as I continue to try my hand at new skills & be willing to fail, I think I will be ok.

Kind of Sort of Huevos Rancheros

I never used to eat breakfast. I hated eating in the morning. When I would go to daycare as a child & eat breakfast, I had already been up for a couple hours so I could choke down some cereal or oatmeal. Once I started feeding myself I relied on liquid breakfasts mainly because food made me feel sick so early in the morning. Eventually I was able to train myself to eat in the morning. I don’t eat huge breakfasts by any means but it is now a whole other meal to come up with recipes. Normally I end up eating the same thing for awhile & then switching it to something else for a bit.

This particular breakfast was completely random for me. I had some leftover millet from a previous meal as well as black beans, tomato sauce, & feta cheese. The millet has a slight corn taste so it replaces corn tortillas from a more traditional Huevos Rancheros. It all flows well together in this Kind Of Sort Of version. Give it a try.

Huevos Rancheros

  • 1/2 cup cooked millet
  • 1/3 cup canned black beans, drained & rinsed
  • 1/3-1/2 cup tomato sauce
  • 1-2 tsp taco seasoning (store bought or see mix here Taco Seasoning)
  • 1-2 tsp hot salsa
  • 1/4 cup feta cheese
  • olive oil
  • 1 egg
  1. Add the cooked millet, beans, & tomato sauce to a skillet with a small amount of olive oil. Stir in the taco seasoning & salsa. Heat through. Sprinkle with feta.
    IMG_1311
  2. In another skillet, cook 1 egg to your preference in a small amount of olive oil (I made mine over easy but any preparation will do). Place the egg over millet mixture. Enjoy.

IMG_1312


Blackened Shrimp over Cheesy Cauliflower Puree

I was watching some food show and someone made spicy shrimp & cheesy grits. I thought it looked so good. I then realized I have never had grits. How this could have happened I do not know. I spent every summer from 4th grade through 12th grade in North Carolina so one would think I would have had them at some point but I cannot seem to recall eating them ever. Since my grocery store is rather bleak here in Almost Canada, I decided to make a cheesy cauliflower puree. I love cauliflower purees. They are so silky & light yet indulgent depending on what you add to them. It goes perfectly with the blackened shrimp. One day I will make grits but until then this will do for now.

Blackened Shrimp over Cheesy Cauliflower Puree (serves 2) (Inspired from some random show)

  • 20 medium uncooked, peeled, & deveined shrimp
  • olive oil
  • seasoning: store bought blackened or Cajun seasoning or mix the following… 
    1 1/2 tsp paprika
    1/2 tsp garlic powder
    1 tsp onion powder
    1 tsp oregano
    1 tsp thyme
    1/4 tsp black pepper
    1/4 tsp crushed red pepper flakes 
  • 1 head cauliflower cut into large pieces
  • 2 tbsp. butter
  • 2-4 tbsp. plain yogurt
  • Pinch onion powder & garlic salt
  • salt & Pepper to taste
  • 1/2 cup shredded cheddar cheese
  1. Bring a pot of water to boil. Add the cauliflower pieces & boil for 10 minutes or until tender. Drain the water.
  2. Once drained, heat a small amount of oil in a skillet. Add the shrimp & 1-2 tsp seasoning. Add salt to taste. Cook for 2-3 minutes per side until opaque & pink.
  3. While cooking the shrimp, mash the cauliflower. Add the butter, yogurt, onion powder, garlic salt, & pepper. Stir until combined. Use an immersi0n blender & puree until your desired consistency. Add the cheese & stir until melted throughout.
  4. Serve the shrimp over the puree.

IMG_1301

Multiple Meals: Red Chard

I’ve mentioned numerous times that my grocery store leaves something to be desired. I cannot get most things I want to cook with even if they are seasonal. A few days ago I drove 2hrs to get some supplies for house renovations as well as groceries. This occasional commute has become a norm for me as of late. It doesn’t really bother me, it is just a way of life now. I ended up buying some chard to cook with as I cannot get any fancy greens in my grocery store. I didn’t know what I would use it for at the time, but I knew I needed it.

On Sunday I spent about 4hrs in the kitchen which is a nice way for me to relax. With all of the ice fishing I have been doing I have not been in the kitchen as often as I would like. It’s hard to juggle hobbies. Anyhow, I knew I needed to use the chard, make French Onion soup as I had way too many onions (thus requiring me to make bread), make lunch & dinner, & bake something (I was leaning towards cookies). It sounds more ambitious than it really was. In the morning I prepped bread for baguettes and planned out my day…

  1. Bake bread
  2. Make lunch
  3. Make soup (to be eaten with dinner & give leftovers for the next day’s lunch)
  4. Bake cookies
  5. Make dinner

I decided to divvy up the chard into 2 portions – one to be used with lunch & one to be used with dinner (each can serve 2).

IMG_1077

I ended up making Asian Garlic Shrimp & Chard over rice for lunch. Fast, delicious, & healthy.

IMG_1079

I then proceeded to make French Onion soup. While that was cooking I made cookies which quickly began to disappear.

IMG_1088

After all of this was completed, I started on dinner. I made lemon-parmesan chard & served it with roasted chicken thighs and some French Onion soup.

chard


Asian Garlic Shrimp & Chard  (Serves 2)

  • olive oil or cooking spray
  • 1/2 bunch red chard, roughly chopped & stems removed
  • 1 onion, chopped
  • 1-2 cloves garlic, minced
  • 2-3 tsp reduced sodium soy sauce
  • 2-3 tsp rice vinegar
  • 1 tsp sesame oil
  • 12-14 uncooked shrimp, deveined & peeled
  • 1 1/2 cup cooked white rice
  1. Mix soy sauce, vinegar, & sesame oil together. Set aside.
  2. Coat a non-stick skillet with olive oil or cooking spray & heat over medium heat.
  3. Sauté onion for 5-10minutes until softened.
  4. Add garlic & sauté for 2 minutes.
  5. Add swiss chard & 1/4 cup water. Sauté until chard is wilted & water has evaporated.
  6. Add shrimp & sauce. Cook for 2minutes per side or until shrimp is cooked through. Serve over cooked white rice with additional soy sauce & hot chili sauce if desired.


Lemon-Parmesan Chard

  • olive oil
  • 1/2 bunch red chard, roughly chopped (chop a few of the stems as well)
  • 1/2 small onion, chopped
  •  2-3 tsp lemon juice, or more to taste
  • parmesan cheese
  1.  Coat a non-stick skillet with olive oil & heat over medium heat.
  2. Sauté onion for 10-20 minutes until softened & caramelized to your liking.
  3. Add the stems of the chard & cook for 3-5minutes until softened.
  4. Add the chard & sauté until wilted. Spritz (or saturate) with lemon juice to your liking.
  5. Top with parmesan cheese & serve with whatever you desire. I served it with roasted chicken.


Bacon & Spaghetti Squash Pasta

I’m not sure when it happened, but I now make dinner regularly without a recipe. To those of you who have done this for awhile or forever – congrats. I, however, have always followed recipes. Sure I might have changed the seasonings here or switched out some of the ingredients for items I had on hand, but in general, I followed the recipe.

I remember when I came up with my very first recipe on my own for baking, Random Cookie Recipe, I was so pleased. Now it happens without me even realizing it. I throw together quick breads like Peach Bread where I only whipped it up to use leftover items from the peach muffins I made. It turned out the bread was a million times better than the muffins anyhow. I now look into my fridge & pantry to see what needs to be eaten & make up dishes without even thinking about it.

Last night I wanted to use the last of my bacon. I had 4 slices & thought I would add it to pasta. I decided I would use the bacon grease to make a sauce so that there would be bacon tidbits & flavor throughout the whole thing. I also had a spaghetti squash that had been sitting in the pantry for a bit as well. This is how Bacon & Spaghetti Squash Pasta was created. So good on so many levels.

Bacon & Spaghetti Squash Pasta

  • 4 slices bacon
  • 1 spaghetti Squash
  • 4oz spaghetti noodles
  • 1 tbsp. butter
  • 2 cloves garlic, minced
  • 1 tbsp. flour
  • 1 cup milk
  • few dashes nutmeg
  • few dashes cayenne
  • 2 tsp. brown sugar
  • oil for coating squash
  1. Preheat the oven to 375F.
  2. Cut the squash in half & coat all sides with olive oil. Bake for 1-1.25hrs cut side down until softened & tender. Shred the spaghetti squash into strands & set aside.
  3. In a large skillet, pan fry bacon over medium to medium-high heat & remove to a paper towel lined plate to drain when crispy. Reserve grease.
  4. Meanwhile, bring a large pot of salted water to a boil. Add pasta & cook according to directions. Drain pasta & return to pot. Reserve some of the cooking water.
  5. To the bacon grease, add the butter & then the garlic cloves. Sauté for 2minutes. Add the flour & stir until combined. Add the milk while whisking. Add the seasonings. Whisk continuously over medium-low to medium heat until thickened & bubbly.
  6. To the pot of drained pasta, add the squash & the sauce. Add the cooking water as needed to adjust the consistency of the sauce.
  7. Serve on two plates. Crumble the bacon & sprinkle on top. Sadly there are no pictures as it was eaten right away.