Mini Veggie Burgers

IMG_3149

I have been in the process of planning a wedding (and honeymoon) for roughly 1 year. Everything is almost done except for the final details and miscellaneous items. This has consumed my time greatly and I haven’t been blogging as much as I could. Not that it really matters as there are about a handful of people who actually read this but that is not the point. The point is that I have been absent and miss it as it is a hobby of mine.

Most people planning a wedding go on diets & complete fitness programs in hopes of having a “wedding body” that will look great in person, but also very importantly, in photos. I did no such thing. I recently lost a lot of weight in the previous 1.5 years (all of 2014-june 2015) but that is a different topic related to health that I will write about at a later date. No. I did not do the wedding plan diet/work out craze.

I don’t really believe in them. I believe in eating well but enjoying my food & being active because it makes me feel good, takes away stress, and I sleep better. Instead, I have been doing what I always do when it comes to food and fitness. So today was like every other winter saturday as my guy is out being an ice fishing guide.

When he is out on the ice I am left alone to do what I want to do. To cook what I want to cook. Since he is a meat & potatoes guy, I try to experiment with vegetarian dishes as I know he would otherwise disapprove. As I was staring into my pantry (fully stocked as I live in the middle of nowhere) I noticed a can of garbanzo beans or chickpeas. I immediately knew that I was going to make veggie burgers. So simple & so delicious. It won’t hurt your waistline either. So if you are trying to find healthy new recipes because you are on a diet (I won’t judge), you just like to eat well, or you are experimenting with vegetarian dishes like me, than this is a recipe you should try. I think even my meat & potatoes man might like it (he used to think falafels were made of meat after all).


Mini Veggie Burgers (serves 1)

  • 1/2 cup canned chickpeas (drained & rinsed)
  • 1/4 cup rolled oats
  • few splashes lemon juice
  • 1-2 tsp mayonaise
  • few dashes each onion powder, garlic powder, oregano, paprika, cumin, & cayenne
  • salt to taste
  • 2 tsp olive oil

Mash the chickpeas into a bowl. Add all the other ingredients except the olive oil and mix well. Form into two patties. Heat the olive oil in a small skillet & cook the patties for about 3 minutes per side on medium heat or until golden & slightly crispy and heated through. Serve on a bun with burger condiments or serve plain with a side of your choice (I ate mine plain topped with spicy asian chili sauce & used a can of green beans for my side as it was in my pantry).

IMG_3149


Tomato Sauce


IMG_2445


I might have been a little too ambitious when it came time to plant the garden. Last year we had two tomato plants. This year we had 18. Yes 18. This included 6 cherry tomato plants which is way too many cherry tomato plants by the way. Next year we are only doing 2 of that variety – one yellow and one red. We also had 6 Roma tomato plants and 6 early girl tomato plants.

I have been working through my tomatoes like crazy. I have made numerous batches of tomato sauce for various dinners as needed and I have frozen about 10 pints of tomato sauce for the winter months. 10 pints really isn’t that much if you use a pint at a time for recipes. I probably use a pint a week for spaghetti or lasagna so I really only have 10 weeks worth of sauce.

Everyone has their favorite recipe. I always change the amounts of seasoning depending on my mood. The only thing I keep constant, the key ingredient for me for a good tomato sauce, is the bay leaf. This is absolutely essential for all good tomato sauces in my opinion. This is probably because my mother used to make tomato sauce and she used bay leaves in her recipes.

I don’t remember many things she made. This is because she wasn’t the best cook. Sorry mom. She wasn’t terrible but I don’t have any fond memories or favorite dishes she made. The only great thing I remember was her long, slow simmer of tomato sauce with a bay leaf.


Tomato Sauce (serves 2)

If you have dozens of tomatoes to work through feel free to double or quadruple this recipe & freeze it for when your garden is covered in snow.

  • 10-12 ripe tomatoes (I prefer a combination of roma & vine-on)
  • 1 tsp olive oil
  • 1 onion, diced
  • 1-2 tsp garlic, minced
  • salt & pepper, to taste
  • 1-2 tsp italian seasoning
  • 1/4 tsp crushed red pepper or more if desired
  • 1 bay leaf


Score an ‘X’ on the top of each tomato.


IMG_2436

Blanch in boiling water for 30-60seconds until the skins split. Remove from the boiling water and add to an ice bath.

IMG_2437

Remove skins. Remove the core portion on top. Roughly chop the tomatoes if you want it to cook down more quickly. Otherwise just cut them in half or so if you don’t care how long it takes.

IMG_2439

Saute the onion in olive oil until translucent. Add the garlic and sauté for 2-3 more minutes.

IMG_2438

Add the tomatoes and the seasoning. Simmer, covered, on low for 2 hours. Remove the bay leaf. Leave as is if you like your sauce a bit chunky or puree with an immersion blender.

IMG_2445

Cauliflower Cheesy Bread


IMG_2391


I’ve mentioned before how I am not allowed to make vegetarian dishes. My fishing guide is a meat & potatoes type of guy. I’ve made a few dishes but those vegetarian meals have to be at lunch. I think he would flip his lid if I tried to make a veggie meal for dinner.

I’ve actually made this cheesy bread for him but it was a side dish to something. He really enjoyed it. He said, “there is no bread in this?” Nope. Just cauliflower vegetable goodness. The best part is you don’t have to spend forever squeezing out the excess moisture from the “dough.”

Since he is driving a boat today, being a real fishing guide for others, I got to make this dish as an entree and eat it myself for lunch. Delicious.

Cauliflower Cheesy Bread (serves 2 as a side dish or 1 as a main dish)

  • 1/2 head cauliflower, cut into chunks
  • 2 eggs
  • 1/4 cup mozzarella cheese
  • 1 tsp basil
  • 1 tsp oregano
  • 1-2 tsp minced garlic
  • salt & pepper, to taste
  • 1/2 cup to 1 cup mozzarella cheese

Marinara Sauce: Make your favorite recipe, use store bought, or try this quick go-to…

  • 1/2 can stewed tomatoes
  • pepper to taste
  • 1/2-1 tsp italian seasoning (or equal parts basil & oregano if you prefer)
  • few dashes hot red pepper flakes

Marinara Sauce: Puree tomatoes lightly so that there are still some chunks. Add seasonings. Simmer all ingredients for 15-30minutes.

Cauliflower Cheesy Bread: Pick cauliflower from your garden (or just go to the store, but these guys are super easy to grow. I recommend you do so next year).

IMG_2398

Puree 1/2 head cauliflower that has been cut into chunks in a food processor.

IMG_2380

While oven preheats with a baking stone sauté cauliflower in a skillet over medium low to medium heat to release excess moisture and soften the cauliflower.

IMG_2383

Add to a medium bowl. Add the rest of the ingredients except for the 1/2- 1 cup mozzarella and mix well. Form into a square on a piece of parchment paper.


IMG_2384

Place paper on heat stone. Bake for 20 minutes. Top with cheese. Bake for 5 minutes more. Serve with marinara sauce.

IMG_2391

IMG_2387

Spicy Pickled Green Beans

IMG_2376

This is my second summer in Almost Canada. My first summer I was able to have a very small garden. This year it has quadrupled in size. I ended up planting green beans & wax beans where my garden was located last year.

IMG_2363

Right now I am trying to deal with a surplus of beans.

IMG_2366

I have eaten them raw, roasted, blanched for salads, and even frozen some for later when my garden is covered in snow. I don’t have a pressure canner or cooker so my canning abilities are basically non-existent (at least for low acid foods like green beans). I decided to try and pickle them. They turned out fantastic. These can be eaten a week after processing and have plenty of flavor or should keep for about one year.

While they are delicious plain, they are amazing in a Bloody Mary.

IMG_2417

Spicy Pickled Green Beans (Recipe is for 2 half pint jars or 1 pint sized jar. Adjust as needed)

  • 1/2 pint or pint sized mason jars & lids
  • fresh garden green beans, trimmed & washed
  • 1/2 cup water
  • 1/2 cup white vinegar
  • 1/2 cup apple cider vinegar
  • 1-2 cloves garlic, peeled & lightly smashed
  • 1 bay leaf
  • 1-2 dried hot peppers (chili, serrano, etc)
  • 1/4-1/2 tsp red pepper flakes
  • 1/4-1/2 tsp whole peppercorns
  • 1/2 tsp salt
  • 1 tsp honey

In a large pot bring enough water to cover jars to a boil. Submerge jars and lids in boiling water and boil for 12 minutes to sterilize (keep pot with water for processing later). Remove jars & lids with tongs. Fill jars with green beans that have been trimmed to the size of the jar (leave at least 1/4 inch space to the top of the jar).

Meanwhile, bring all other ingredients to a boil in a medium pot. Reduce heat and simmer for 5-10 minutes. Remove bay leaf. Poor brine (including garlic & peppers) over green beans in jars. Leave 1/4 inch headspace to the top of the jar. Apply lids and wipe rim clean. Screw metal band on tightly.

Place sealed jars back in the pot of boiling water (make sure jars are submerged at least 2 inches but are not covered). Boil for 10 minutes. Remove with tongs and place in a cool & dark place. Once cool, check to make sure all jars have sealed properly*. Open in as little as 5-7 days or jars will keep for about 1 year when properly stored.

*Note that if a jar does not seal correctly place it in the fridge and use within 2-3 weeks.

IMG_2377

Bulgur Vegetable Salad

I feel that people associate Minnesota only with heavy comfort foods. Hot dishes and meat & potatoes. In actuality, gardens are quite prevalent in Minnesota, resulting in many veggie based meals or at least veggie filled side dishes.

In my household, it’s rare to have a vegetarian meal. My guy is a meat & potatoes man & believes veggies are something to be used as a side dish. I, however, have never been a meat & potatoes girl. Don’t get me wrong, I love meat & potatoes. I love them together. But I love all food and vegetables have always been one of those foods. Since meeting me, my guy has probably eaten more vegetables with me than in his entire life before living with me.

I try to come up with tasty ways for him to eat them (as well as myself) even if it is just for side dishes. This isn’t a crazy vegetable dish by any means but it does incorporate the veggies from our garden this year in a way I haven’t made it in years. It’s sort of like a tab(b)ouli or tab(b)ouleh salad – pick your fave spelling – just modified for what I had on hand.

This can be eaten by itself or paired with some sort of meatball or yogurt chicken if you have a meat eater in your household as well.


IMG_1349


 Bulgur Vegetable Salad (makes 4 servings)

  • 1 cup bulgur
  • 2 cups water
  • olive oil
  • lemon juice
  • 1 onion, chopped
  • 1 zucchini, sliced into half moons
  • 1/2 tsp garlic, minced
  • 1 tsp each dried basil & oregano
  • salt & pepper to taste
  • dash onion powder
  • 1/2 a cucumber, chopped
  • 1 cup cherry or grape tomatoes, halved
  • 1/2 cup feta cheese
  1. Place bulgur & water in a small pot. Bring to a boil, reduce heat to a simmer & cover. Cook for 20 minutes or until water is absorbed.
  2. Meanwhile, in a skillet sauté zucchini & onion in a small amount of olive oil until tender & slightly caramelized. Add garlic & cook for 2 minutes more.
  3. Drizzle the cooked bulgur with olive oil & lemon juice. Add the cooked vegetables & spices & stir to combine. Top with the raw vegetables & feta cheese. Drizzle with more olive oil & lemon juice if desired.


The 12 Soups of Christmas for 2014

Last year I participated in the The 12 Soups of Christmas which for me is really about so much more than soup. It is about inspiration. It is about motivation. It is about confidence. Be it in your job, your everyday life,  or in the kitchen. This year I participated again and I hope to do it for many more years to come.

My goal was to make soups that only served two (as it is just me and my fishing guide) and to make all different soups this year. I succeeded (although I did make 2 lentil soups this year and one last year, but technically they are all different types of lentil). Some were OK and some were fantastic. My favorites include Cordon Bleu and Wonton, but I also really liked the white bean as wells as the parsnip & potato. I will definitely be making these again throughout the winter months.

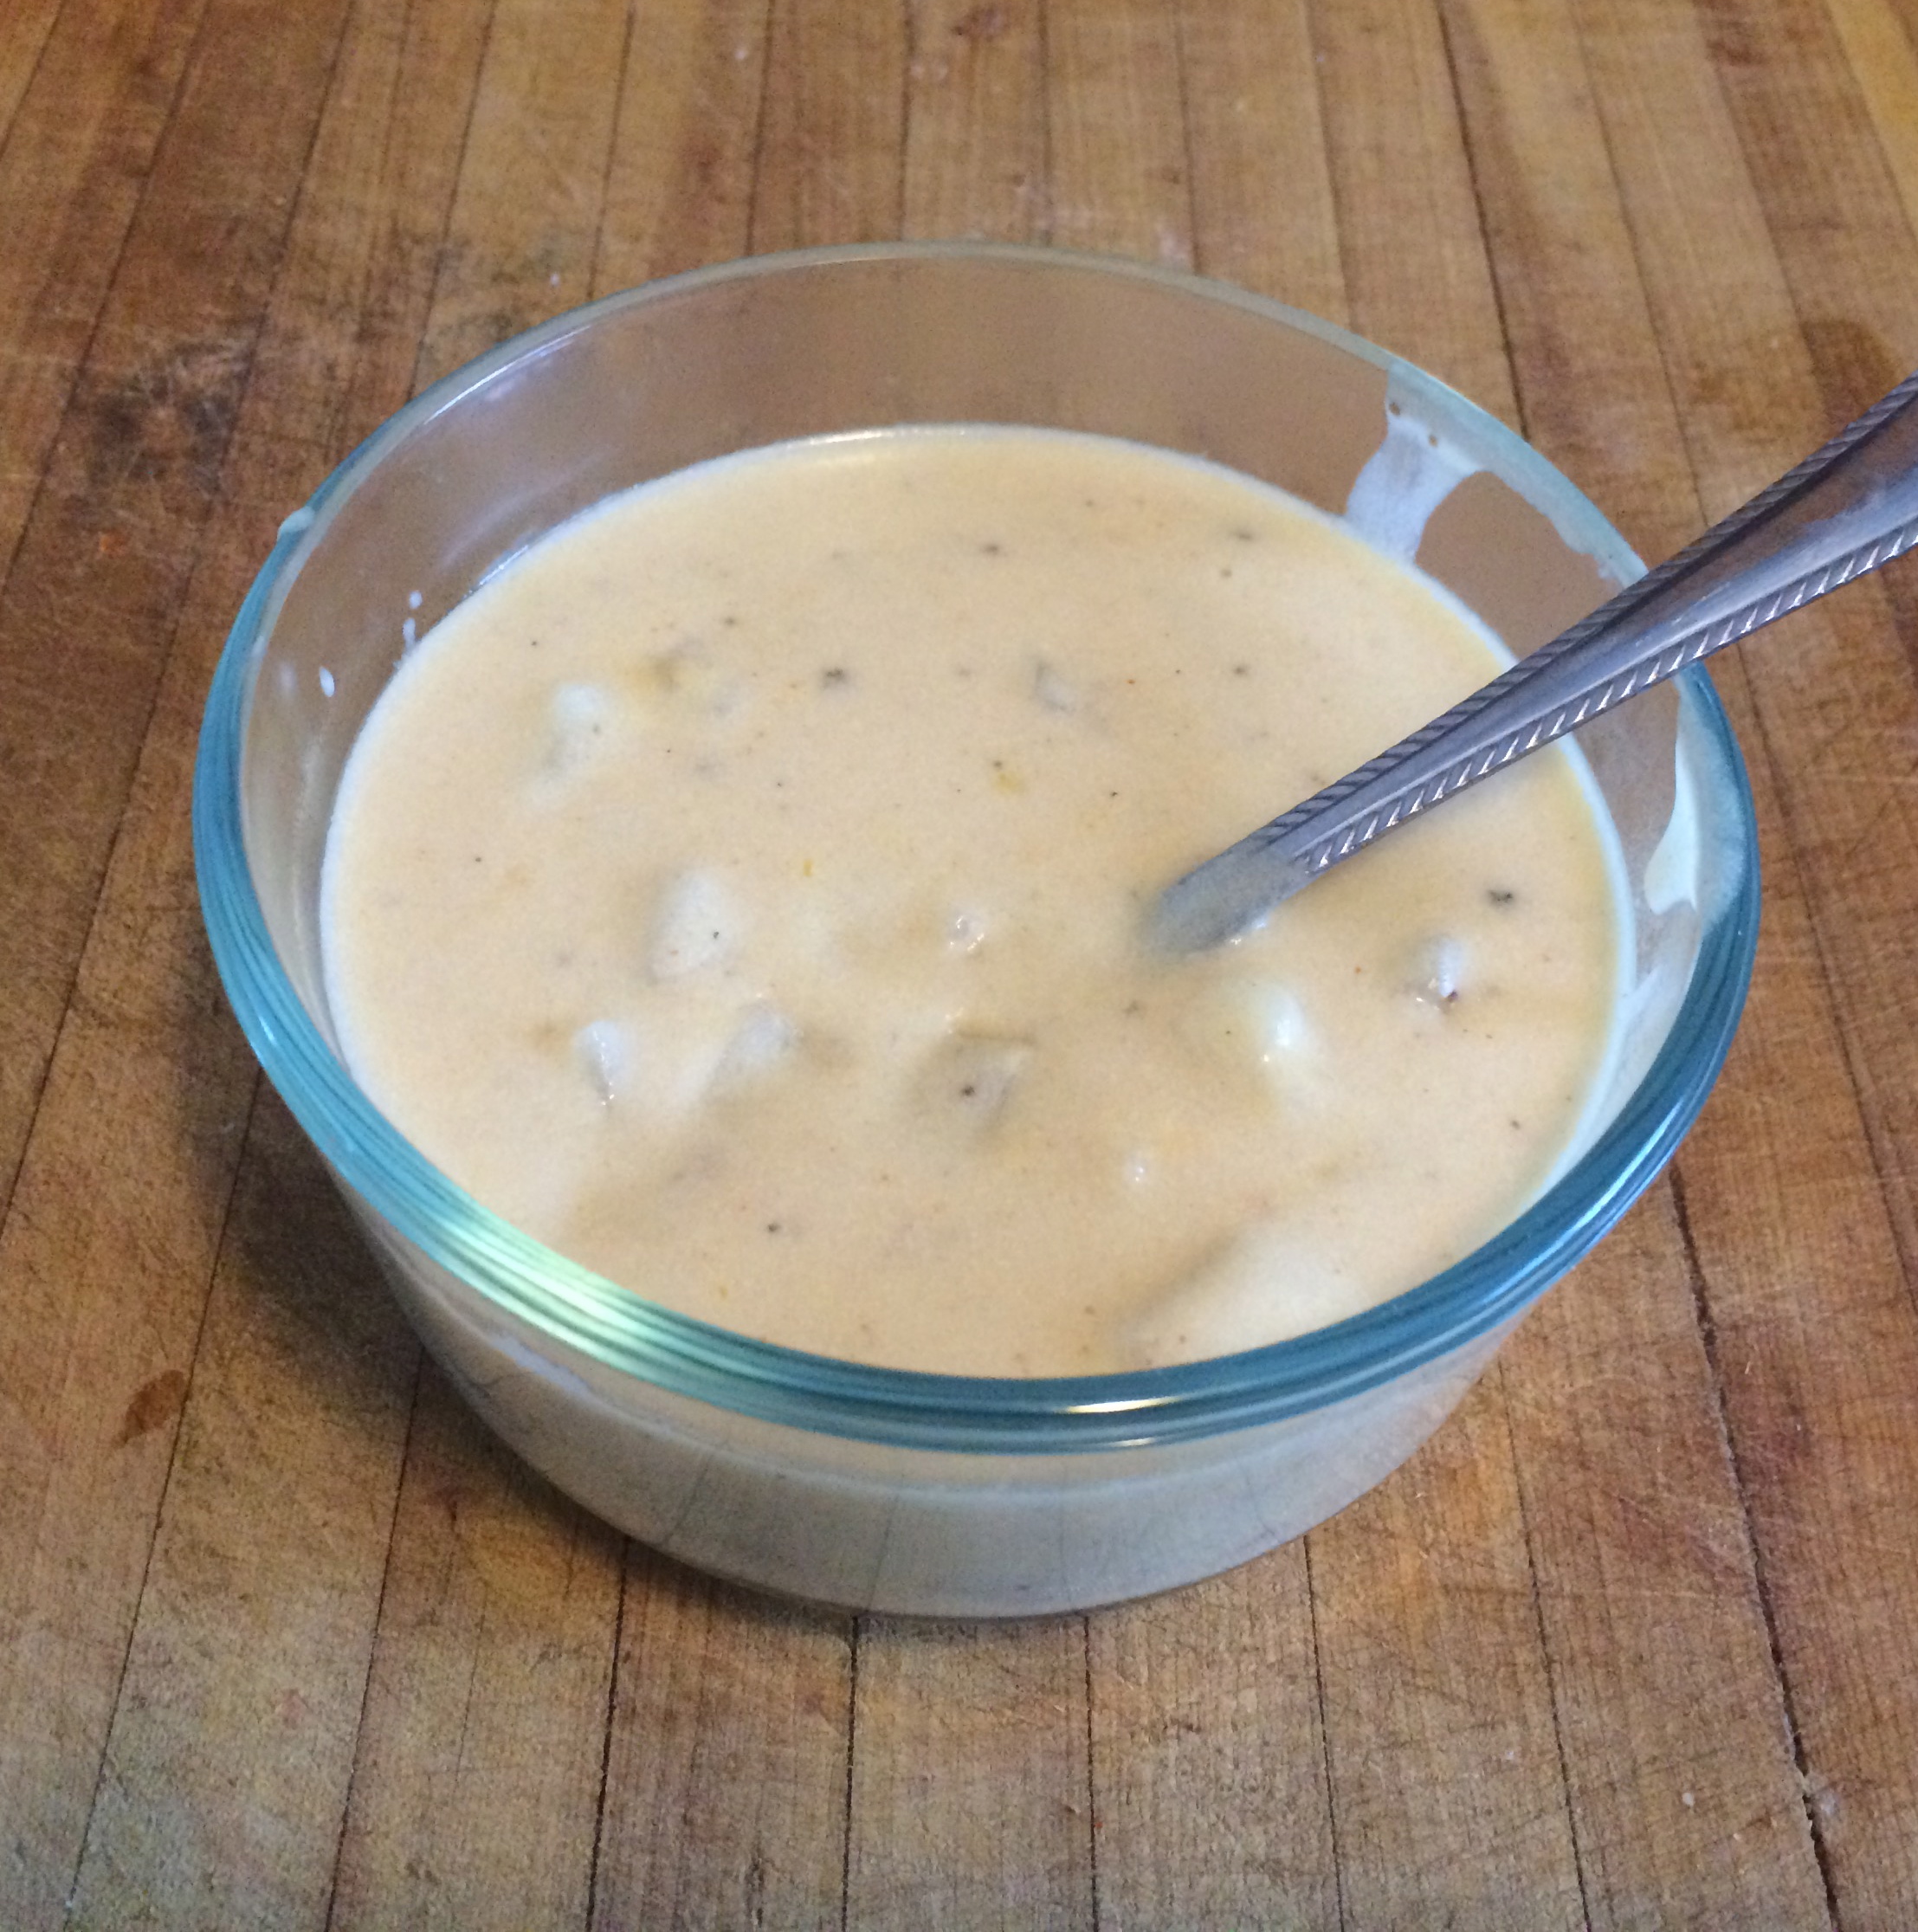
Soup 1: Beer Cheese (serves 2)

  • 1/2 stick butter
  • 1/2 onion, chopped (~1/2 cup)
  • 1 carrot, chopped
  • 1/4 cup flour
  • 1 1/2 cups low-sodium chicken broth
  • 3/4 cup half & half
  • 3/4 cup beer
  • 1 cup cheddar cheese
  • dash each salt, nutmeg, celery seed
  • 1/2 tsp hot sauce
  • 1 tsp lemon juice
  • 2 tsp dijon mustard

Melt butter in a medium pot. Add chopped onion & carrot and saute for 5-10 minutes until veggies are softened. Add flour and cook for 3-5 minutes until flour is well incorporated and appears cooked through. Whisk in broth, half & half, & beer. Simmer and stir for 10-15 minutes until thickened. Puree soup with an immersion blender or in a blender or food processor until smooth. Whisk in cheese until blended. Add the rest of the ingredients. Add more chicken stock if necessary to thin soup to desired consistency. Ladle into bowls and enjoy plain or with popcorn garnish.

IMG_1731


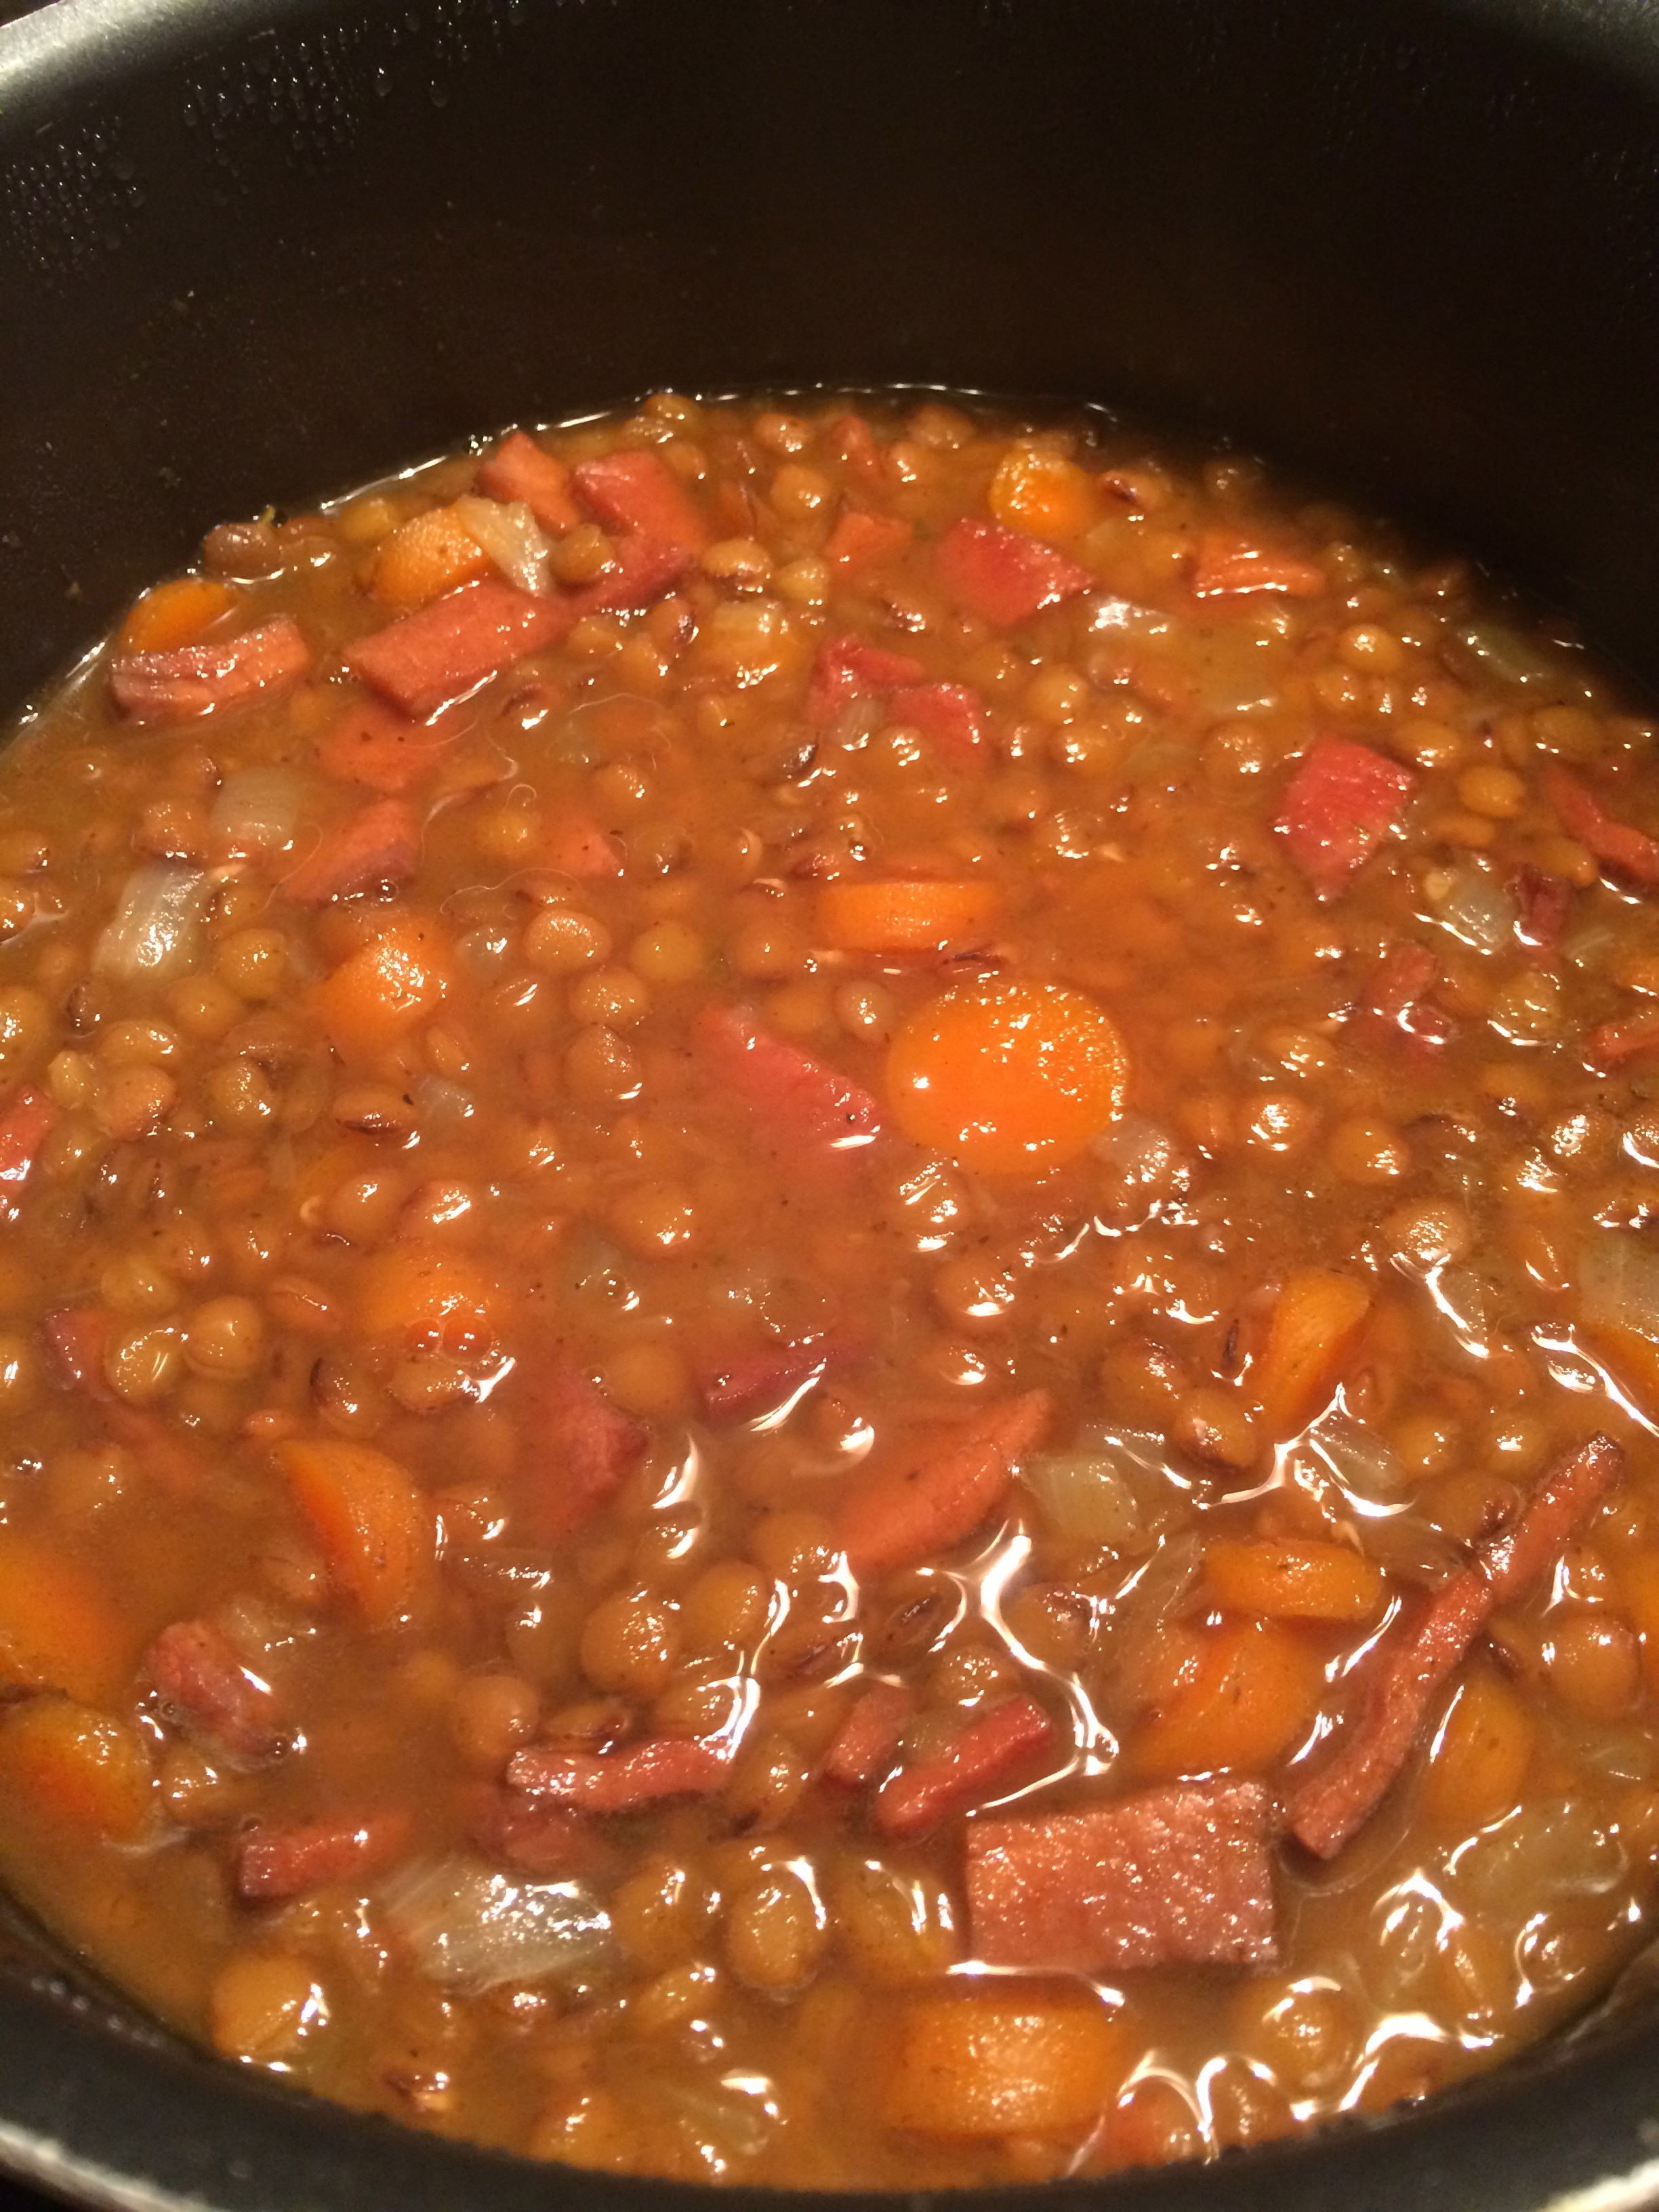
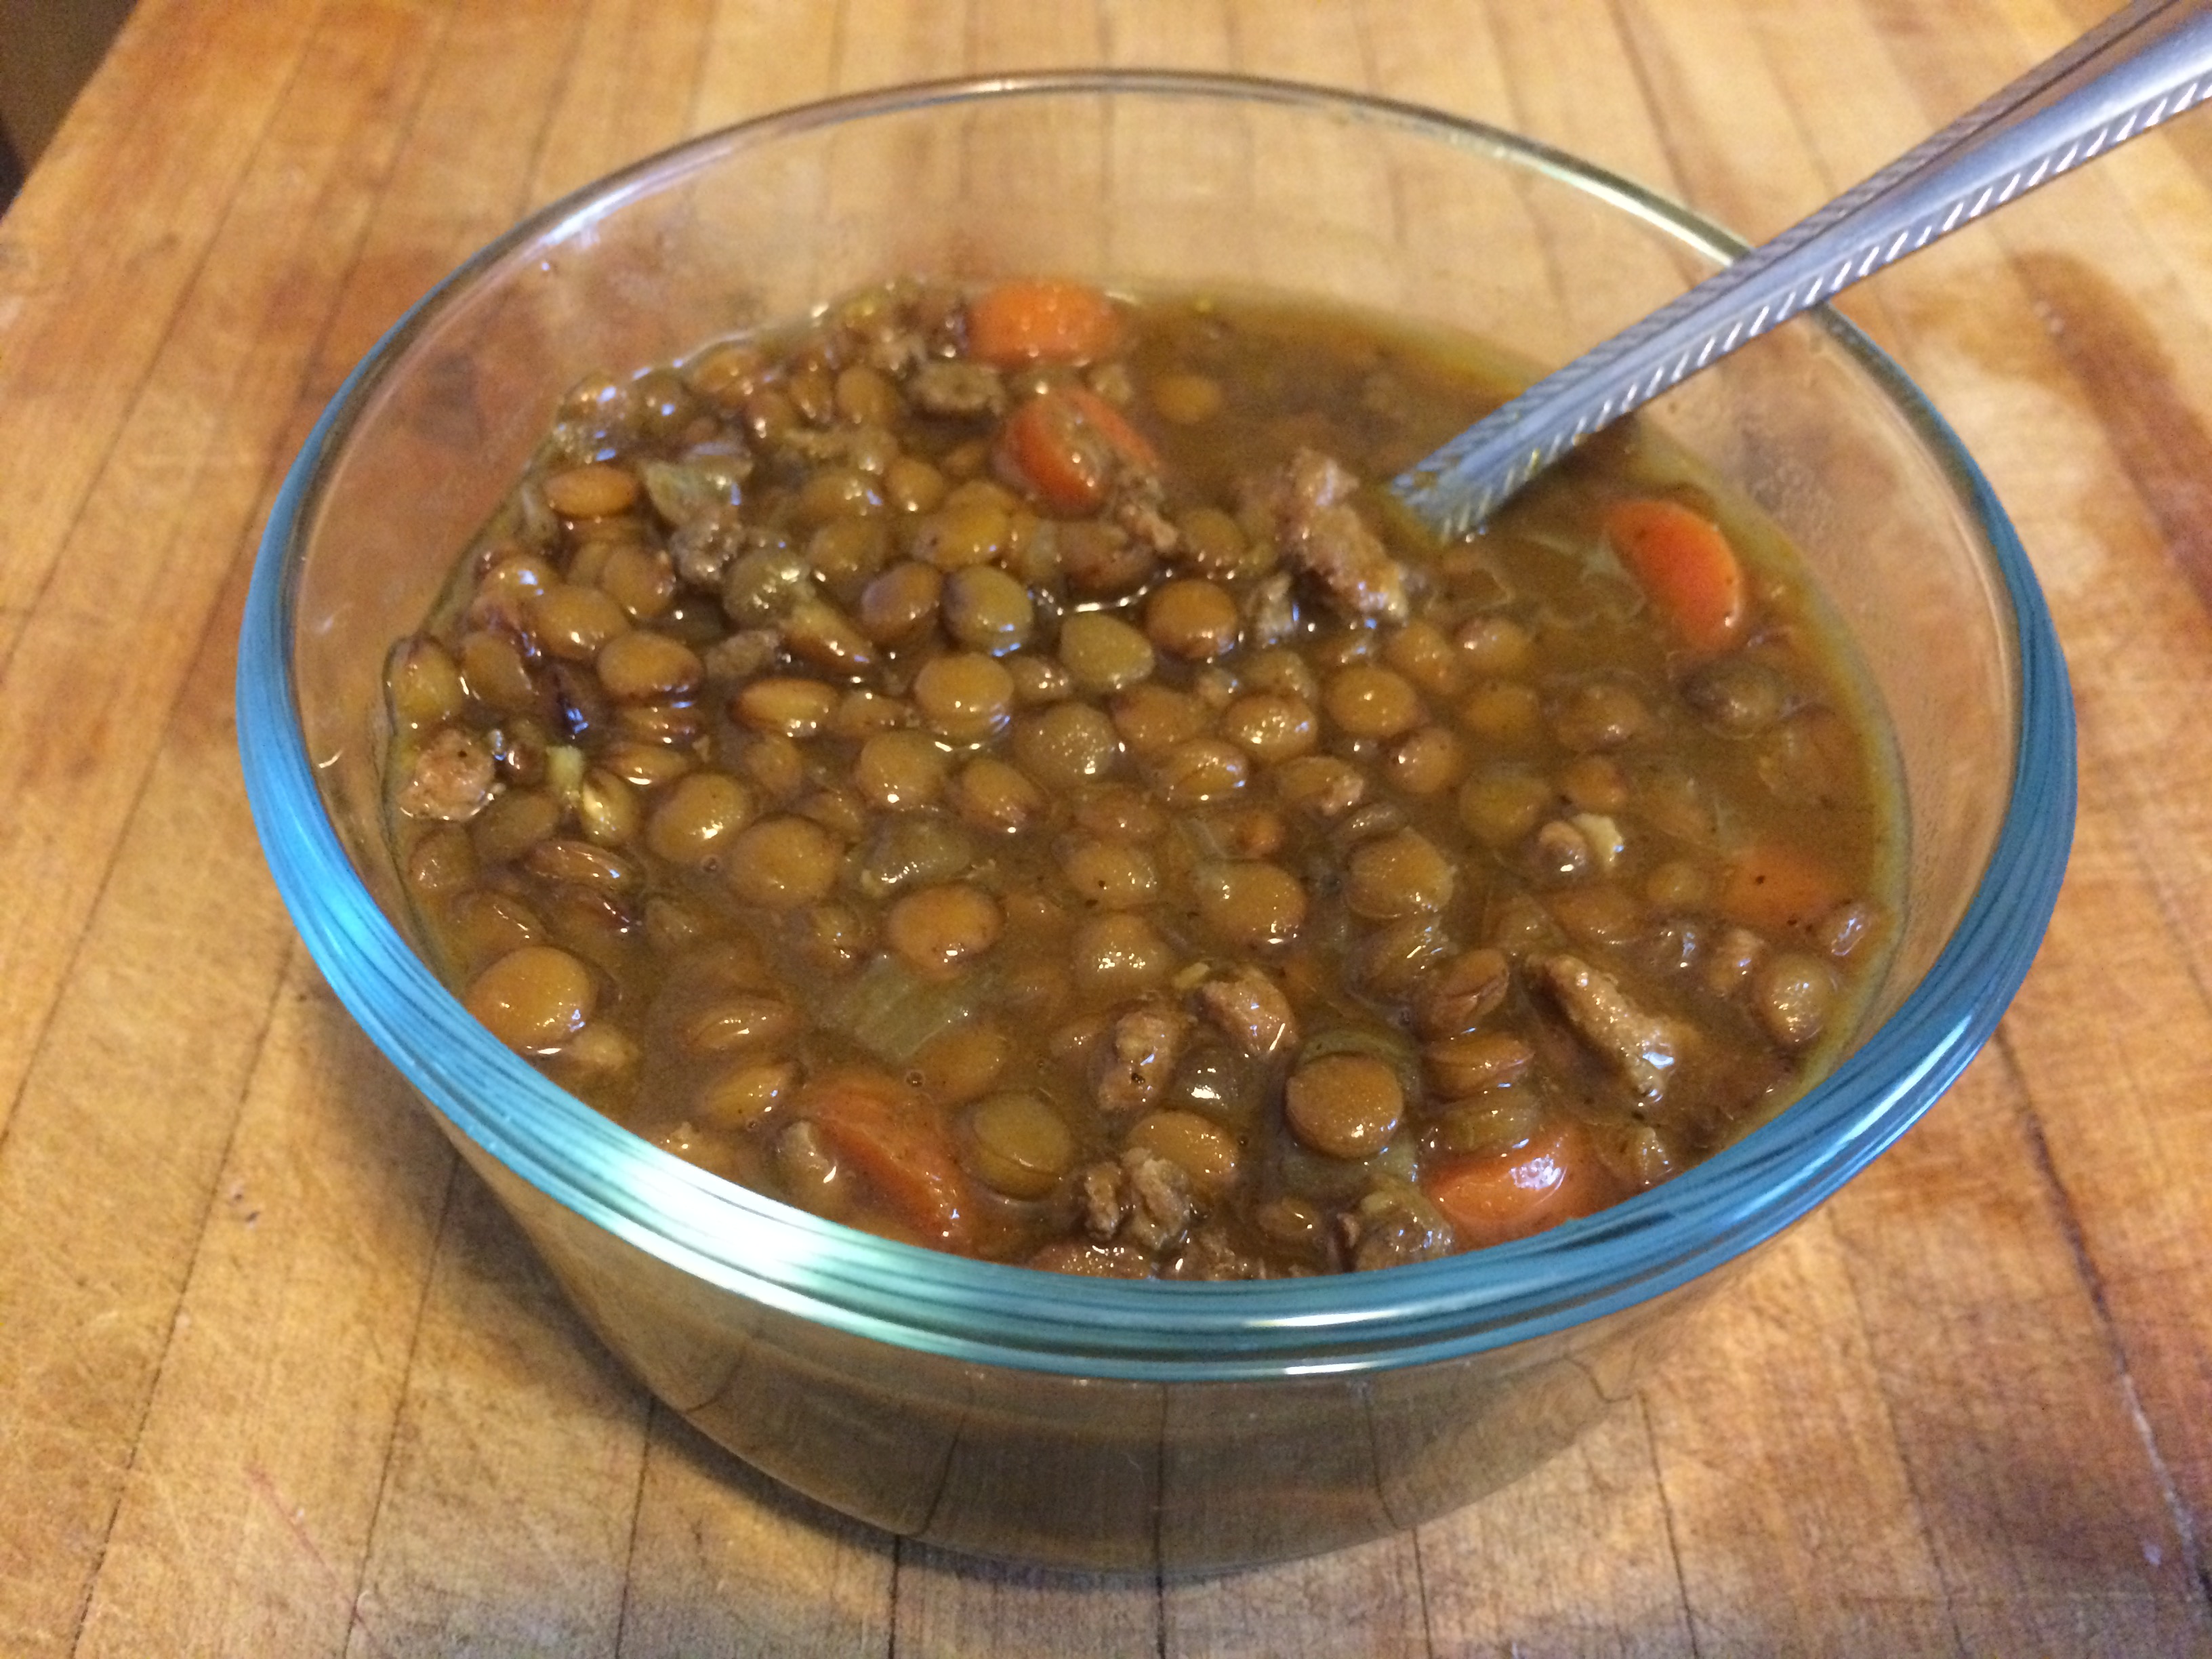
Soup 2: Lentil Ham (serves 2)

  • 1 tsp olive oil
  • 1/2 onion, diced
  • 1 carrot, sliced into thin rounds
  • 1/2 cup dry lentils
  • 2 1/2 cups low-sodium chicken broth
  • 1/2 cup diced ham
  • 1/2 tsp oregano
  • 1/2 tsp paprika
  • black pepper and salt to taste

Saute onion and carrot in olive oil over medium heat in a medium saucepan for 8-10 minutes until slightly tender & onion is translucent. Add lentils, stock, ham, and seasonings. Bring to a boil, cover, and reduce heat to a simmer. Simmer covered, stirring occasionally, for 60-90minutes.

IMG_1734


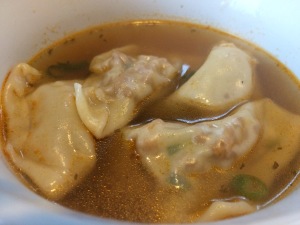
Soup 3: Wonton (serves 2)

  • 1/2 lb ground pork
  • 4 cups vegetable stock
  • 1/2 tsp sesame oil
  • 1 tsp minced garlic, divided
  • 2 green onions. chopped
  • ginger
  • soy sauce
  • 1 tsp hoisin sauce
  • 1 tsp oyster sauce
  • 1 tsp dijon mustard
  • 1-2 tsp spicy chili sauce
  • 14 wonton wrappers
  • water

Broth: In a medium pot heat the oil over medium heat. Add 1/2 the garlic, a few dashes ginger, 1 chopped green onion, few dashes soy sauce, 1/2 to 1tsp spicy chili sauce. Heat over medium heat for 2-3minutes. Add the vegetable stock and bring to a boil and therm reduce to a simmer.

Filling: Meanwhile, brown the ground pork. Drain off any excess grease. Add the rest of the garlic, 1 chopped green onion, a few dashes each ginger & soy sauce. Add the rest of the sauces & the mustard. Stir to combine.

Wonton & Soup Assembly: Take a wonton wrapper and place 1 tsp of the filling in the center. Place water on edges & fold over so that wonton is closed. Press down firmly & roll over sides slightly to guarantee wonton is sealed. Bring a small pot of water to a boil. Gently drop the wontons in the water and cook for about 3 minutes. Scoop the wontons out and place in the broth. Serve is large soup bowls.

IMG_1757

Soup 4: Cordon Bleu (serves 2)

  • 1/2 stick butter
  • 1/4 cup flour
  • 1 cup garlic & herb chicken stock
  • 1 cup half & half
  • salt & pepper to taste
  • 3/4 cup chopped cooked chicken
  • 3/4 cup diced ham
  • 2 tbsp cheddar cheese
  • 2 tbsp mozzarella cheese

Melt butter in a medium pot. Add flour and cook for 3-5 minutes until flour is well incorporated and appears cooked through. Whisk in broth and half & half. Simmer and stir for 10-15 minutes until thickened. Add salt & pepper taste. Add chicken & ham. Whisk in cheese until blended.


IMG_1785


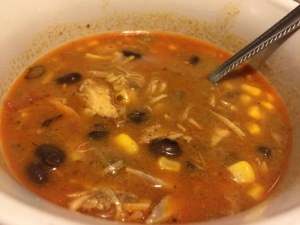
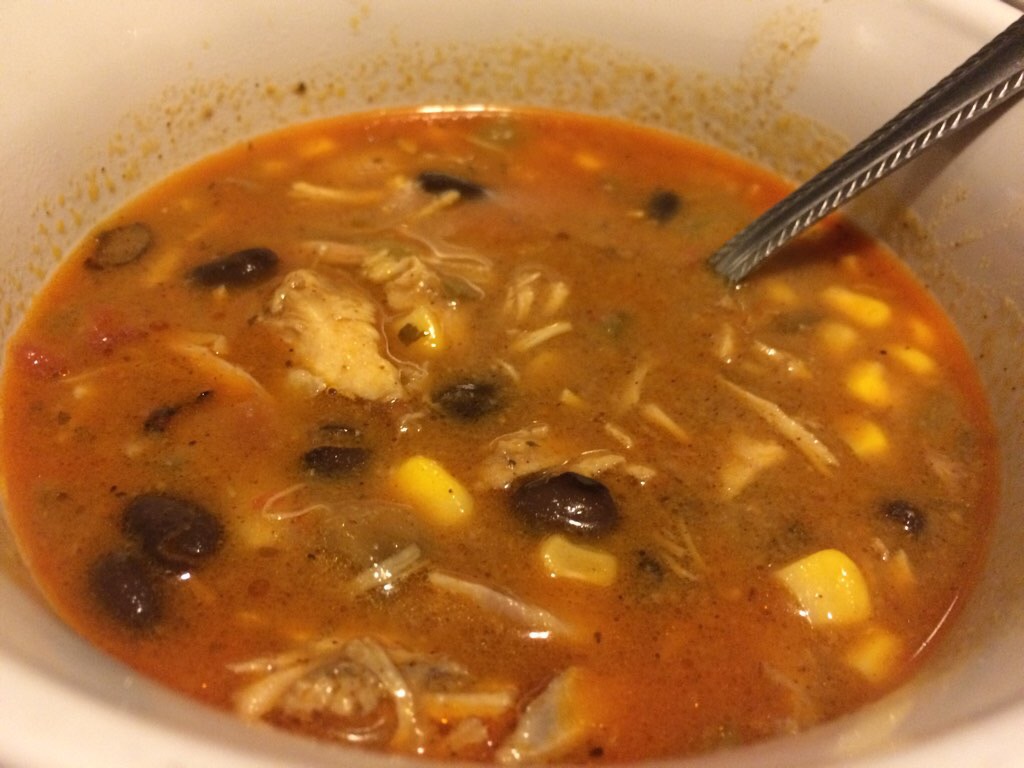
Soup 5: Chicken Enchilada (Serves 2)

  • 1/2 tbsp butter
  • 1 tbsp flour
  • 1/2 cup enchilada sauce (store bought or homemade, see below)
  • 1 1/2 cups chicken stock
  • 1/2 cup milk
  • 1/2 cup black beans
  • 1/2 cup corn
  • 1 cup chicken, cooked & shredded
  • 1/4 cheddar cheese, shredded
  • 2-3 tbsp chipotle salsa
  • hot salsa to taste
  • 2-4 oz diced green chiles

Homemade Enchilada Sauce

  •  1 tbsp oil
  • 1 tbsp flour
  • 1 cup chicken stock
  • 1 tbsp chili powder
  • 1/4 tsp each garlic powder, onion powder, cumin, paprika, & oregano
  • pinch each salt, pepper, & cayenne

Heat oil over medium heat. Stir in flour until well incorporated & cook for 2-3 minutes. Add the chicken stock while whisking to avoid lumps. Add the seasonings. Bring to a boil & reduce heat to simmer for 10-15 minutes until thickened. Makes approx. 1 cup. Keep in an airtight container for up to 1 week.

Soup Preparation

Melt butter in a medium pot. Stir in flour until well incorporated (mixture will be chunky). Cook for 1-2 minutes. Whisk in chicken stock & milk slowly to avoid lumps. Stir in half of enchilada sauce. Bring to a boil and reduce to simmer for 10-15 minutes until thickened slightly. Add the rest of the ingredients and cook for 10-15 minutes. Serve with sour cream, additional cheese, green onions, &/or avocado.

IMG_1793

Soup 6: White Bean & Sausage (serves 2)

  • small amount of olive oil
  • 1/4 cup chopped onion
  •  1 1/2 cups beef broth
  • 1 can white beans, drained & rinsed
  • 1/4 lb crumbled & cooked mild italian sausage
  • 1/4-1/2 tsp dried sage
  • black pepper to taste
  • 1-2tbsp potato flakes (optional)

Heat a small amount of oil in a small pot. Saute the onion over medium heat for 5-10 minutes until translucent. Add the beef broth and beans. Bring to a boil & reduce heat to simmer for 10 minutes. Puree with an immersion blender or in a blender or food processor. Return to pot if needed. Add in the sausage and seasonings. Simmer for 5-10 minutes at a minimum (this can be simmered for 30-60 minutes if desired) . Add potato flakes if needed to thicken to desired consistency.

IMG_1800


Soup 7: Curried Lentil with ground turkey (serves 2)

  • 1 tsp olive oil
  • 1/2 onion, diced
  • 1 carrot, sliced into thin rounds
  • 1/2 cup dry lentils
  • 2 cups beef stock
  • 1/2 cup ground turkey
  • 1/2 tsp oregano
  • 1/2 tsp paprika
  • 1/2 tsp tumeric
  • 1 tsp curry powder
  • black pepper & salt to taste

Saute onion and carrot in olive oil over medium heat in a medium saucepan for 8-10 minutes until slightly tender & onion is translucent. Add lentils, stock, ham, and seasonings. Bring to a boil, cover, and reduce heat to a simmer. Simmer covered, stirring occasionally, for 60-90minutes.

IMG_1806


Soup 8: Rachel Sandwich (serves 2)

  • 1/4 cup chopped onion
  • 1 tbsp butter
  • 2-3 tbsp flour
  • 1 cup beef stock
  • 1 cup milk
  • pinch each garlic & onion powder
  • 1/2 tsp paprika
  • few dashes celery seed
  • salt & pepper to taste
  • 1 tsp lemon juice
  • 2 tsp each horseradish sauce & catsup/ketchup 🙂
  • 1 tsp chili sauce
  • 1/2 cup cooked, shredded chicken thigh
  • 1/4 cup sauerkraut
  • 1 tbsp cream cheese
  • 2 tbsp cheddar cheese

Saute onion in butter until soft & translucent. Stir in flour for 2-3 minutes until cooked through. Add the stock & milk and store over medium heat until slightly thickened. Add the rest of the ingredients through the kraut. Cook & stir for 10-15 minutes. Stir in the cheese until melted & combined. Serve with rye bread or croutons.

IMG_1841


Soup 9: Cheesy Hashbrown (serves 2)

  • 2 tbsp butter
  • 2-3 tbsp flour
  • 1 cup beef stock
  • 1 cup milk
  • 1 1/3 cup diced or shredded hashbrowns (thaw if frozen)
  • dash each pepper, paprika, nutmeg, celery seed, onion & garlic powder
  • 1/2 tsp hot sauce
  • 1/2 tsp lemon juice
  • 1 tsp dijon mustard or 1/4 tsp ground mustard
  • 1/2 cup sour cream
  • 1/2 cup shredded cheddar cheese

Melt butter in a medium pot. Add flour and cook for 2-3 minutes until flour is well incorporated and appears cooked through. Whisk in broth & milk. Add hashbrowns & seasonings. Simmer and stir for 15-20 minutes until thickened & hashbrowns are cooked through. Whisk in sour cream & cheese until blended.

IMG_1857


Soup 10: Sweet Potato (serves 2)

  • 1 cooked sweet potato cut into chunks
  • 2 tsp concentrated vegetable stock
  • 2 cups milk
  • 1/2 cup sour cream

Mash sweet potato and stock together. Whisk in milk. Heat over medium heat until cooked through. Whisk in sour cream. Serve.

IMG_1864


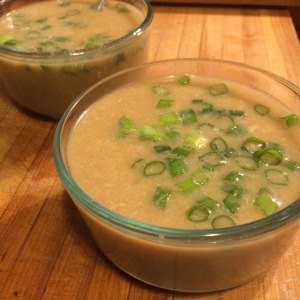
Soup 11: Egg Drop Soup (serves 2)

  • 4 cups chicken stock
  • 1 tbsp corn starch
  • 1/4 tsp garlic powder
  • 1/8-1/4 tsp ginger (I am not found of ginger so I used around an 1/8 tsp)
  • 1 tbsp soy sauce + more to taste
  • 1/2 tsp sesame oil
  • salt & white pepper to taste
  • 2 eggs
  • green onions

Pour 1/2 cup crock into a cup that contains 1 tbsp corn starch. Make a slurry. Pour the rest of the stock, the seasonings, soy sauce, & oil into a medium pot. Bring to a boil. Stir in the chicken stock-corn starch slurry. Reduce heat and simmer until thickened. Beat the eggs into a measuring container with a spout. Slowly drizzle the eggs into the stock with circular motion stirring so that they can feather out. Pour into 2 bowls and garnish with green onions.

Note: This recipe can be made thicker if desired and just double the cornstarch. I might do that next time. Also, I’d consider adding an extra egg or two as I like mine to be super eggy.

IMG_1876


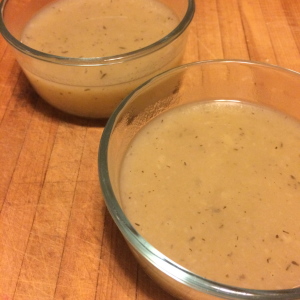
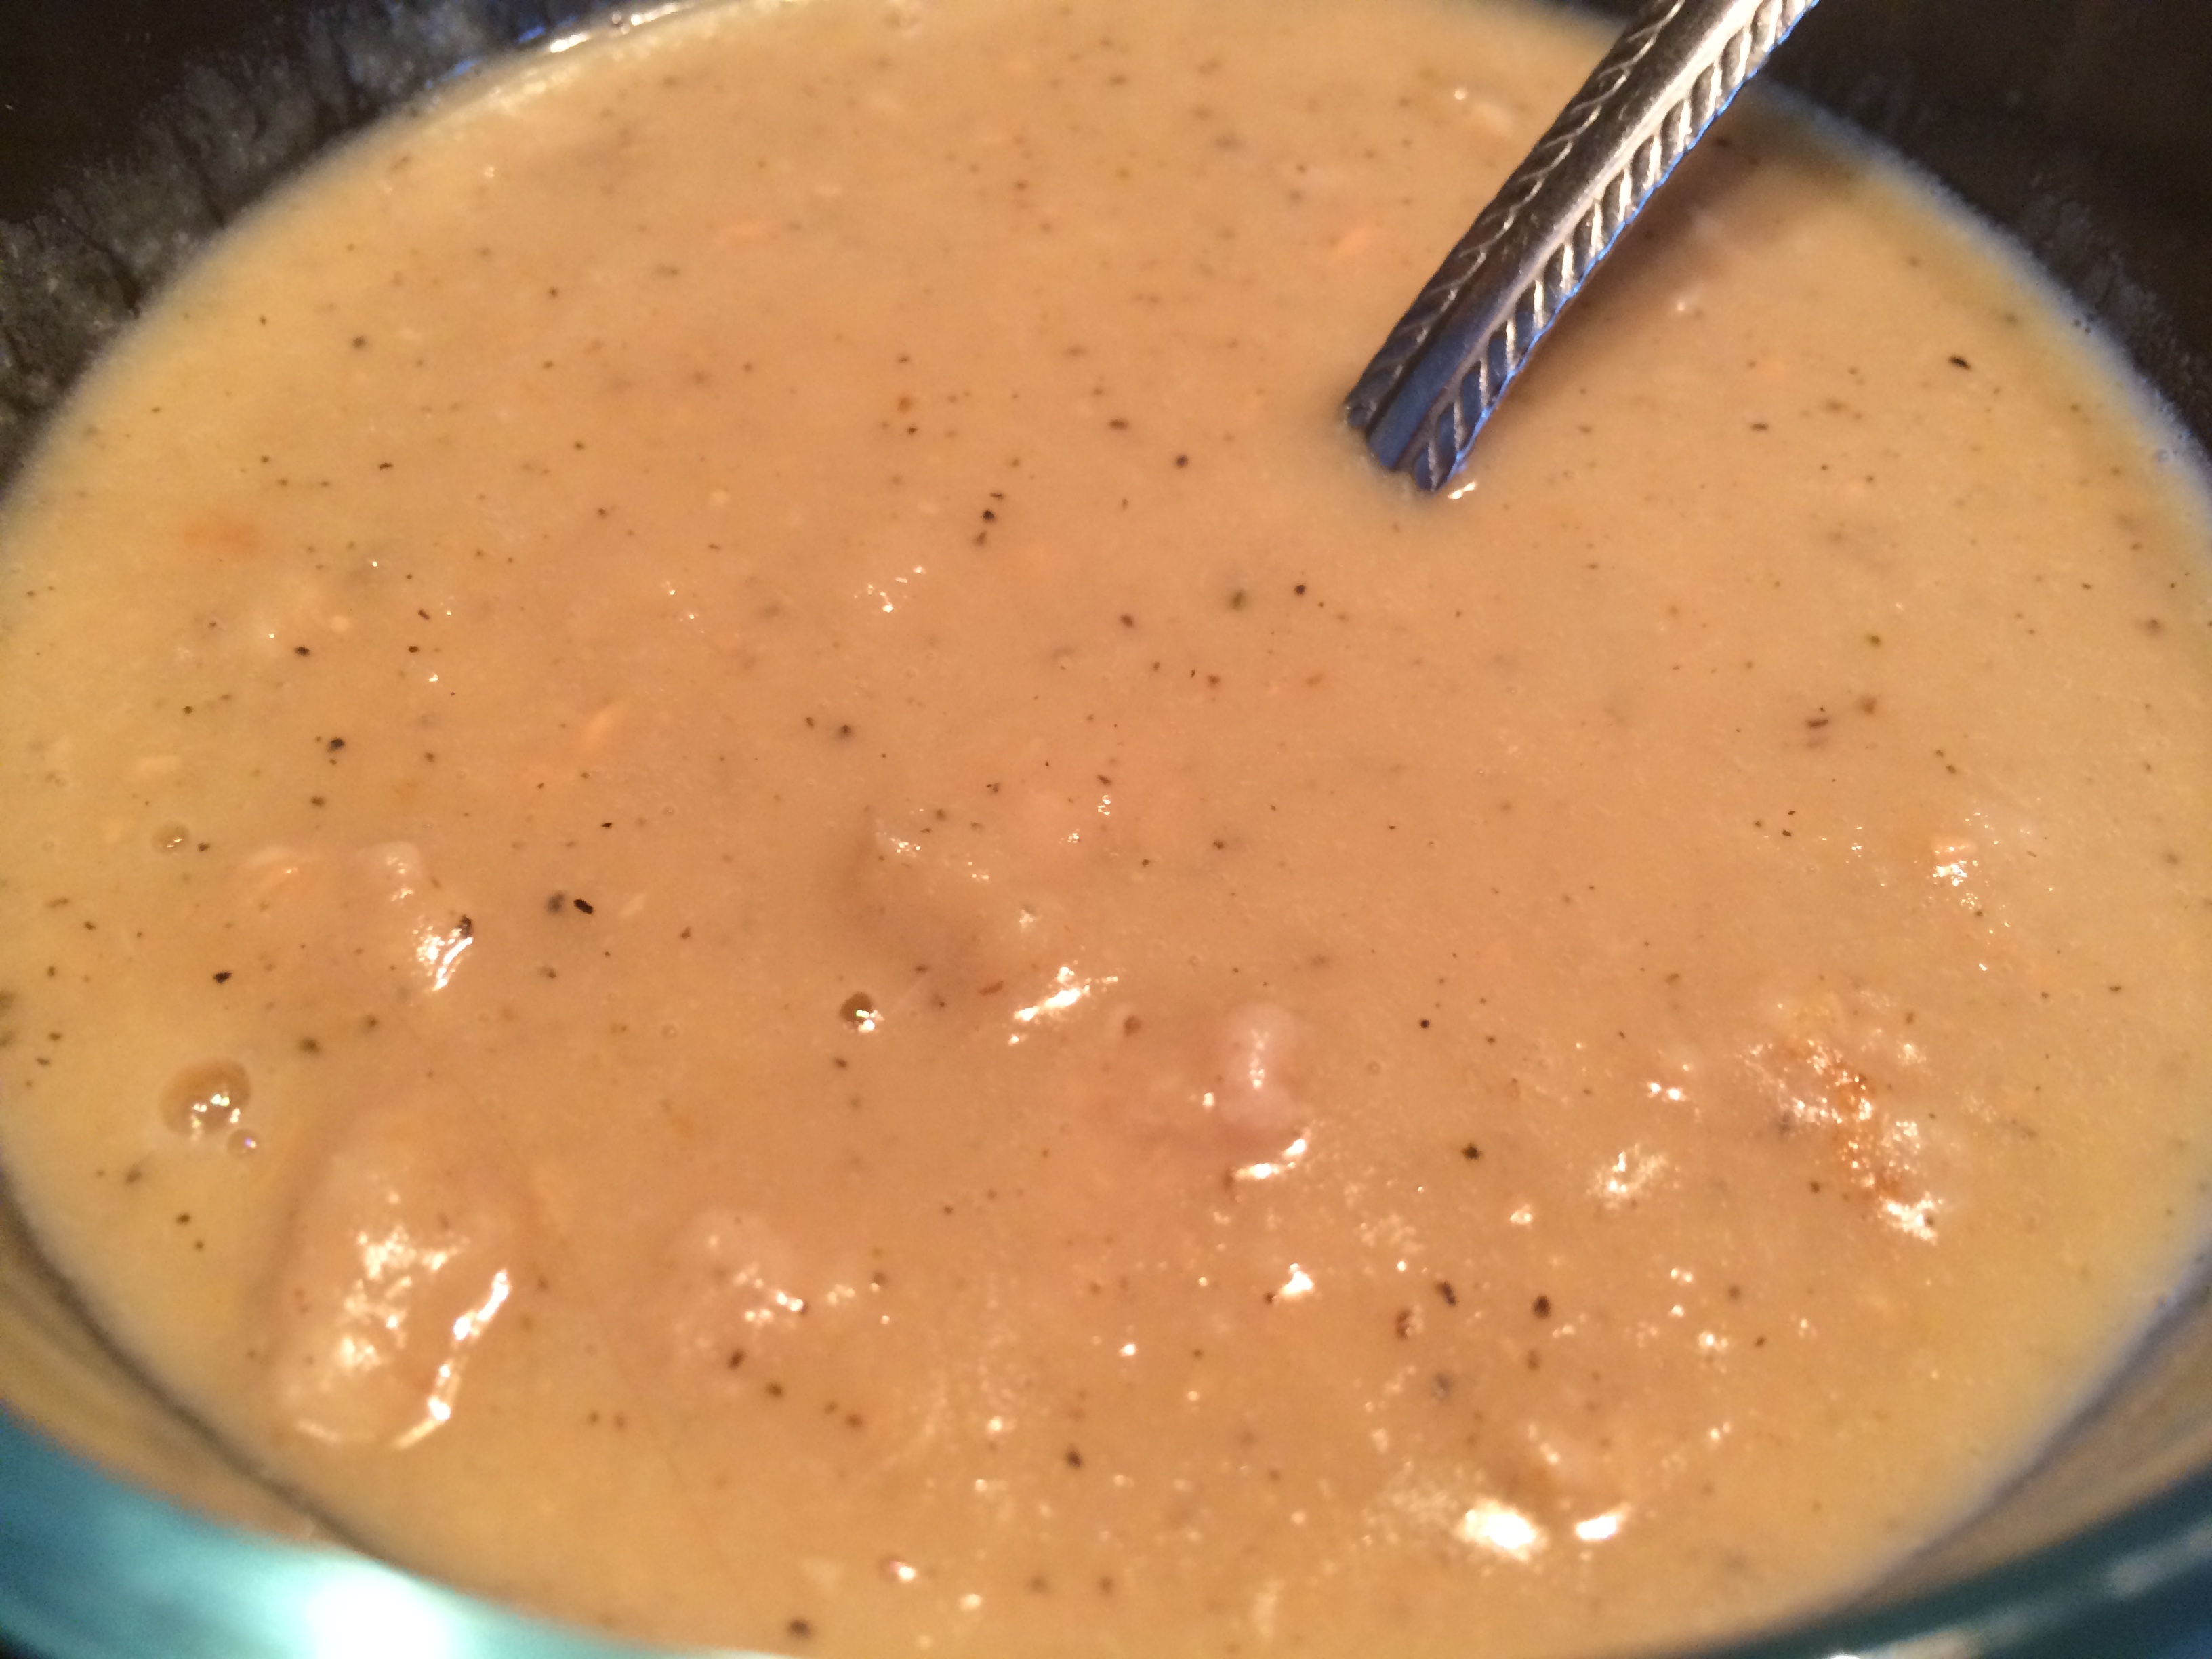
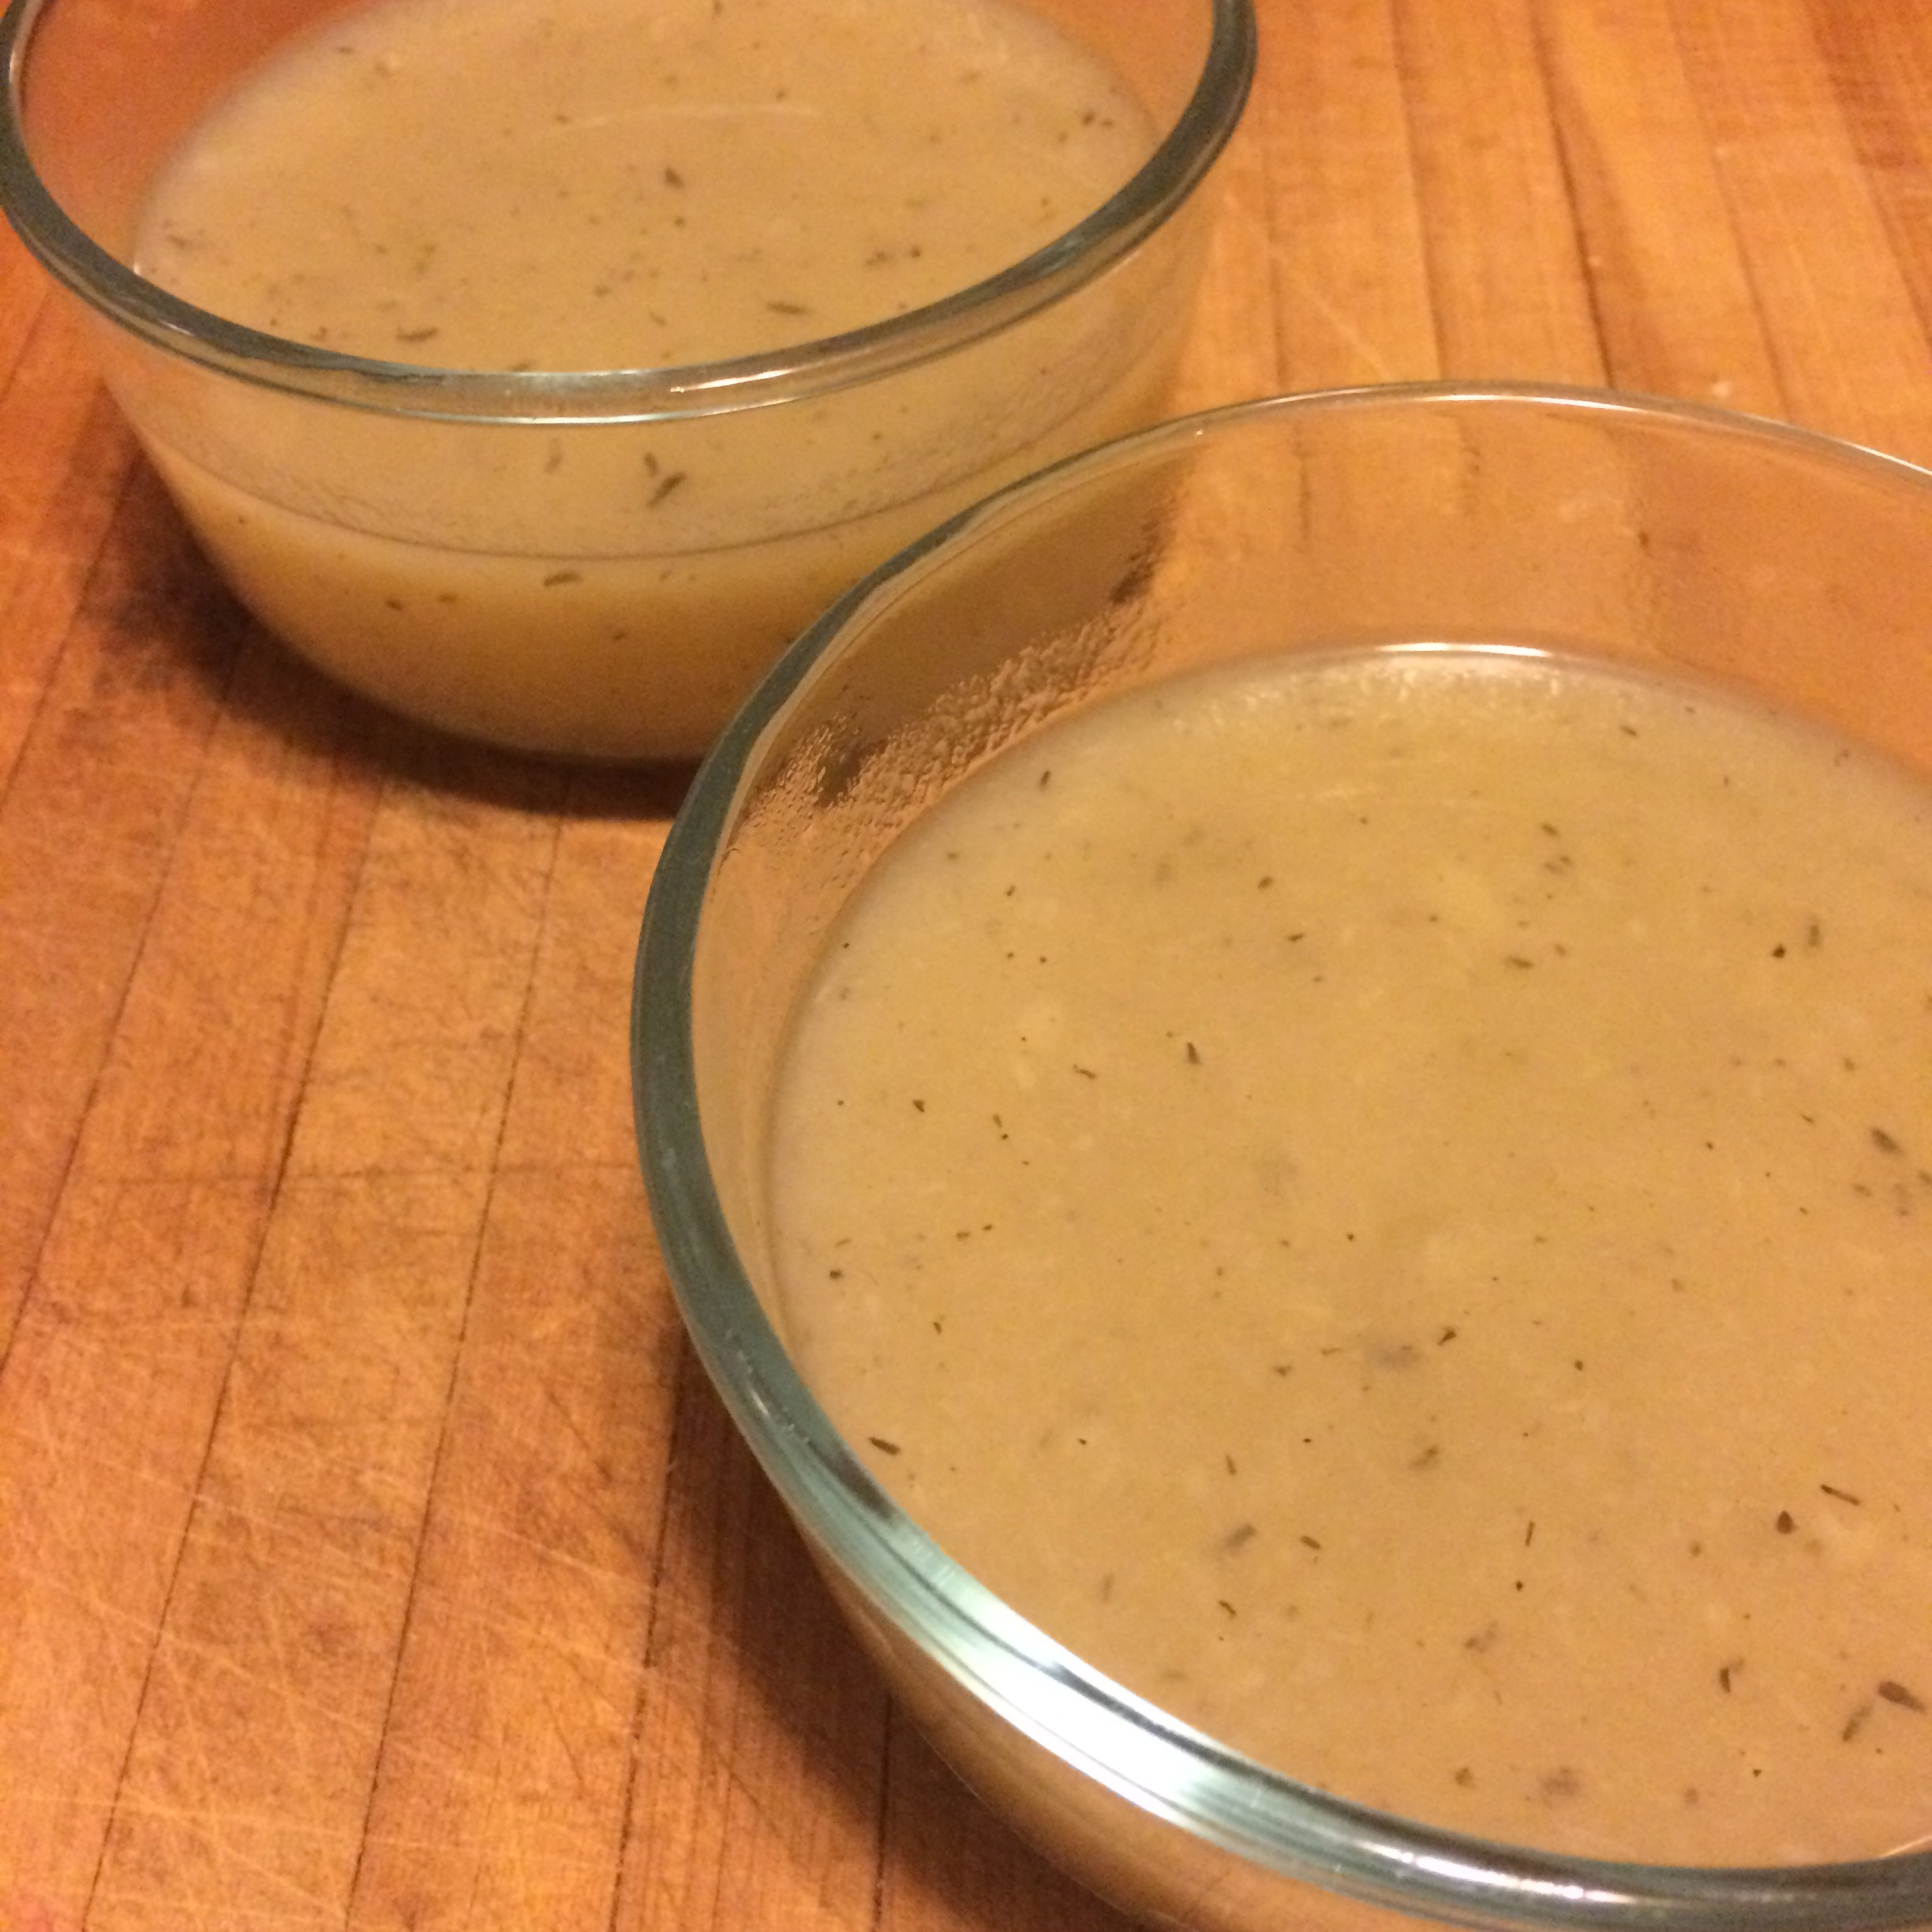
Soup 12: Parsnip & Potato (serves 2)

  • 2 cups vegetable stock
  • 3/4 cup peeled, chopped parsnips
  • 1 potato, peeled & chopped
  • pepper, garlic & onion powder, thyme

In a medium saucepan bring parsnips, potato, stock, & seasonings to a boil. Cover and simmer for 30-40 minutes until vegetables are tender. Puree with an immersion blender or in a food processor or blender. Enjoy!

IMG_1891


Roasted Beets & Goat Cheese

I am a beet lover but I was not into beets as a child. As soon as I had real roasted beets, and none of that Thanksgiving canned junk, I was converted. I think they taste like earthy corn but in a good way if that makes sense.

Almost everyone who eats beets enjoys them with goat cheese. I couldn’t tell you how many beet & goat cheese salads and dishes I have had in the past few years. I even made a dish not that long ago Beet Millet Salad with Goat Cheese that used that cliche combo.

This time around I decided to make some dips. A battle of beets & goat cheese if you will. One which is a blend of beets & goat cheese and one is a goat cheese dip for beet chips. Both are delicious. When summer comes around and you have a garden of beets, or they are just readily available, feel free to add these to your list to make.

Let’s begin with the roasted beet & goat cheese dip.

Roasted Beet *&* Goat Cheese Dip (serves 2 but can easily be doubled)

  • 1 beet
  • 2 oz goat cheese
  • 1/2-1tsp olive oil
  • 2-4 tsp lemon juice
  • few dashes garlic salt, thyme, & oregano
  1. Preheat the oven to 400F. Chop off the ends of the beet & wrap in foil. Bake for 60min or until tender. Remove skins & let cool.
  2. Chop the beat in quarters & puree  in a food processor.
  3. Add the rest of the ingredients & blend to desired consistency (I left mine a bit chunky).
  4. Enjoy with crackers, bread, or veggies.

IMG_1278


The next beet & goat cheese combo is beet chips with a goat cheese dip. Be forewarned, I have not perfected the beet chip. You do really need a mandolin unless you have serious knife skills which I do not. I tried my best to cut them thinly & in a uniform fashion but ended up with some too thick and some in half moon type shapes. The ones that turned out are below. It might not be perfect but it was good enough & the dip will go great with regular potato chips, bread, or fresh veggies of your choice if you are not making beet chips.

Roasted Beet Chips *with* Goat Cheese Dip

  • beets
  • olive oil
  • salt & pepper
  • goat cheese
  • sour cream
  • milk
  • balsamic vinegar
  • garlic salt
  • dill

Preheat oven to 375F. Slice the beets thinly. Coat lightly with olive oil and sprinkle with salt & pepper. Place on a parchment lined baking sheet & place another baking sheet on top. Roast for 20 minutes. Remove top baking sheet and roast for 15-30 minutes longer until beets crisp up & edges curl.

IMG_1524


Mix equal parts goat cheese & sour cream ( I used 1-2 tbsp of each). Add a splash of milk and balsamic vinegar to reach desired dip consistency. Add a pinch of garlic salt & as much dill as desired.

IMG_1526


Serve chips with dip & watch them disappear.

IMG_1528


Be liberal with the dip as it is delightful to your taste buds.

IMG_1527


In terms of a winner, even though my chips did not turn out exactly perfect, the ones that did work were so tasty & the dip is now my new favorite go-to recipe that the beets *with* goat cheese dip is far superior.

Stuffed Spaghetti Squash

As I was trying to think of something to make for lunch the other day I decided I wanted to do something vegetarian & use a spaghetti squash I had in my pantry. Let me start by saying that both those ideas seem crazy when it comes to my fishing (and soon to be hunting) guide. He is a strong meat & potatoes guy (the only time vegetarian dishes are safe is for lunch) and he isn’t too thrilled with that squash in general. I made it once as spaghetti squash fritters (which he enjoyed but not enough for a remake request) and once as Bacon Spaghetti Squash Pasta which I loved, but apparently he thought it was just so-so. Thus, I have a mission to make him enjoy this food.

I figured I could stuff it. After all, it looks like two bowls when you empty it out and I have come across various stuffed squash recipes in the past. So I looked into my pantry and came out with the following recipe. Even my meat & potatoes guy enjoyed this creation. It has plenty inside to make you forget that there isn’t any meat, and the squash isn’t the star, but is a strong contributor to the dish.


Stuffed Spaghetti Squash (serves 2)

  • 1 medium spaghetti squash
  • olive oil
  • 1 small-medium onion, chopped
  • 1 small-medium green pepper, chopped
  • 1 can chili beans, drained but not rinsed
  • 1/2 cup chunky salsa, hotness is your choice
  • 1/2 cup cheddar cheese, shredded

Preheat the oven to 375F. Line a baking dish with foil. Cut the spaghetti squash in half (or have someone do it for you if you are like me). Scoop out the seeds.

IMG_1478

Lightly oil the inside and outside of the squash and place cut-side down on the prepared baking sheet. Bake for 45-60 minutes (adding water if needed to the baking pan for the last 15 minutes to loosen up the flesh). Remove from the oven and let cool slightly. The flesh should flake easily with a fork. Shred all the squash.

IMG_1480


Meanwhile, sauté the onion & green pepper in a small amount of olive oil over medium to medium-low heat until caramelized (about 20-40 minutes depending how low & slow you are cooking). Add the drained chili beans until warmed through. Add the flesh from one squash half. Put the other flesh in a container to be used later. Add the salsa and 1/4 cup cheese (don’t worry about extra seasoning, the beans & salsa provide plenty!)

IMG_1482


Stuff both bowl squash halves and bake for 15 minutes. Top with the rest of the cheddar cheese and bake till melted. Garnish with green onions. Serve with more salsa & sour cream if desired.

IMG_1486


Garden Green Bean Salad

In Minnesota it is quite common to have a  garden. With proper planning, one can grow a variety of vegetables, fruits, and general plants. I have never had a garden before. I have done container gardening with some veggies & herbs in pots but I have never had a real garden. All of that changed this year with my recent move to Almost Canada.  This year we just planted along side our garage where there was already dirt prepared and adequate sun. We might have gotten a little over zealous with the planting as some plants took over some others, but overall I am quite pleased. With the cost of produce being so high way up north I have not been able to eat all the veggies I desire on a daily basis. With summer in full swing, the garden is in full bloom & I have an abundance of vegetables to consume for the time being.

This salad was made with one of our first harvests of green beans, cucumbers, zucchini, and yellow & red cherry tomatoes. It is very refreshing on a summer day. I made it originally just for myself for lunch and my fishing guide took a bite and said to make it again. I made it a second time as a side dish to something I cannot recall. All I remember is eating my heart’s desire of vegetables.

Garden Green Bean Salad (makes 2 side dish portions or 1 lunch portion)

  • 2 cups green beans, washed, trimmed, & cut into various sized pieces
  • 1 small zucchini, sliced into moons & half moons
  • 1/4 cup cucumber, chopped
  • 1/3-1/2 cup cherry or grape tomatoes, halved or quartered
  • 2 tbsp feta cheese
  • 1 tsp olive oil
  • 2 tsp lemon juice
  • pinch salt & pepper
  • 1/2 tsp dried dill
  • 1/4 tsp each dried oregano & basil
  • dash cayenne
  1. Place green beans & zucchini in a skillet. Place enough water to almost cover the vegetables. Bring to a boil & cook for 2-3 minutes or until green beans become a vibrant green color. Drain & run under cold water until cool to the touch.
  2. Meanwhile, combine olive oil, lemon juice, and seasonings in a medium bowl. Add blanched vegetables, cucumber, tomatoes, & feta cheese. Toss to combine.

IMG_1357


Kind of Sort of Huevos Rancheros

I never used to eat breakfast. I hated eating in the morning. When I would go to daycare as a child & eat breakfast, I had already been up for a couple hours so I could choke down some cereal or oatmeal. Once I started feeding myself I relied on liquid breakfasts mainly because food made me feel sick so early in the morning. Eventually I was able to train myself to eat in the morning. I don’t eat huge breakfasts by any means but it is now a whole other meal to come up with recipes. Normally I end up eating the same thing for awhile & then switching it to something else for a bit.

This particular breakfast was completely random for me. I had some leftover millet from a previous meal as well as black beans, tomato sauce, & feta cheese. The millet has a slight corn taste so it replaces corn tortillas from a more traditional Huevos Rancheros. It all flows well together in this Kind Of Sort Of version. Give it a try.

Huevos Rancheros

  • 1/2 cup cooked millet
  • 1/3 cup canned black beans, drained & rinsed
  • 1/3-1/2 cup tomato sauce
  • 1-2 tsp taco seasoning (store bought or see mix here Taco Seasoning)
  • 1-2 tsp hot salsa
  • 1/4 cup feta cheese
  • olive oil
  • 1 egg
  1. Add the cooked millet, beans, & tomato sauce to a skillet with a small amount of olive oil. Stir in the taco seasoning & salsa. Heat through. Sprinkle with feta.
    IMG_1311
  2. In another skillet, cook 1 egg to your preference in a small amount of olive oil (I made mine over easy but any preparation will do). Place the egg over millet mixture. Enjoy.

IMG_1312