Lemon Cookies

I have been using essential oils for almost 20 years. That’s more than half of my life. I started buying them when I was about 13 and used them mainly for their aromatic properties and adding to baths. I was never super obsessed with them and went years without buying new ones. Oils were not the same back then as they are now. With companies producing therapeutic grade oils these days the possibilities for using them are endless.

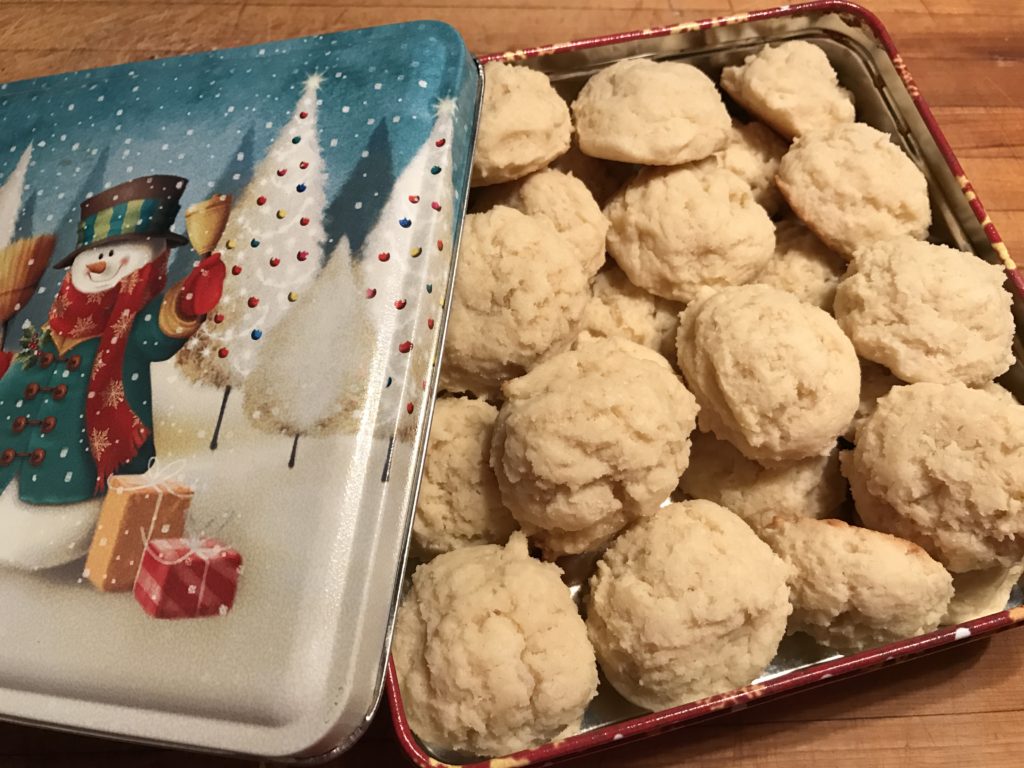
When a co-worker told me she sold them I was excited. I became a distributer and proceeded to use them all the time again. I love them. I diffuse them, I make bath products out of them, and I clean with them. Certain oils can also be taken internally. I don’t really do that too often but the same co-worker who re-introduced oils to me made the best lemon cookies with lemon essential oil. These are delicious & you actually get that intense lemon flavor which is so nice & refreshing. I normally make these in the summer months but they are good any time of the year.

Lemon Cookies (makes 2.5 dozen cookies)

2 oz cream cheese, softened
6 Tablespoons of unsalted butter, softened
1/4 Cup plus 1 Tablespoon Powdered Sugar
3/4 Cup White Sugar
1 Egg
1/2 TeaspoonVanilla
1/4 TEaspoon Salt
1/4 Teaspoon Baking Powder
1/4 Teaspoon Baking Soda
1 3/4 Cup Flour
15-20 drops of YL Lemon Essential Oil (depends on how lemon-y you want them)
Preheat the oven to 350 degrees.
Cream the butter, cream cheese and sugars together until smooth. Add the essential oil drops, vanilla and egg and mix again.
In a separate bowl mix together all of the dry ingredients. Add the dry ingredients to the wet ingredients and mix well.
Scoop cookies onto a baking sheet and bake for 9-11 minutes, remove from the oven and dust with more powdered sugar if desired (I omitted this step)
The amount of oil that you use will determine how lemony the cookies are, but remember that the dough will be stronger than the baked cookies.

Another Good Year for Hunting

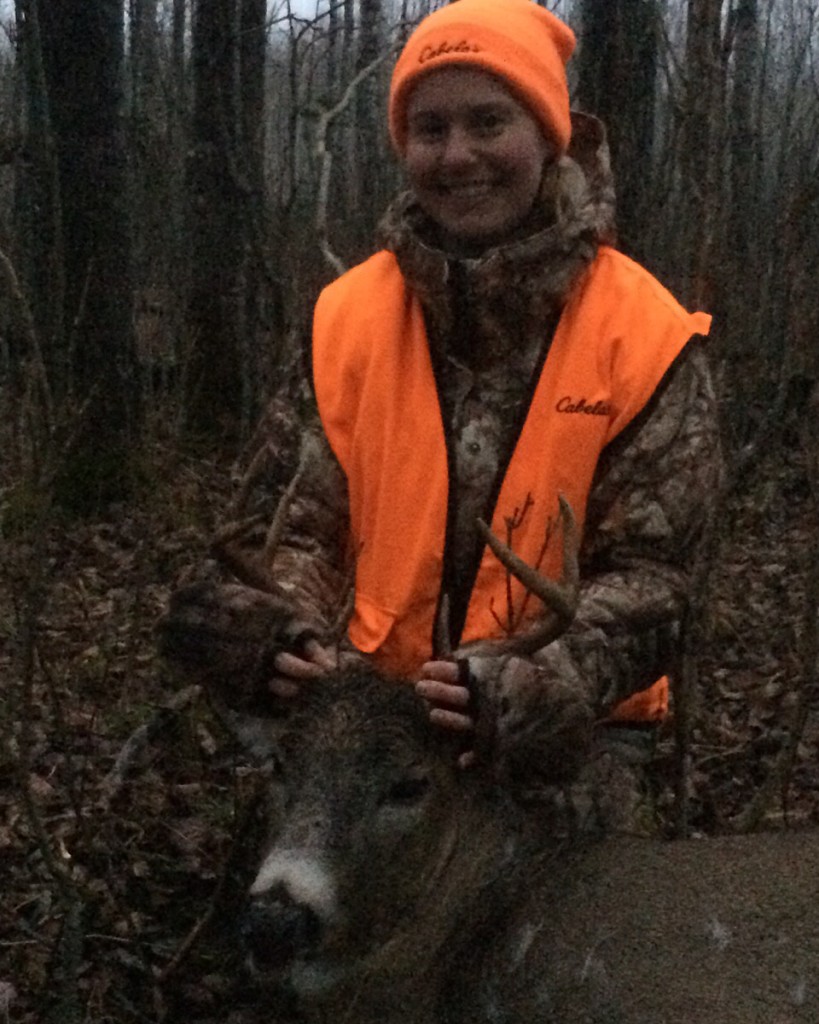
I was excited once again to go deer hunting this year. Last year (my 2nd year of deer hunting) I harvested my first deer which was an 8 point buck. Not big enough to go on the wall but a great trophy for me. A good deer any year. An amazing deer for my first deer.
IMG_2894

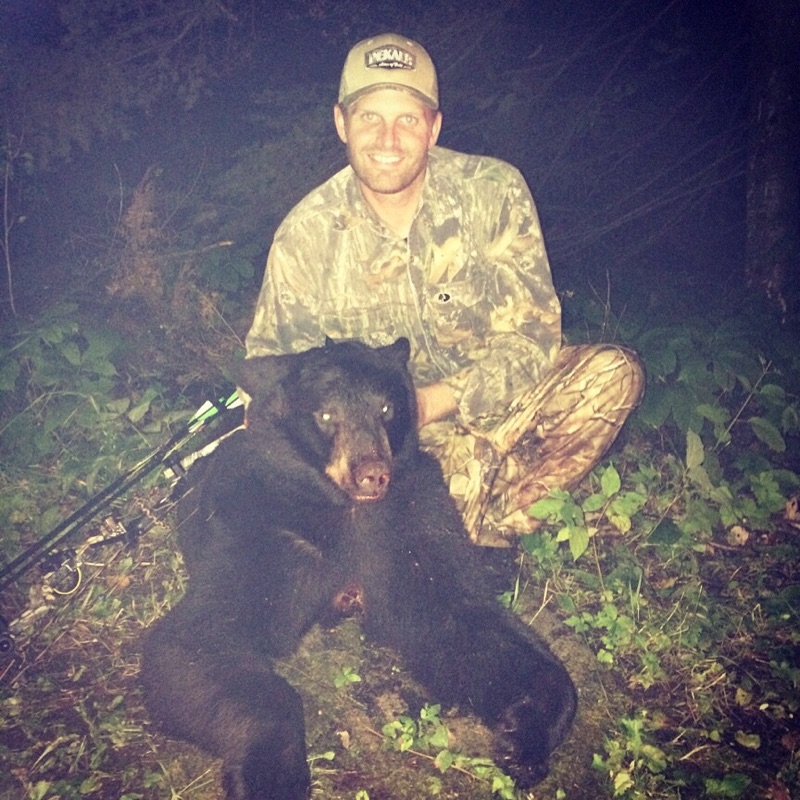
I was excited to go back out since last year had been such a good year for me with getting a turkey & a deer. I was also excited to go out cause my guy had gotten pulled for a bear tag. He sat 2 times and that second sit he harvested a bear. His first ever. And with a bow no less. He told me bears were in bow hunting distance so he thought he would give it a try & he succeeded.
img_5595

Seeing as how he was successful with his bear he ended up going bow hunting for a deer once October hit. His first sit he harvested a doe. He sat 3 times and harvested 2 big game animals. I thought to myself this year is another great year for hunting. Maybe I’ll be lucky two years in a row. Plus, I got a doe tag this year. That is when I remembered the idiots who hunted the same area we hunted. I was hoping that they would be discouraged & not show up this year but I wasn’t so lucky. Walking to my stand opening morning a vehicle drives up on the trail behind me & it’s them. Great. Opening weekend reached a high of 70 degrees which is terrible but now I’m not going to see anything cause of these guys who drive down the trail & smoke in their stands.

They stop & ask if I’m the one in the ladder stand. I say yes. They tell me they are the ones who are hunting in the other stands just like last year. When asked how they do they say the got a couple deer last year & in my head I say bullshit. They were only there opening weekend. There is no way they got a deer. They ask me. I respond that I got a deer & the guy’s eyes widen. I could tell he was surprised. I think, Why would you be surprised if you had gotten deer?

I did see some does opening day but that was it. I ended up leaving at 10AM both days cause it was too warm. At least those guys will be gone. They only hunt opening weekend which means I’ll have the place all to myself. I’m lucky enough that I can alter my work schedule and go hunting before or after work. I went three times that first week and saw some deer but didn’t have shots at any of them. How is that possible you ask? Well I’ll tell you.

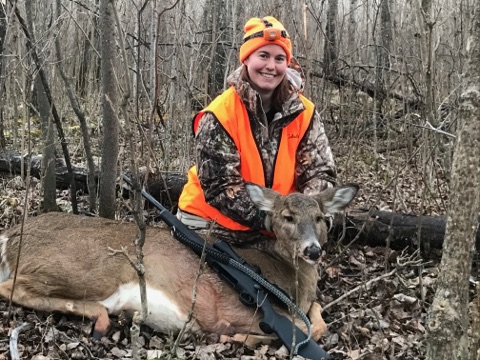
I hunt public land. Don’t laugh. I’m proud of it. I’m not just sitting in a box stand overlooking a field & being able to take pretty much any shot. I have to work for it. You have to scout & find land & find signs of deer. It’s also bow hunting distances so you have to take scent control seriously, pay attention to the wind, & be extra quiet. It’s fairly thick woods so I only have about 4 shots I can take. The deer have to walk down these certain trails to be able to take a shot. It’s not as bad as it sounds though. It’s actually pretty great. It feels more like hunting. As I said before, I also get to hunt before or after work so I’m not relying just on weekends. So when you think oh poor her for hunting public land let me ask how many animals you’ve taken in the past two years. Between me & my guy (guide) we’ve harvested 5 big game animals in two years. Which brings me to my announcement that I did harvest a deer this year. A doe. Which is what I wanted since I was lucky enough to get a doe tag (you only get them every 3-4 years where I hunt).
img_5981

It was the second weekend. We went out Saturday afternoon and it was so close. There were two does but I didn’t have good shots at them. My guy trained me to wait for a perfect shot. We went out Sunday morning and it was so windy. It’s hard to hear the deer when it’s windy. I have to rely on sound to hear them coming since my visibility is not over an open field. The wind was in the wrong direction to make it even worse. In the morning they tend to come from one direction & in the afternoon the other. The wind was going right into the direction they come form in the morning so I was thinking it was pointless.

That’s when my guy said to me, there is a doe. Get ready. I could not see a deer for the life of me. There were too many trees in my view compared to my guys. All of a sudden there she was. I couldn’t believe it. She had completely snuck up on us cause it was so windy but she came from the wrong direction. She came from the direction that they normally come in the afternoon so the wind actually worked in my favor.

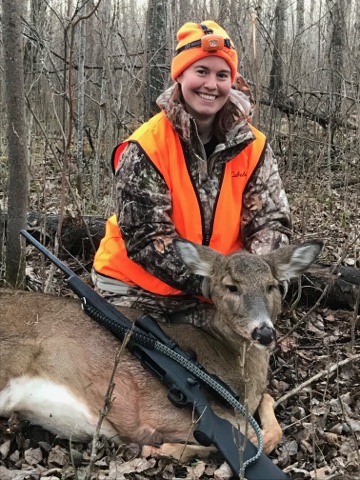
I started to position my rifle into my shoulder & rested it on the shooting rest. She started to turn away but then went down the perfect trail. My guy yelled & she stopped & looked. I shot & she ran away. I’ve never had an animal run away. My first deer last year hit the ground like a sack of bricks cause it was more in his spine & I had to go up to him & do one more shot. My doe ran but it sounded weird. Very noisy like she was running into everything & her tail was down. I heard a crash & then nothing. We waited a bit and then went to try & find her. I’ve never had to track an animal but it was easy. It was day time & there was a trail of blood. It looked like the trail ended & I was confused but then I looked to my right & saw the trail had taken a turn & there she was lying against a tree. I went up to her & she was dead. One shot. Thank goodness. I can’t stand having animals suffer & it should be a one shot kill at all times if possible.

My guy then proceeded to teach me how to field dress a deer. I put on gloves and started the process. I did a decent chunk but then he came in to show me how to pull everything out. It all comes out in a nice little bag if you do it properly & had a god shot. We were able to see that I had just nicked her heart & double lunged her & it passed out the other side. It was about as perfect of a shot as you can get. He dragged her back to our stand & then I dragged her out of the woods by myself. You want a tough workout try dragging a deer out of the woods. I don’t know what I’d do if it was a monster buck.

We hung her in the garage for a week cause it was cool enough and the following weekend my guy taught me how to remove the hide, quarter her, & deal with the meat. He helped with the hide & quartering cause it’s pretty tough, but I cut up all the meat, cleaned it, and vacuum sealed it. It took a few hours both days that weekend. I’m sure the next time will go a bit more quickly.

I have been extremely lucky with my hunting experiences thus far. I’ve had the opportunity to see deer, take the shots, & have made the shots. I’ve learned how to track & how to harvest the meat which is very important to me. I feel it is very important to be self-sufficient & the skills I have learned are priceless. I can’t thank my guide enough for helping me. I know I still have a lot to learn. I also know I won’t always be successful but I will always have these memories.
img_5980

Summer of Rhubarb: Vanilla Pudding with Rhubarb Sauce

IMG_4782


My guy asked me the other day if I quit blogging. It’s not so much that I quit it’s just that it’s been hard to try and actually write. I made this dish earlier in the summer when my rhubarb was fresh and never got around to posting it. Now all I can think about is the fact that my cat Oedipus loved this dish and he is no longer with us. Which brings me to my point of why it’s hard to write.

I started a post a few weeks after his death and have not been able to bring myself to finish it. It’s called Saddle Thrombus. Enough said. Now every time I try to blog I get teary eyed. In fact I’m crying a bit right now.

It’s been over 2 months and yes I am doing better but every now and then I still get incredibly sad. I have quit reliving that terrible day in my head and have started to just think of all the good things he brought to my life and the fond memories I have of him, but I still get sad here and there.

Most people out there are thinking…’what the hell? He was just a cat’. Well you people are wrong. He wasn’t just a cat. I’ve had other pets before and still have other pets but it’s not the same. He was special. I’ve had other pets pass before and yes I was sad but it wasn’t a debilitating sadness that consumed me when my honeybun passed.

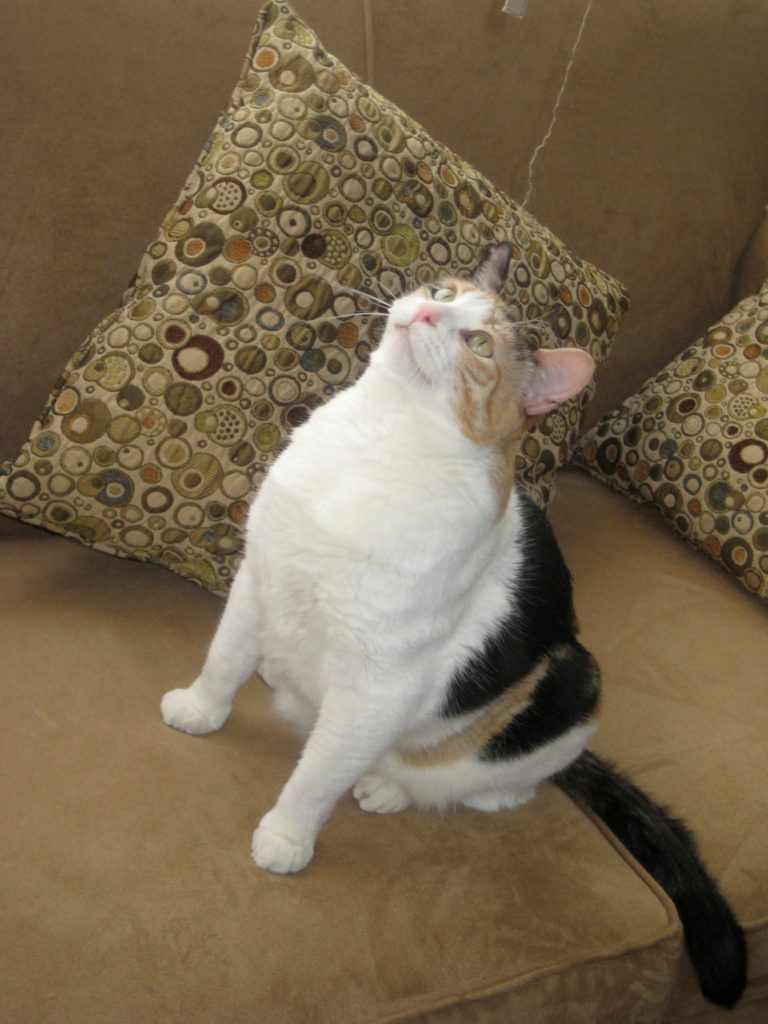
He was the most personable animal I ever knew. Some cats are stupid and ditzy

img_4963

img_4962

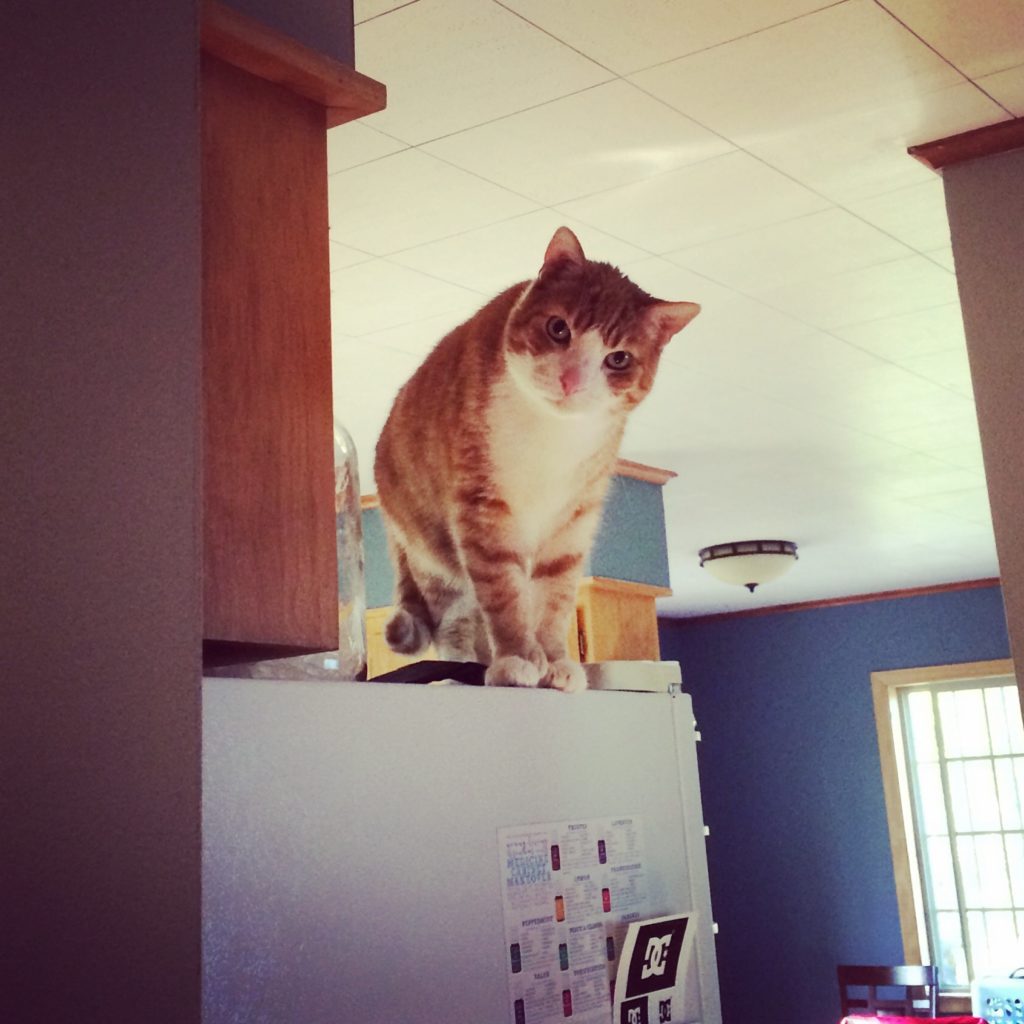
& others are more wise and exhibit more human traits.

IMG_4507


The blank page ones or ones that aren’t as aware aren’t any less lovable but I loved Oedipus the most. He was my baby boy. I know he wasn’t a real child but he acted like one. I treated him more like one. That’s why his death has been so hard. He was the closest thing I will ever have to an actual child as children are not in the cards for me.

There will never be another one like him. One of his favorite things was dairy products. He loved all things dairy…cheese, cottage cheese, yogurt, sour cream, milk (he especially loved it when you ate cereal so he could get a few laps of the leftover milk in your bowl), ice cream, etc. He loved it all.

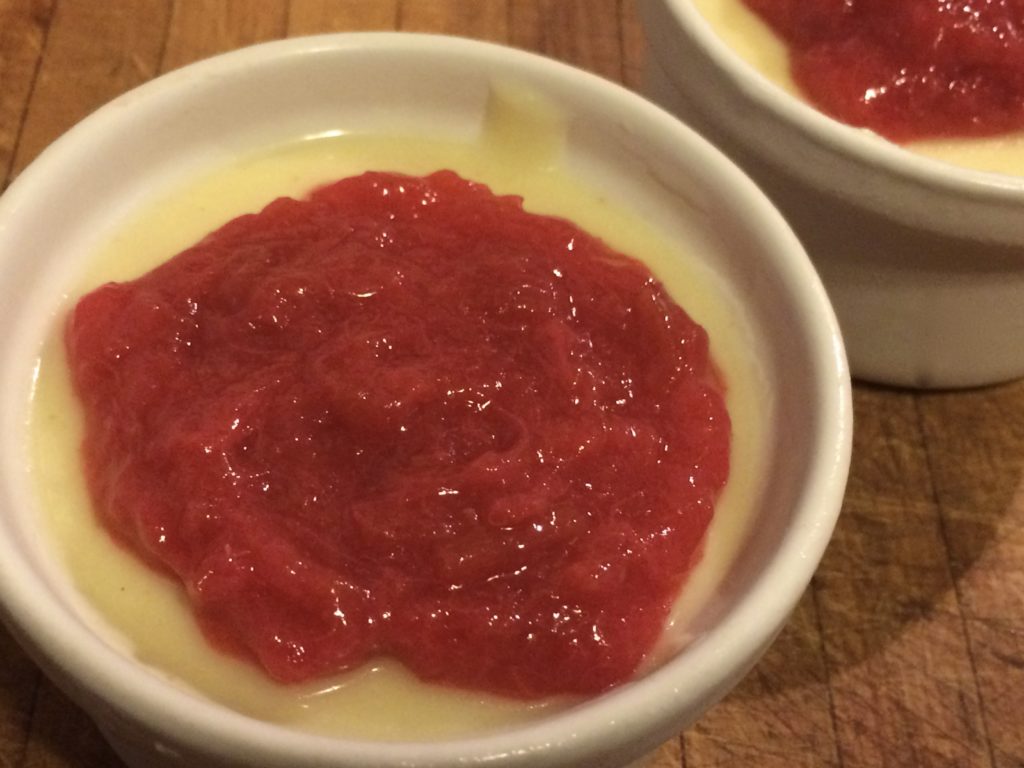
I made this vanilla pudding and he could smell the dairy in it. He’d sit right beside you begging for some. Obviously he wanted nothing to do with the rhubarb sauce but he liked the pudding part.

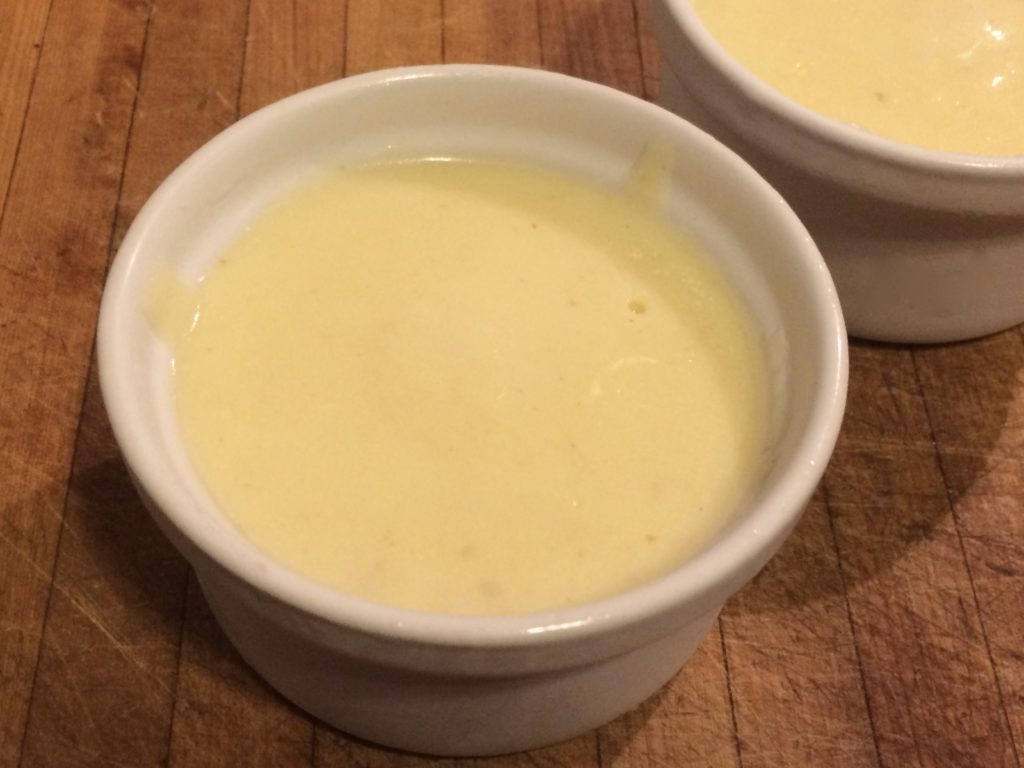
Vanilla Pudding with Rhubarb Sauce

Rhubarb Sauce

  • 1/3 cup sugar
  • 1/4 cup water
  • 2 1/2 cups rhubarb (if using frozen make sure it is thawed & drain out excess liquid)
  • lemon juice to taste

In a small saucepan bring sugar and water to a boil. Add the rhubarb. Cook and stir for 5-10 minutes or until rhubarb is tender and mixture is slightly thickened. Remove from the heat. Stir in lemon juice to taste.

Vanila Pudding

  • 3/4 cup sugar
  • 3 tbsp corn starch
  • 3 cups milk (I used 2%)
  • 3 beaten egg yolks
  • 1 tbsp butter
  • 1 1/2 tsp vanilla

In a medium heavy saucepan combine sugar and cornstarch. Add milk. Cook and gently stir over medium heat until thickened and bubbly. Cook and stir for 2 minutes more. Remove from heat. Gradually stir 1 cup of the milk mixture into egg yolks.
Slowly whisk egg yolk mixture back into milk mixture in saucepan. Bring to a gentle boil; reduce heat. Cook and stir for 2 minutes more. Remove from heat. Stir in butter & vanilla. Pour pudding into 4 individual serving bowls. Cover surface of pudding with plastic wrap. Chill in fridge for 1 hour or up to 24 hrs before serving.

IMG_4780

Top with rhubarb sauce if desired.

IMG_4782

Rhubarb Muffins

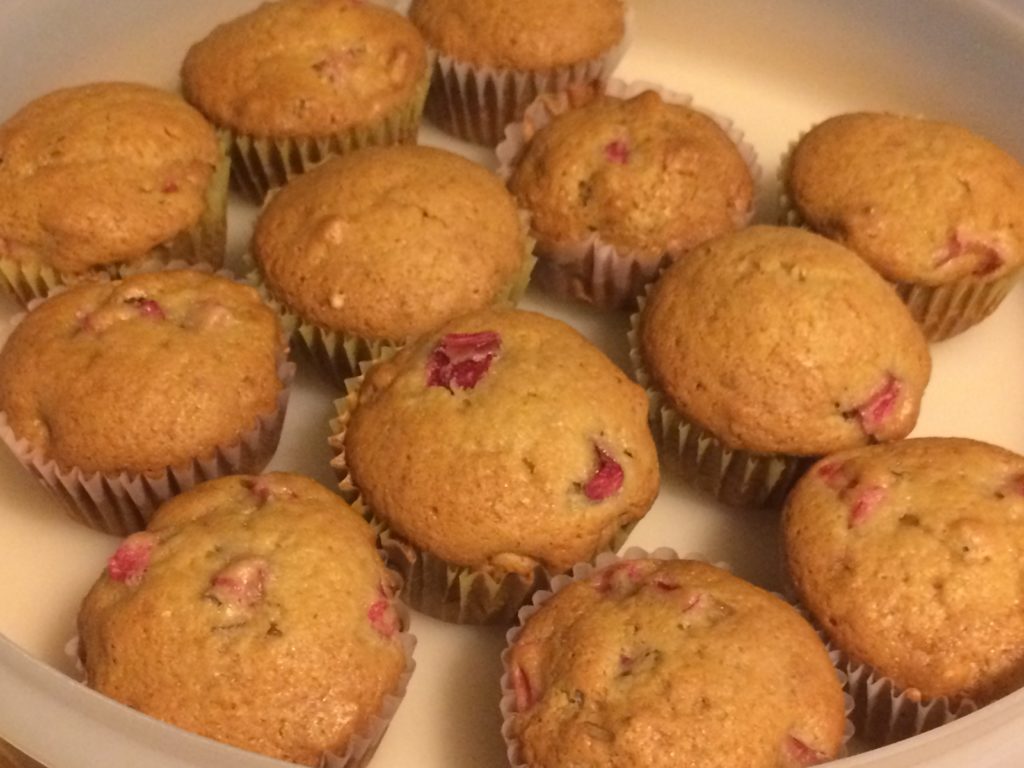
It took me years to be able to eat breakfast in the morning. In junior high and high school I lived off of slimfasts for breakfast because I just couldn’t bring myself to eat food. I didn’t have an appetite until I had been up for a few hours. Slowly over the years I have trained myself to eat actual food. Not a lot, but enough to get me going and last until lunch. My guy however, is still unable to eat in the morning. He likes to wait. The only problem with this is that he waits and then has no food to eat because he is at work. Consequently he ends up waiting until lunch. This is simply unacceptable in my opinion.  When he told me he wasn’t eating I decided to make muffins. They are perfect for a grab-n-go breakfast. And what a great way to use up more of my rhubarb.

Rhubarb Muffins (makes 12)

  • 1 1/2 cups flour
  • 3/4 cups sugar (I did half granulated sugar & half brown sugar)
  • 1 tsp baking powder
  • 1/2 teaspoon baking soda
  • 1/2 teaspoon salt
  • 1/3 cup vegetable oil
  • 1 egg
  • 1/2 cup buttermilk
  • 1 teaspoon vanilla
  • 1 cup chopped rhubarb
  • 1/2 cup chopped walnuts

Preheat oven 350 degrees F. Combine dry ingredients. Add wet ingredients, mixing only until moist. Fold in rhubarb and walnuts. Bake for 20 to 25 minutes or until a toothpick inserted near the center comes out clean.


IMG_4753

Summer of Rhubarb: Rhubarb Torte


us

It has been a long time since I have had time for anything let alone time to bake. This is my first creation on my first Baking Sunday in a long time. The reason I have been absent is because I was busy planning a wedding and European honeymoon. I love planning. I always say that if I weren’t a chemist that I would be an event planner.

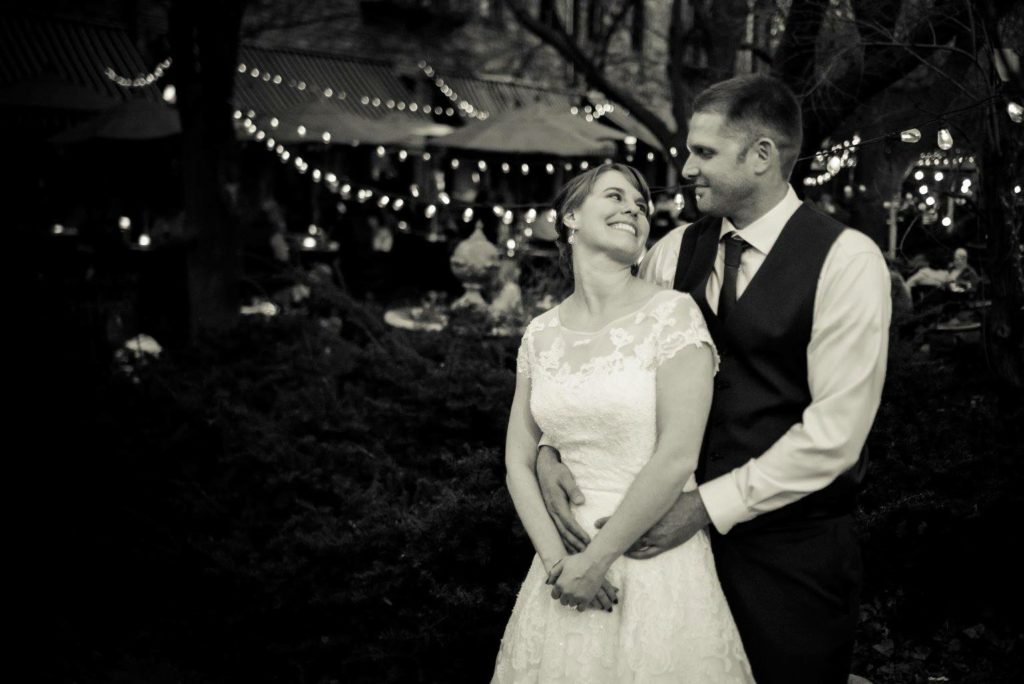
Our wedding was small but that doesn’t mean I had any less work to do. The only thing I didn’t have to deal with was the processional and music that coincides with that as well as bridesmaids dresses or bridesmaid flowers since I didn’t have any of those (honestly bridesmaid flowers are super easy because you just make them similar to the bride’s bouquet but have less flowers or simpler flowers). My flowers I spent a lot of time designing. I had a florist do the final arrangement but I gave specific flowers with colors and just told her (Kim from Artemisia) to arrange them.

flowers

Everything else I had to plan and I even had to write an entire ceremony since we did not have a church wedding which is not very easy to do. In addition, finding a venue for a small wedding (50 or less) is very difficult. All venues hold 100-300 so finding one with charm is not an easy task.

We ended up finding W.A. Frost which turned out to be absolutely amazing. It’s a small restaurant in historic St. Paul full of charm & beauty.

IMG_4794

It is gorgeous inside and no decorations were needed.

IMG_4791

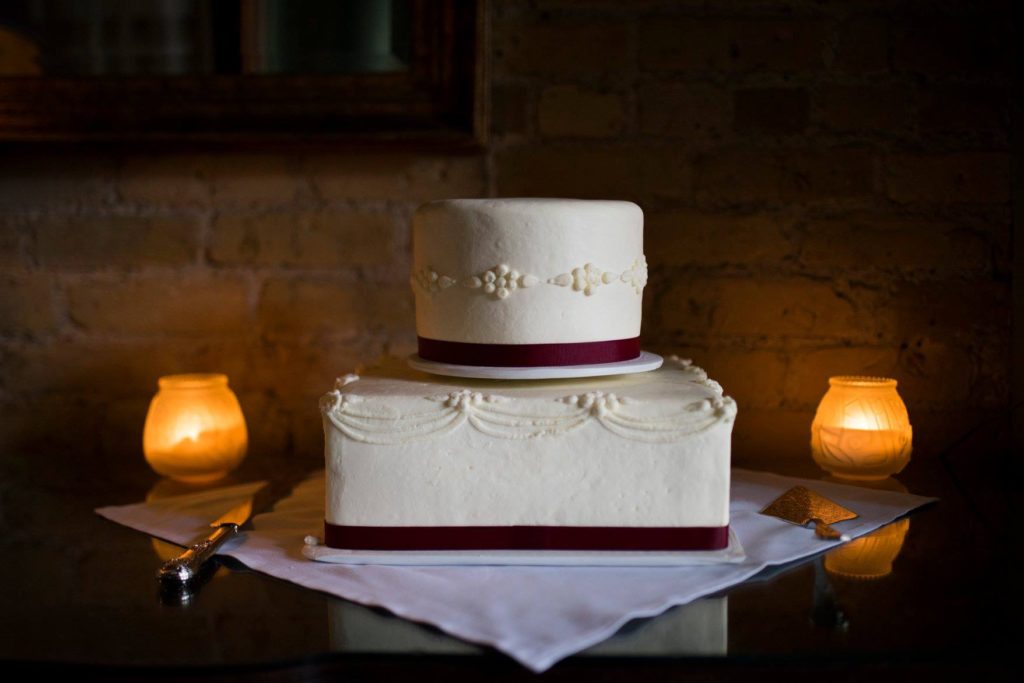
The two rooms we rented held 57 max so it was perfect. We went there for lunch before we picked it and I tried the bouillabaisse and my guy got a cheeseburger. We figured that if they could cook a high-end dish and a simple cheeseburger that no matter what we ordered for the reception would be fantastic. We weren’t disappointed. Everything was delicious. For the night of we went with a walleye dish, a pork dish, as well as a bistro steak. I had the steak the night of and it was incredible. For our cake we went with tiramisu for our top layer and strawberry lemon for the bottom layer from Buttercream. Buttercream is expensive but it is worth it. They really are the best for wedding cakes in Minnesota.

cake

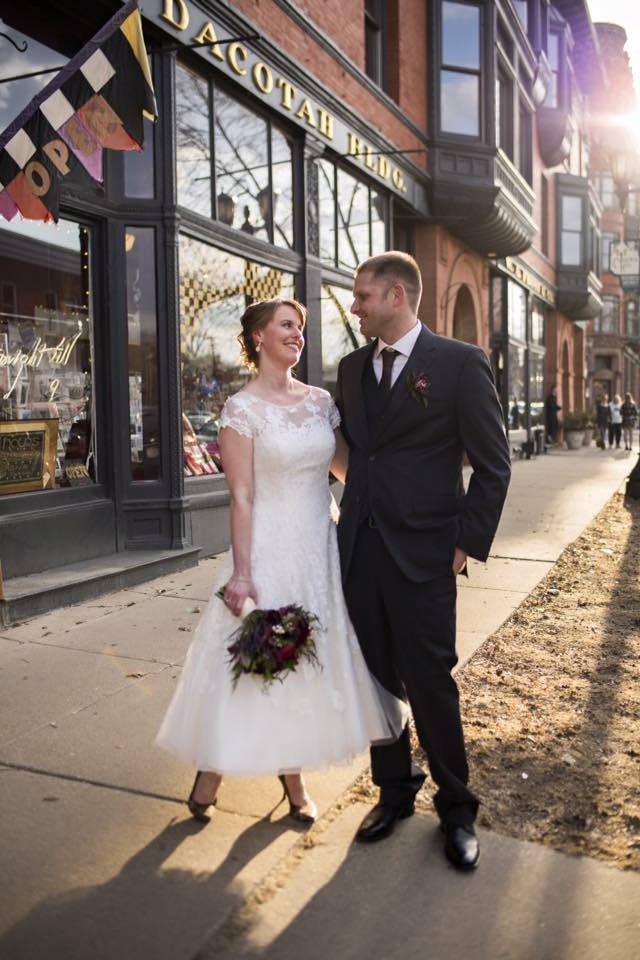
I should also mention that my photographer (Angela from Angela Divine Photography) was absolutely amazing and all my wedding photos are from her. I told her we only needed a few hours of coverage and she did better than I could have imagined. I knew I wanted her once I saw her portfolio as she did many small weddings, and with our wedding being under 50 it was a perfect match.

I could talk about all the other details of event planning but this post would go on forever. Needless to say it takes a lot of time to research options for every single item for a wedding and a European trip. There is a lot to consider but just take it one thing at a time while always thinking about the next 20 tasks coming up if that makes any sense. I guess that’s why I am good at planning. I’m great at multitasking & thinking about the future while enjoying & living in the present.

As of now, my rhubarb is growing like crazy. I will have plenty of things to make rhubarb-wise in the future so prepare yourself. Maybe I could actually remember to take a decent photograph of my baked goods before they all get eaten.

Rhubarb Torte

For the crust

  • 1 1/2 C flour
  • 7 T sugar
  • 1 1/2 sticks cold butter, cut into cubes

Heat the oven to 350°F. In a large mixing bowl, combine the flour and sugar. Cut in the butter as if you’re making a pie crust. Press the dough into a 9- by 13-inch pan.

For the custard

  •  2 eggs
  • 3/4 C granulated sugar
  • 3/4 C brown sugar
  • 1 tsp vanilla
  • 1 C flour
  • 3/4 t baking soda
  • 1/2 t salt
  • 3 C fresh rhubarb (I used the red variety)

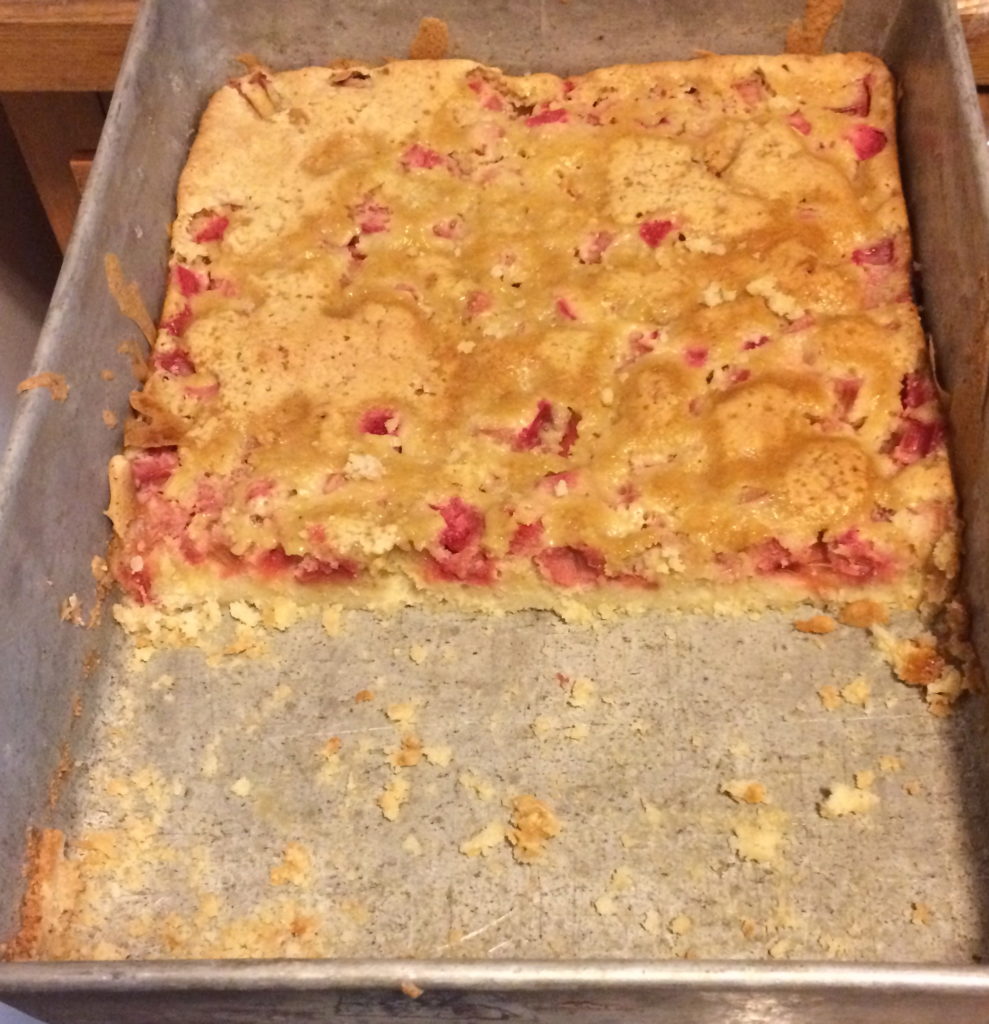
In a large mixing bowl, beat the eggs and sugar until combined. Stir in the vanilla. Stir in the flour, baking soda, & salt. Stir in the rhubarb. Let sit for 30 minutes. Pour the custard into the crust, and bake for 35–45 minutes, until the torte is set and slightly golden, not toasty brown. Store any leftovers, covered, at room temperature.

IMG_4649

Summer of Rhubarb: Rhubarb Upside-Down Cake

IMG_2413

It’s that time of year again…Summer of Rhubarb time. There is a period of time where you could sit outside and literally watch your rhubarb grow. It happens that quickly. I actually made this last year but never got around to posting it. I was busy planning a wedding and a european honeymoon so I didn’t have much free time or ambition for anything else.

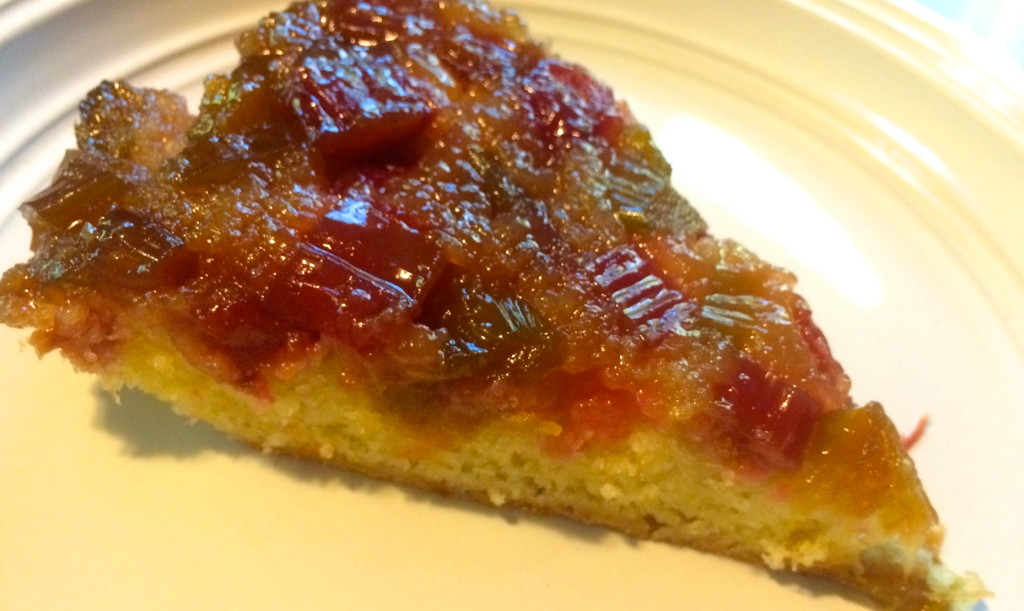
This cake seems ambitious but is really very easy. Every time I go to invert an upside-down cake I am fearful that it won’t come out. That it will remain stuck in the pan and I will have a crumbled cake mess. Every time, however, it slides out beautifully and I have a moment of pure satisfaction & baker’s bliss.

Upside-Down Rhubarb Cake

  • 3 tbsp butter, melted
  • 2/3 cup packed brown sugar
  • 2 1/2 cup fresh or frozen* rhubarb, diced (I used 1 3/4 cup red rhubarb and 3/4 cup green rhubarb)
  • 1.5 tbsp granulated sugar
  • 6 tbsp butter, softened
  • 3/4 cup sugar
  • 1.5 tsp vanilla
  • 2 eggs, separated
  • 1/4 tsp cream of tartar
  • 1 cup flour
  • 1 1/2 tsp baking powder
  • 1/2 tsp salt
  • 1/4 cup milk

*Note that if you are using frozen rhubarb thaw completely first and drain off excess liquid.

Preheat oven to 325F. Grease the bottom and sides of a 9in round cake pan with butter. Line with parchment paper. Grease the parchment paper with butter.

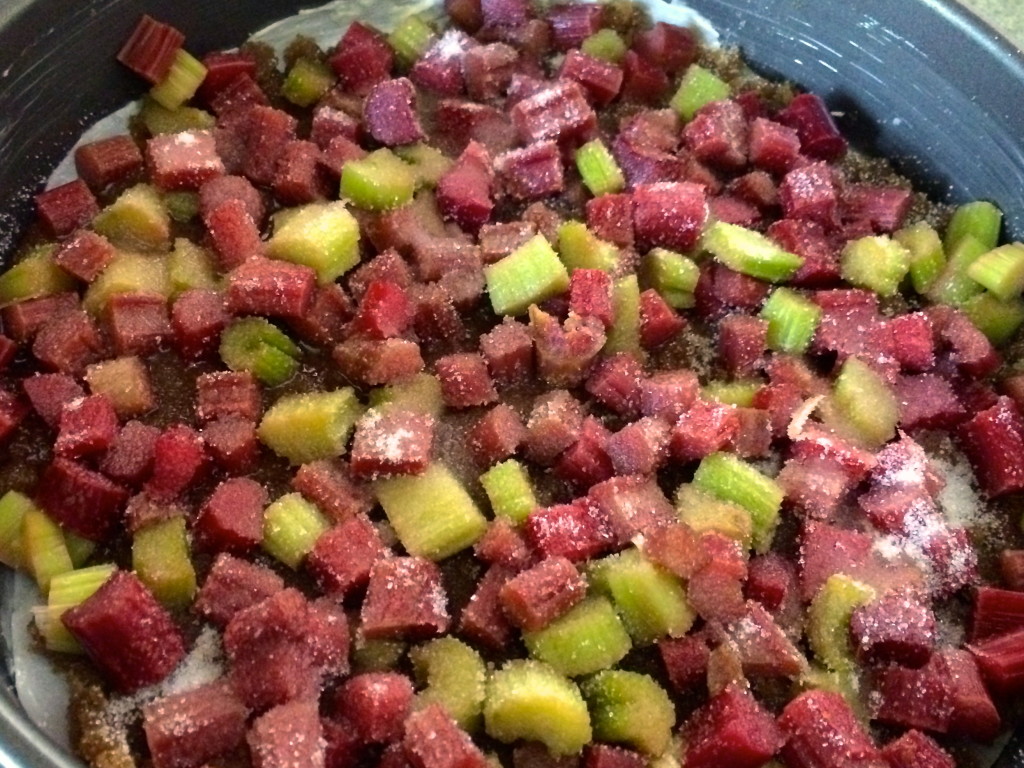
In a small bowl combine the melted butter and brown sugar. Spread over the greased parchment paper. Place rhubarb over sugar mixture. Sprinkles granulated sugar over rhubarb.

IMG_2399

In a medium bowl, cream together the softened butter and sugar. Beat in egg yolks and vanilla. Add the flour, baking powder and salt. Mix until combined. Add the milk. Mix until combined.

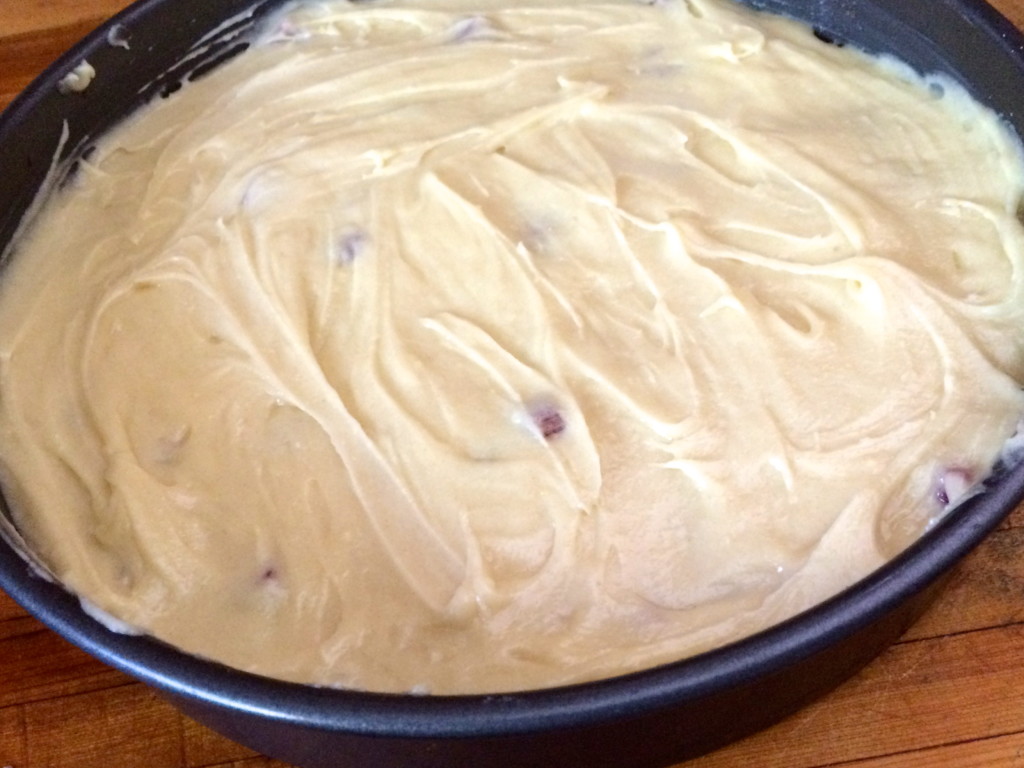
In a medium bowl beat egg whites and tartar until stiff peaks form. Fold into the batter gently. Pour over rhubarb.

IMG_2403

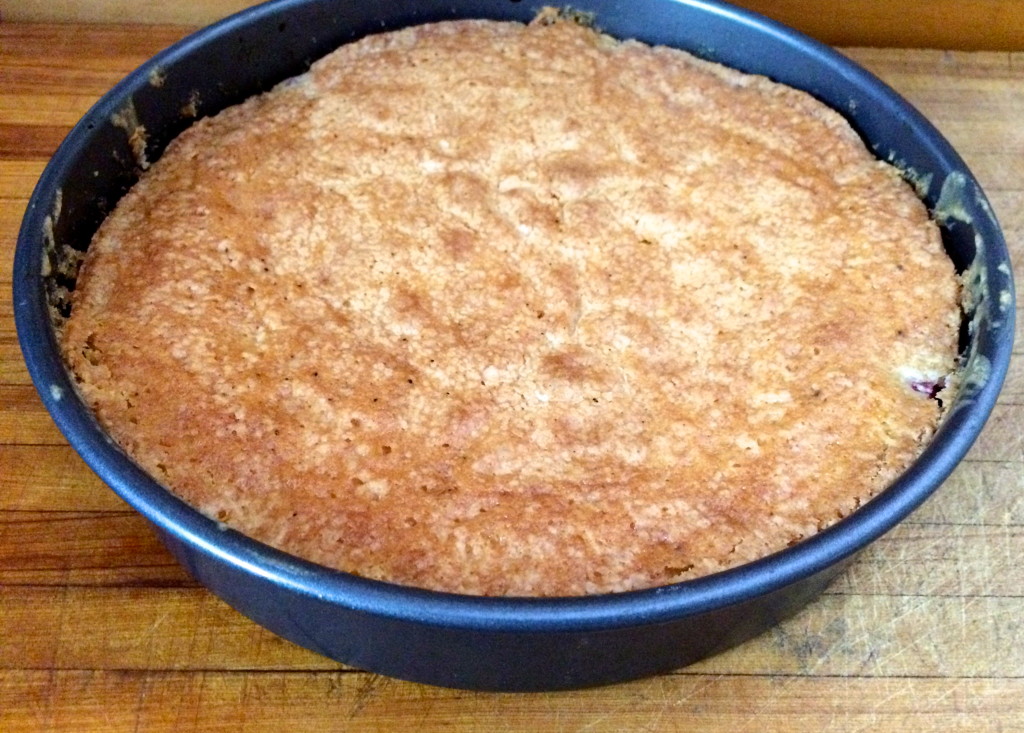
Bake for 55 minutes or until top is golden and lightly springs back when touched or a toothpick inserted comes out clean.

IMG_2406

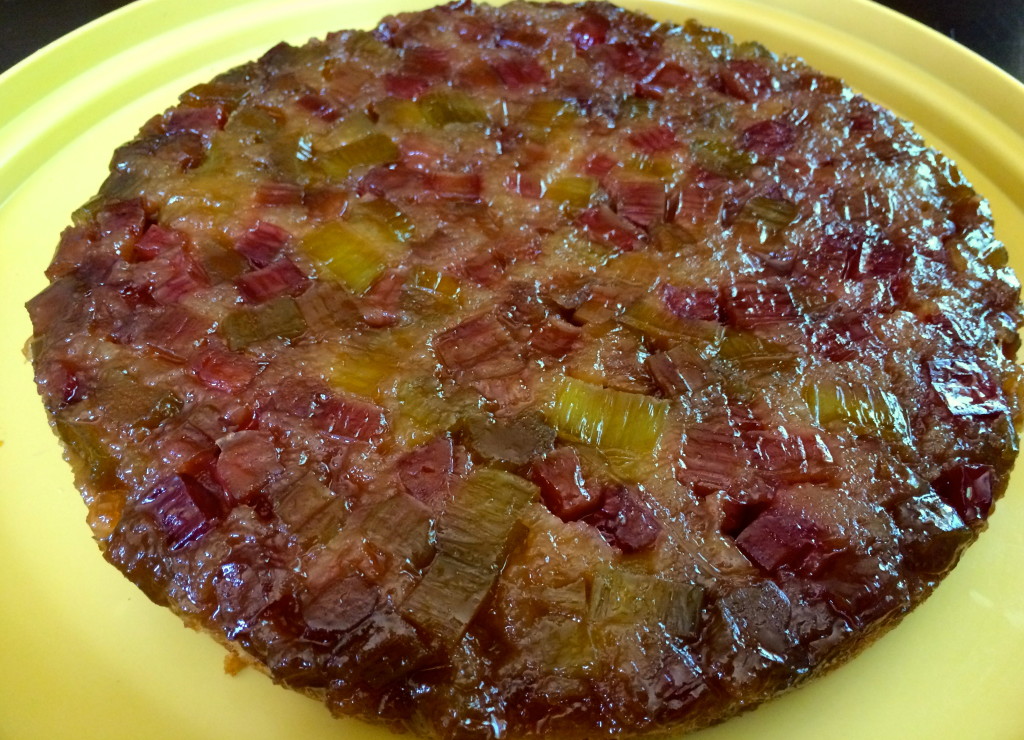
Invert the cake.

IMG_2410

Be proud. Be happy. Serve with whipped cream or ice cream if desired.

IMG_2413

Ground Chicken Enchilada Casserole

IMG_3699

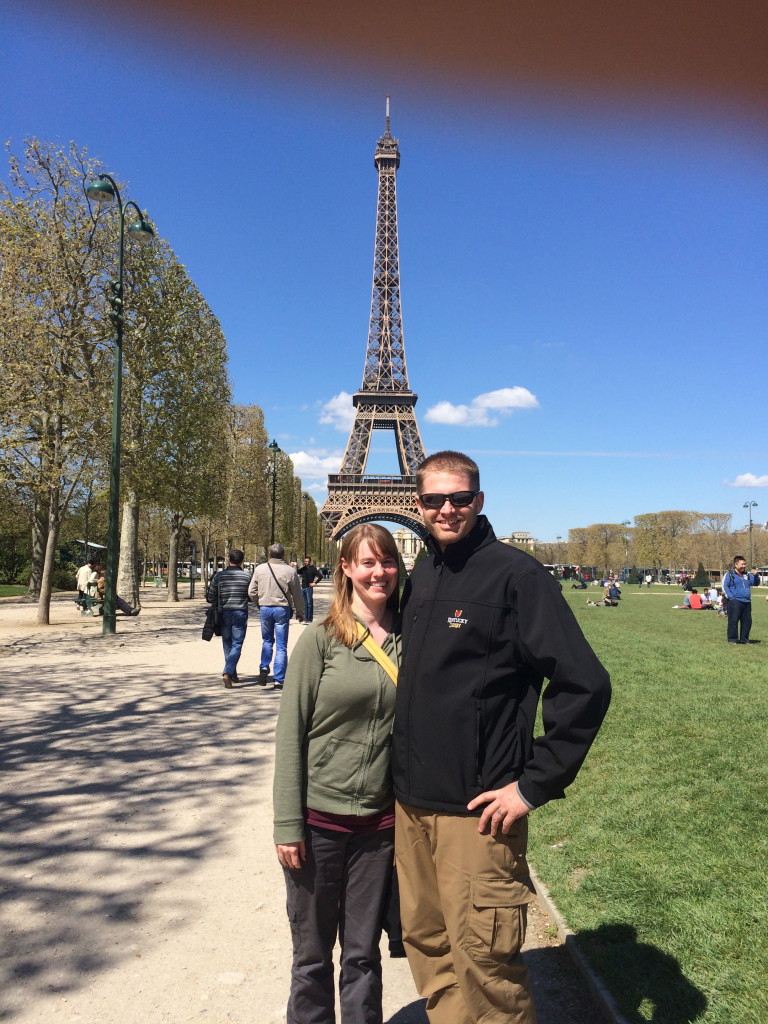
I just got back from a honeymoon in Europe specifically Paris & Barcelona. I had not cooked for 2 whole weeks so wanted to make something easy my first night back home. I knew a casserole was the answer. I know it’s a pretty Minnesotan thing to make and not very fancy for my first night back home but it was quick & easy & delicious.

Seeing as how we hadn’t been home for 2 weeks I didn’t have very much to work with. Besides some whole chickens in the freezer, which would take forever to thaw, I had 1lb of ground chicken. I knew this was what I could work with. Based on my pantry & fridge ingredients I knew that an enchilada casserole was in store.

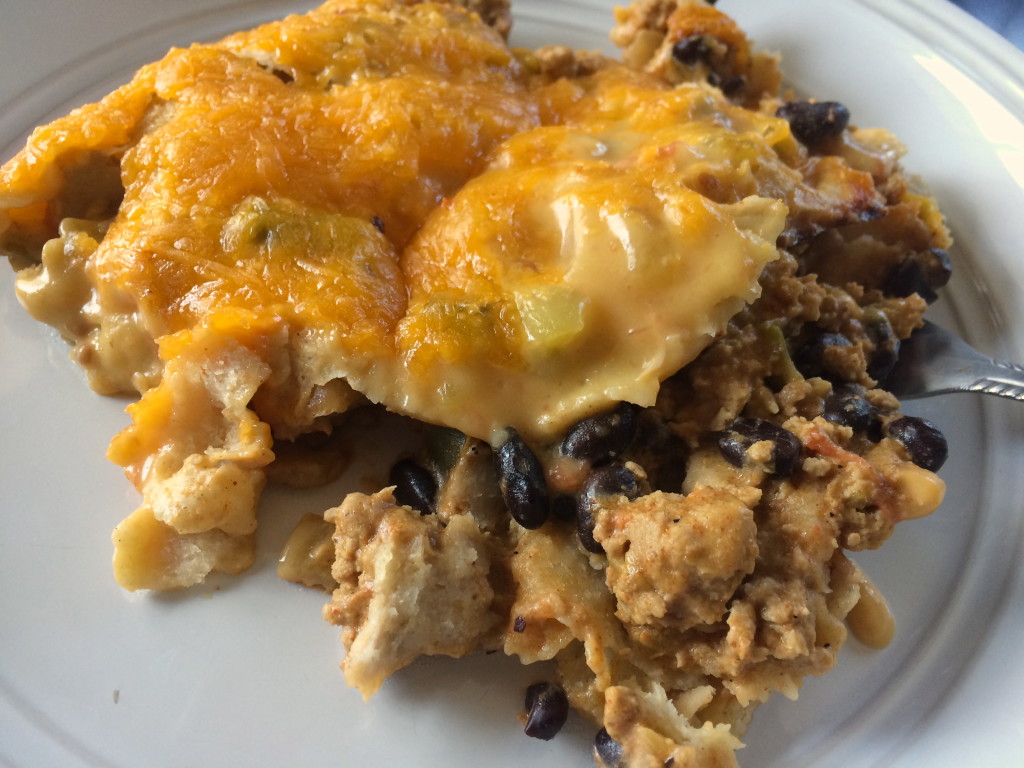
Casseroles get a lot of grief but they are truly a godsend. Yes, it often looks like dog food. It’s hard to photograph certain casseroles well. Don’t even try. Really. I used corn tortillas as well so nothing holds its shape. You don’t even have to make enchiladas. Just layer the tortillas, add the filling, top with more tortillas, and finally the sauce. It looks a mess but just enjoy the simplicity & the deliciousness of it.


Ground Chicken Enchilada Casserole (serves 4)

  • 1 lb ground chicken
  •  taco seasoning
  • 4oz cream cheese (I used light)
  • 1 can black beans, drained & rinsed
  • 1/2 cup chunky salsa, divided
  • 4oz can diced green chilis
  • 8 corn tortillas, torn into pieces
  • 1 can cream of chicken soup
  • shredded cheddar cheese

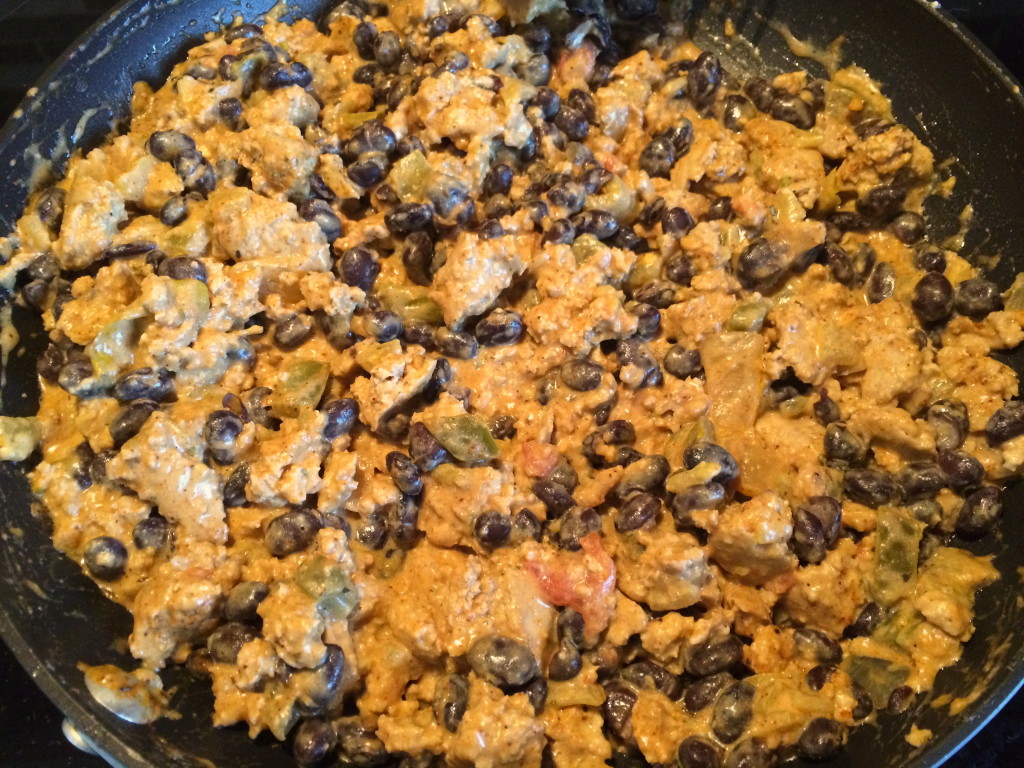
Brown the ground chicken and add taco seasoning to taste. Add the cream cheese & stir over low heat until the cheese has melted & is thoroughly mixed with the meat. Add the black beans, 1/4 cup of the salsa, 1/2 of the green chills & stir to combine. I also added a tsp of ghost pepper salsa at this point for some extra heat.

IMG_4366


Mix the can of cream of chicken soup with the rest of the salsa & green chilis. Spread a small amount over the bottom of a casserole dish (I did 2 smaller dishes so we would have another one to bake at a later date). Layer half of the tortillas in the dish (s) and top with the filling. Top with the rest of the tortillas. Finally, spread the sauce over the tortillas. Bake for 40 minutes at 400F and top with shredded cheddar cheese. Bake for 5 more minutes. Serve and enjoy!

IMG_4371

Poutine


IMG_3068


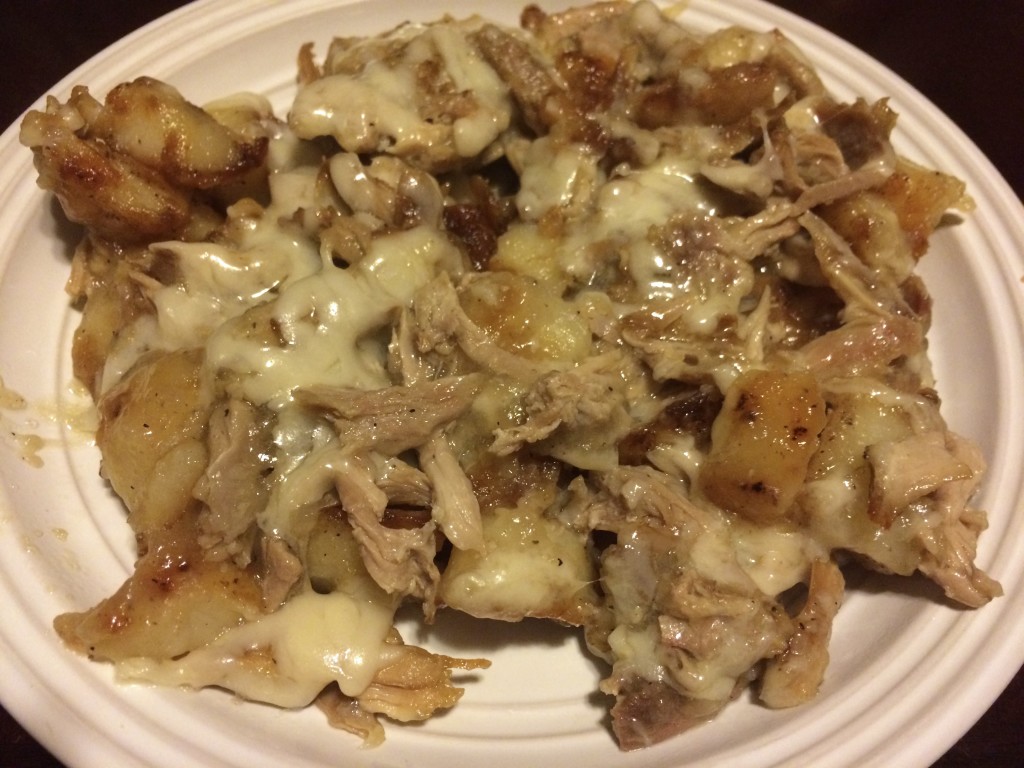
I have never had real Poutine. I don’t know how this is possible considering I live in Minnesota or Almost Canada. I had poutine at the MN State Fair but it wasn’t real Poutine. It was more like a fast food version. This recipe might not be traditional but it is delicious. Maybe one day I will have a traditional version but until I do this will suit me just fine.

Poutine (serves 2)

  • 1-1.5 cups shredded cooked duck
  • 1 cup duck gravy
  • 2 cups diced potatoes
  • 2 tbsp lard
  • salt & pepper to taste
  • shredded swiss cheese

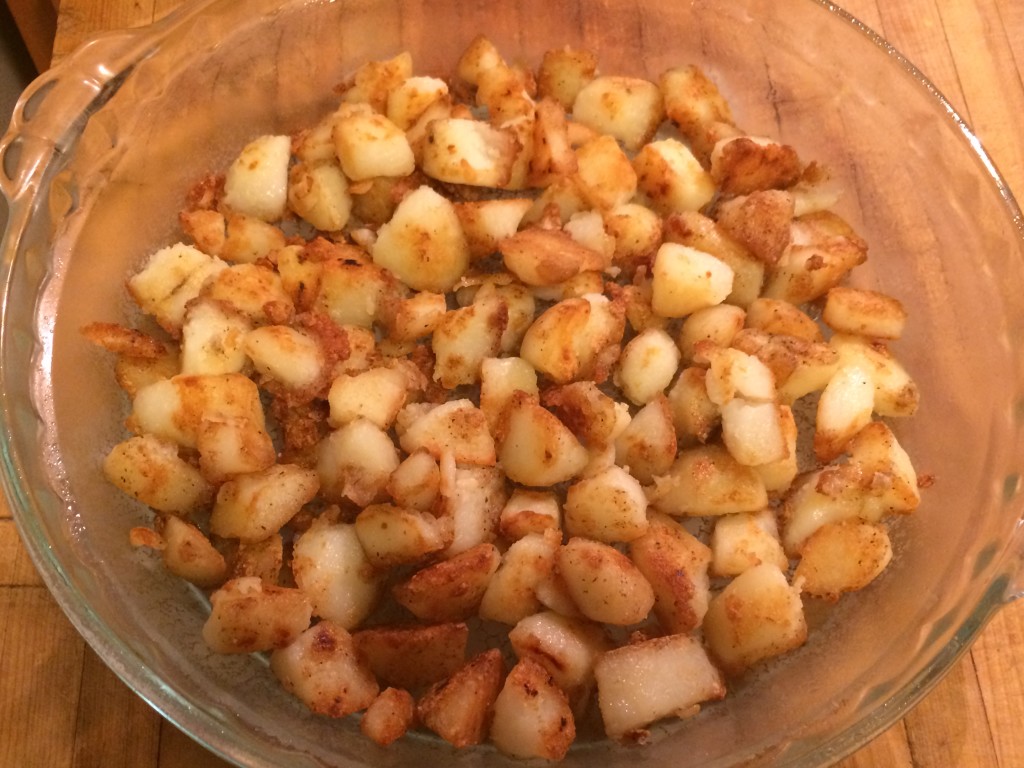
Fry the potatoes in the lard with salt & pepper until crispy. Place in a pie plate.

IMG_3064

Top with shredded duck and then gravy. Bake for 15-20 minutes until duck is heated through. Top with swiss cheese. Bake for 5 minutes more until cheese is melted. Serve & enjoy

IMG_3068

Walleye Cakes & A Poached Egg

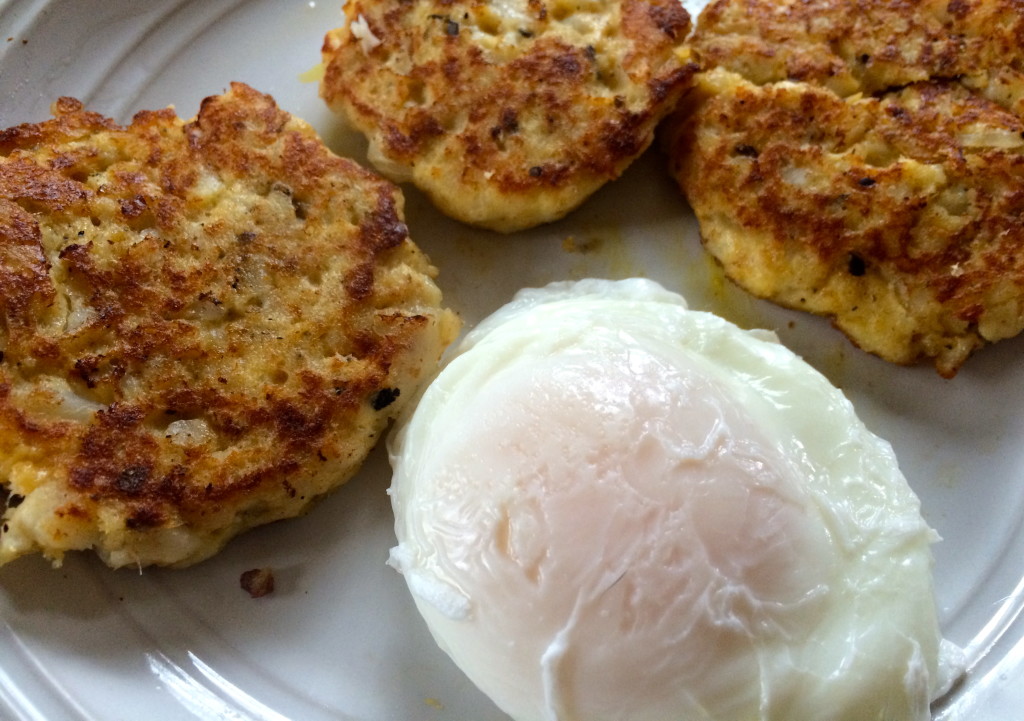
This was an exceptionally short ice fishing season. It hasn’t been this short in 28 years for everyone in Almost Canada. For Lake Minnetonka it was the shortest ice out season since 1887. Wow. That is a crazy record. Because of this I didn’t get to go fishing as often as I would have liked. Normally I have to find creative ways to work through all the walleye we catch but not this year. I decided to make walleye cakes with this batch which is one of my favorite ways to eat walleye. I was even adventurous enough to make poached eggs for the first time & was very pleased with the results.

Walleye Cakes (serves 2)

  • ½ vacuum sealed bag walleye (roughly 4 small fillets or 2 medium fillets) previously cooked*
  • 1 egg
  • 2 tbsp Mayonnaise
  • 1-2tsp Lemon juice
  • 1/4-1/3 cup potato flakes
  • Oil
  • 2-4 poached eggs (I just served 1 egg per person but feel free to do more)

*To cook the walleye, place the walleye on a baking sheet lined with foil & spray with cooking spray or lightly coat it in olive oil. Lightly season the fillets on both sides with blackened seasoning or cajun seasoning. Spray fillets with cooking spray or drizzle with olive oil. Bake for 10-15 minutes depending on the size of the fillets until cooked through. Once cooked, place them in a medium mixing bowl in the fridge covered with plastic wrap to be used the next day or shred into chunks to be used immediately.

Cooking the Walleye Cakes: Shred the fillets if needed. Add all the ingredients except for the oil & the eggs that you will poach.

Mix the ingredients & form into patties (makes roughly (6) 2in patties – 3 patties for each person).

Place a small amount of oil in a skillet over medium to medium-high heat & cook the walleye cakes for 2-3 minutes per side until golden brown & heated through. Place on a paper towel to drain off excess oil.

Serve with poached eggs.IMG_2256

Mini Veggie Burgers

IMG_3149

I have been in the process of planning a wedding (and honeymoon) for roughly 1 year. Everything is almost done except for the final details and miscellaneous items. This has consumed my time greatly and I haven’t been blogging as much as I could. Not that it really matters as there are about a handful of people who actually read this but that is not the point. The point is that I have been absent and miss it as it is a hobby of mine.

Most people planning a wedding go on diets & complete fitness programs in hopes of having a “wedding body” that will look great in person, but also very importantly, in photos. I did no such thing. I recently lost a lot of weight in the previous 1.5 years (all of 2014-june 2015) but that is a different topic related to health that I will write about at a later date. No. I did not do the wedding plan diet/work out craze.

I don’t really believe in them. I believe in eating well but enjoying my food & being active because it makes me feel good, takes away stress, and I sleep better. Instead, I have been doing what I always do when it comes to food and fitness. So today was like every other winter saturday as my guy is out being an ice fishing guide.

When he is out on the ice I am left alone to do what I want to do. To cook what I want to cook. Since he is a meat & potatoes guy, I try to experiment with vegetarian dishes as I know he would otherwise disapprove. As I was staring into my pantry (fully stocked as I live in the middle of nowhere) I noticed a can of garbanzo beans or chickpeas. I immediately knew that I was going to make veggie burgers. So simple & so delicious. It won’t hurt your waistline either. So if you are trying to find healthy new recipes because you are on a diet (I won’t judge), you just like to eat well, or you are experimenting with vegetarian dishes like me, than this is a recipe you should try. I think even my meat & potatoes man might like it (he used to think falafels were made of meat after all).


Mini Veggie Burgers (serves 1)

  • 1/2 cup canned chickpeas (drained & rinsed)
  • 1/4 cup rolled oats
  • few splashes lemon juice
  • 1-2 tsp mayonaise
  • few dashes each onion powder, garlic powder, oregano, paprika, cumin, & cayenne
  • salt to taste
  • 2 tsp olive oil

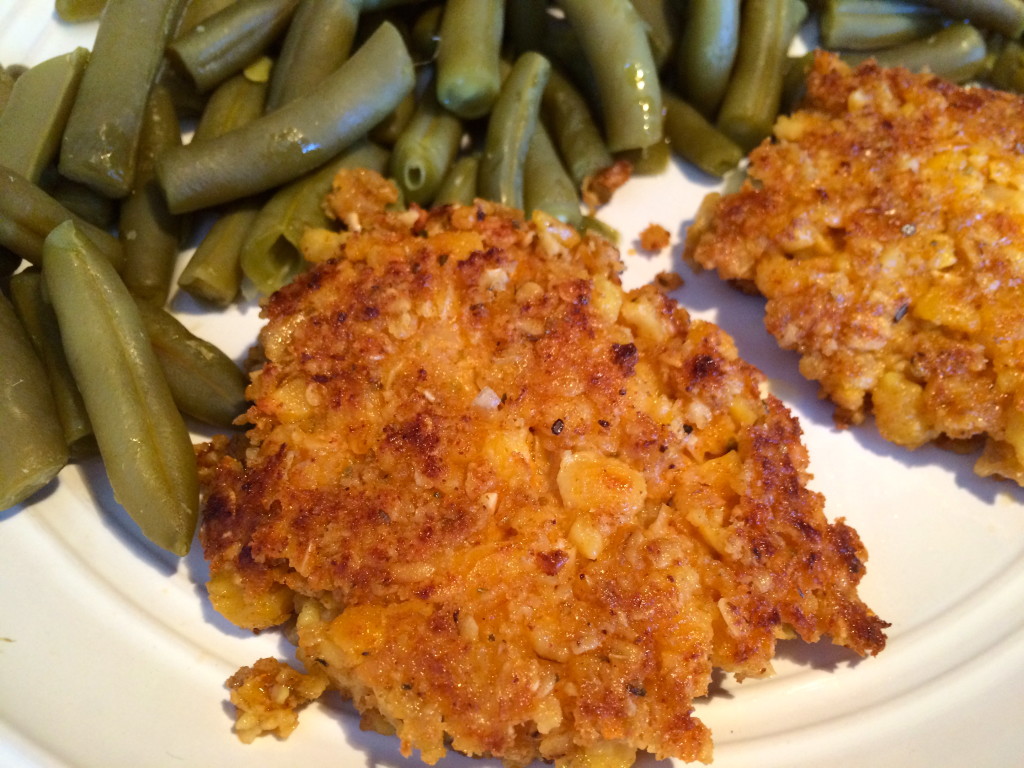
Mash the chickpeas into a bowl. Add all the other ingredients except the olive oil and mix well. Form into two patties. Heat the olive oil in a small skillet & cook the patties for about 3 minutes per side on medium heat or until golden & slightly crispy and heated through. Serve on a bun with burger condiments or serve plain with a side of your choice (I ate mine plain topped with spicy asian chili sauce & used a can of green beans for my side as it was in my pantry).

IMG_3149