Summer of Rhubarb: Rhubarb-Raspberry Pie


IMG_2271


Memorial Weekend is the kick-off to summer. Fishing, gardening, barbecues, and fruit pies. In Minnesota, rhubarb pies are very common and for me, summer is also about rhubarb. It was a no-brainer that for my Baking Sunday this memorial weekend I decided to make a Rhubarb-Raspberry Pie using some frozen rhubarb that I had from last summer.

What a great way to kick-off the Summer of Rhubarb.

IMG_2275

Rhubarb-Raspberry Pie

  • For the crust… (use store-bought or your favorite recipe. This is my quick go-to cause I always have these ingredients in my pantry)
    • 1 1/4 cups all-pupose flour
    • 1/4 tsp salt
    • 1/3 cup shortening
    • cold water
  • For the filling…
    • 4 cups fresh or frozen rhubarb
    • 2 cups fresh or frozen raspberries
    • 1/2 tsp cinnamon
    • 3/4 cup sugar
    • 1/3 cup flour
  • For the crumb topping…
    • 1/2 cup flour
    • 1/2 cup packed brown sugar
    • 3 tbsp cold butter


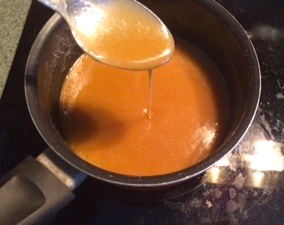
Crust: Combine the flour and salt in a medium bowl. Cut in the shortening until the mixture is in pea-size chunks. Add cold water a tablespoon at a time, pushing the moistened dough to the sides. Add enough water until the dough is moist enough to hold a ball shape. Lightly flour a clean surface and roll out the dough to be 1/8 in thick. Line a 9in pie plate with pastry. Crimp edge as desired.

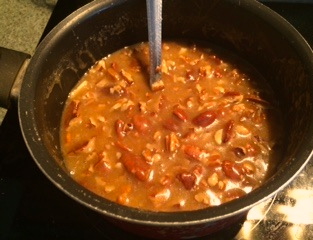
Filling: Stir together the sugar, flour, & cinnamon. Add the fruit. Gently toss until coated (if using frozen fruit let stand for 45 minutes until the fruit is partially thawed but still icy).

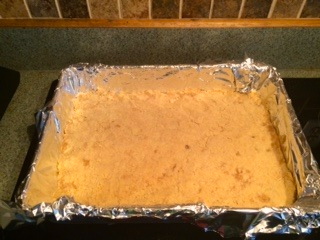
Crumb topping: Stir together the flour & sugar in a medium bowl. Cut in the butter until the mixture resembles coarse crumbs.

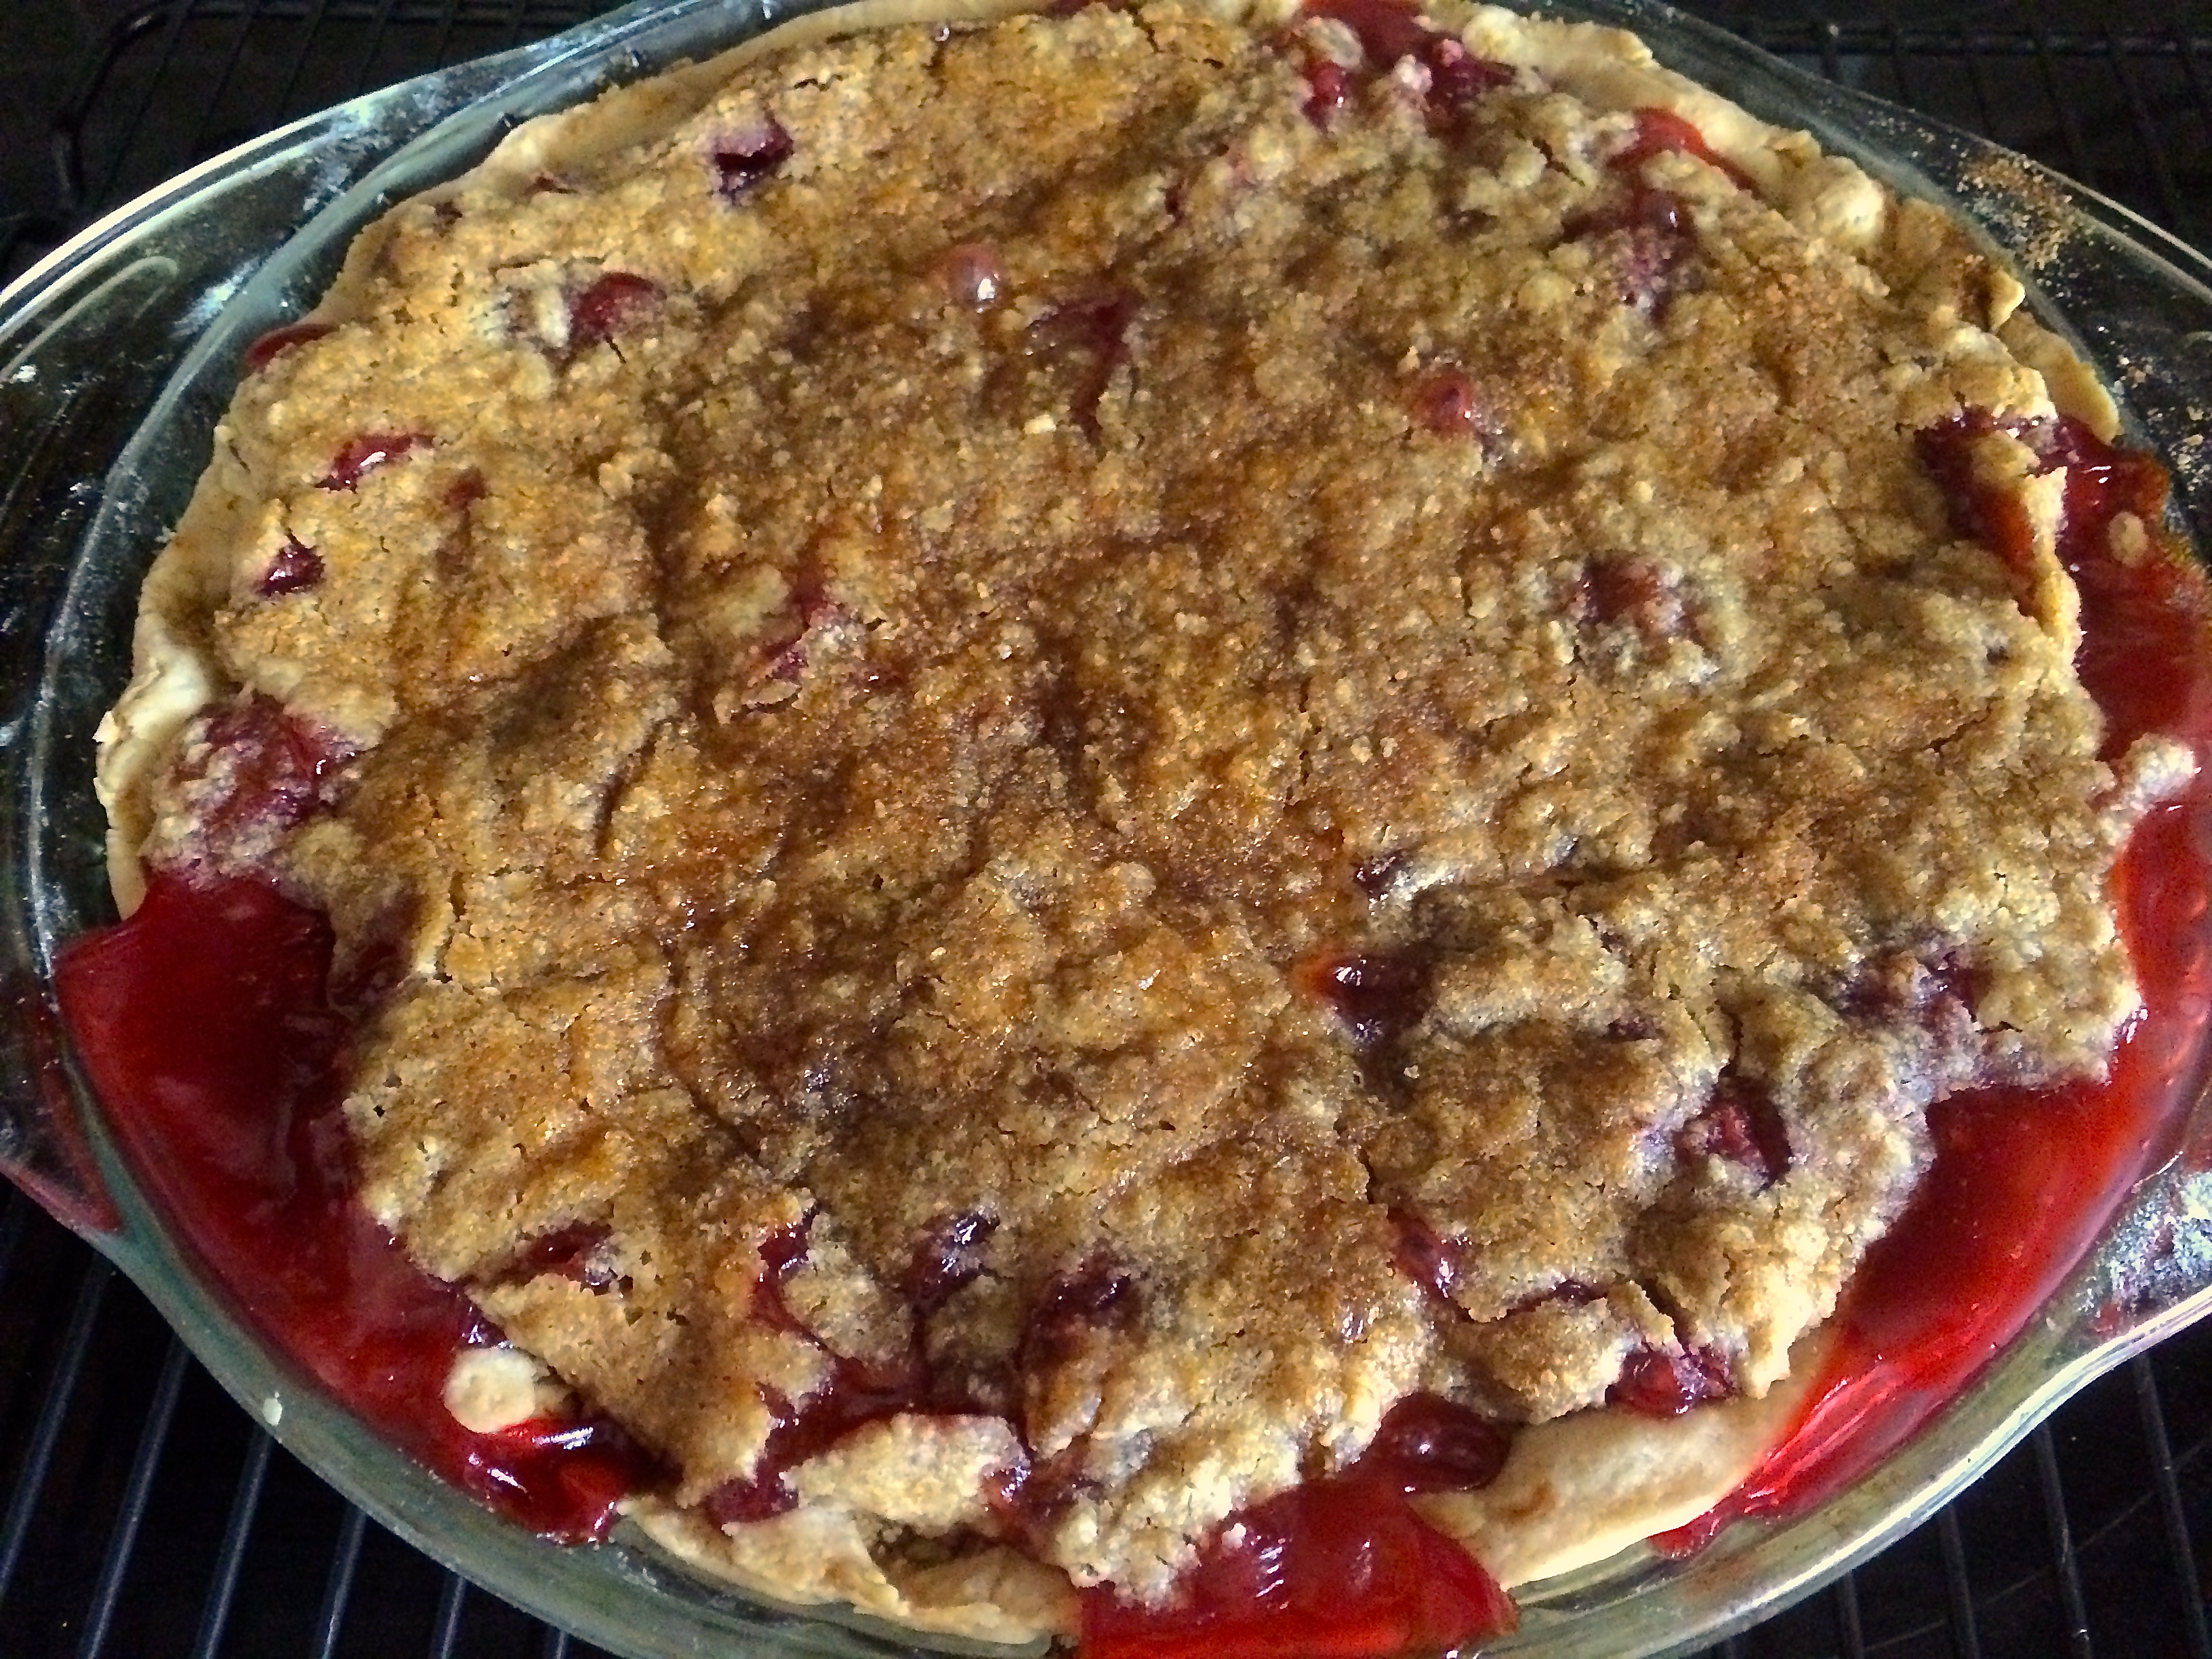
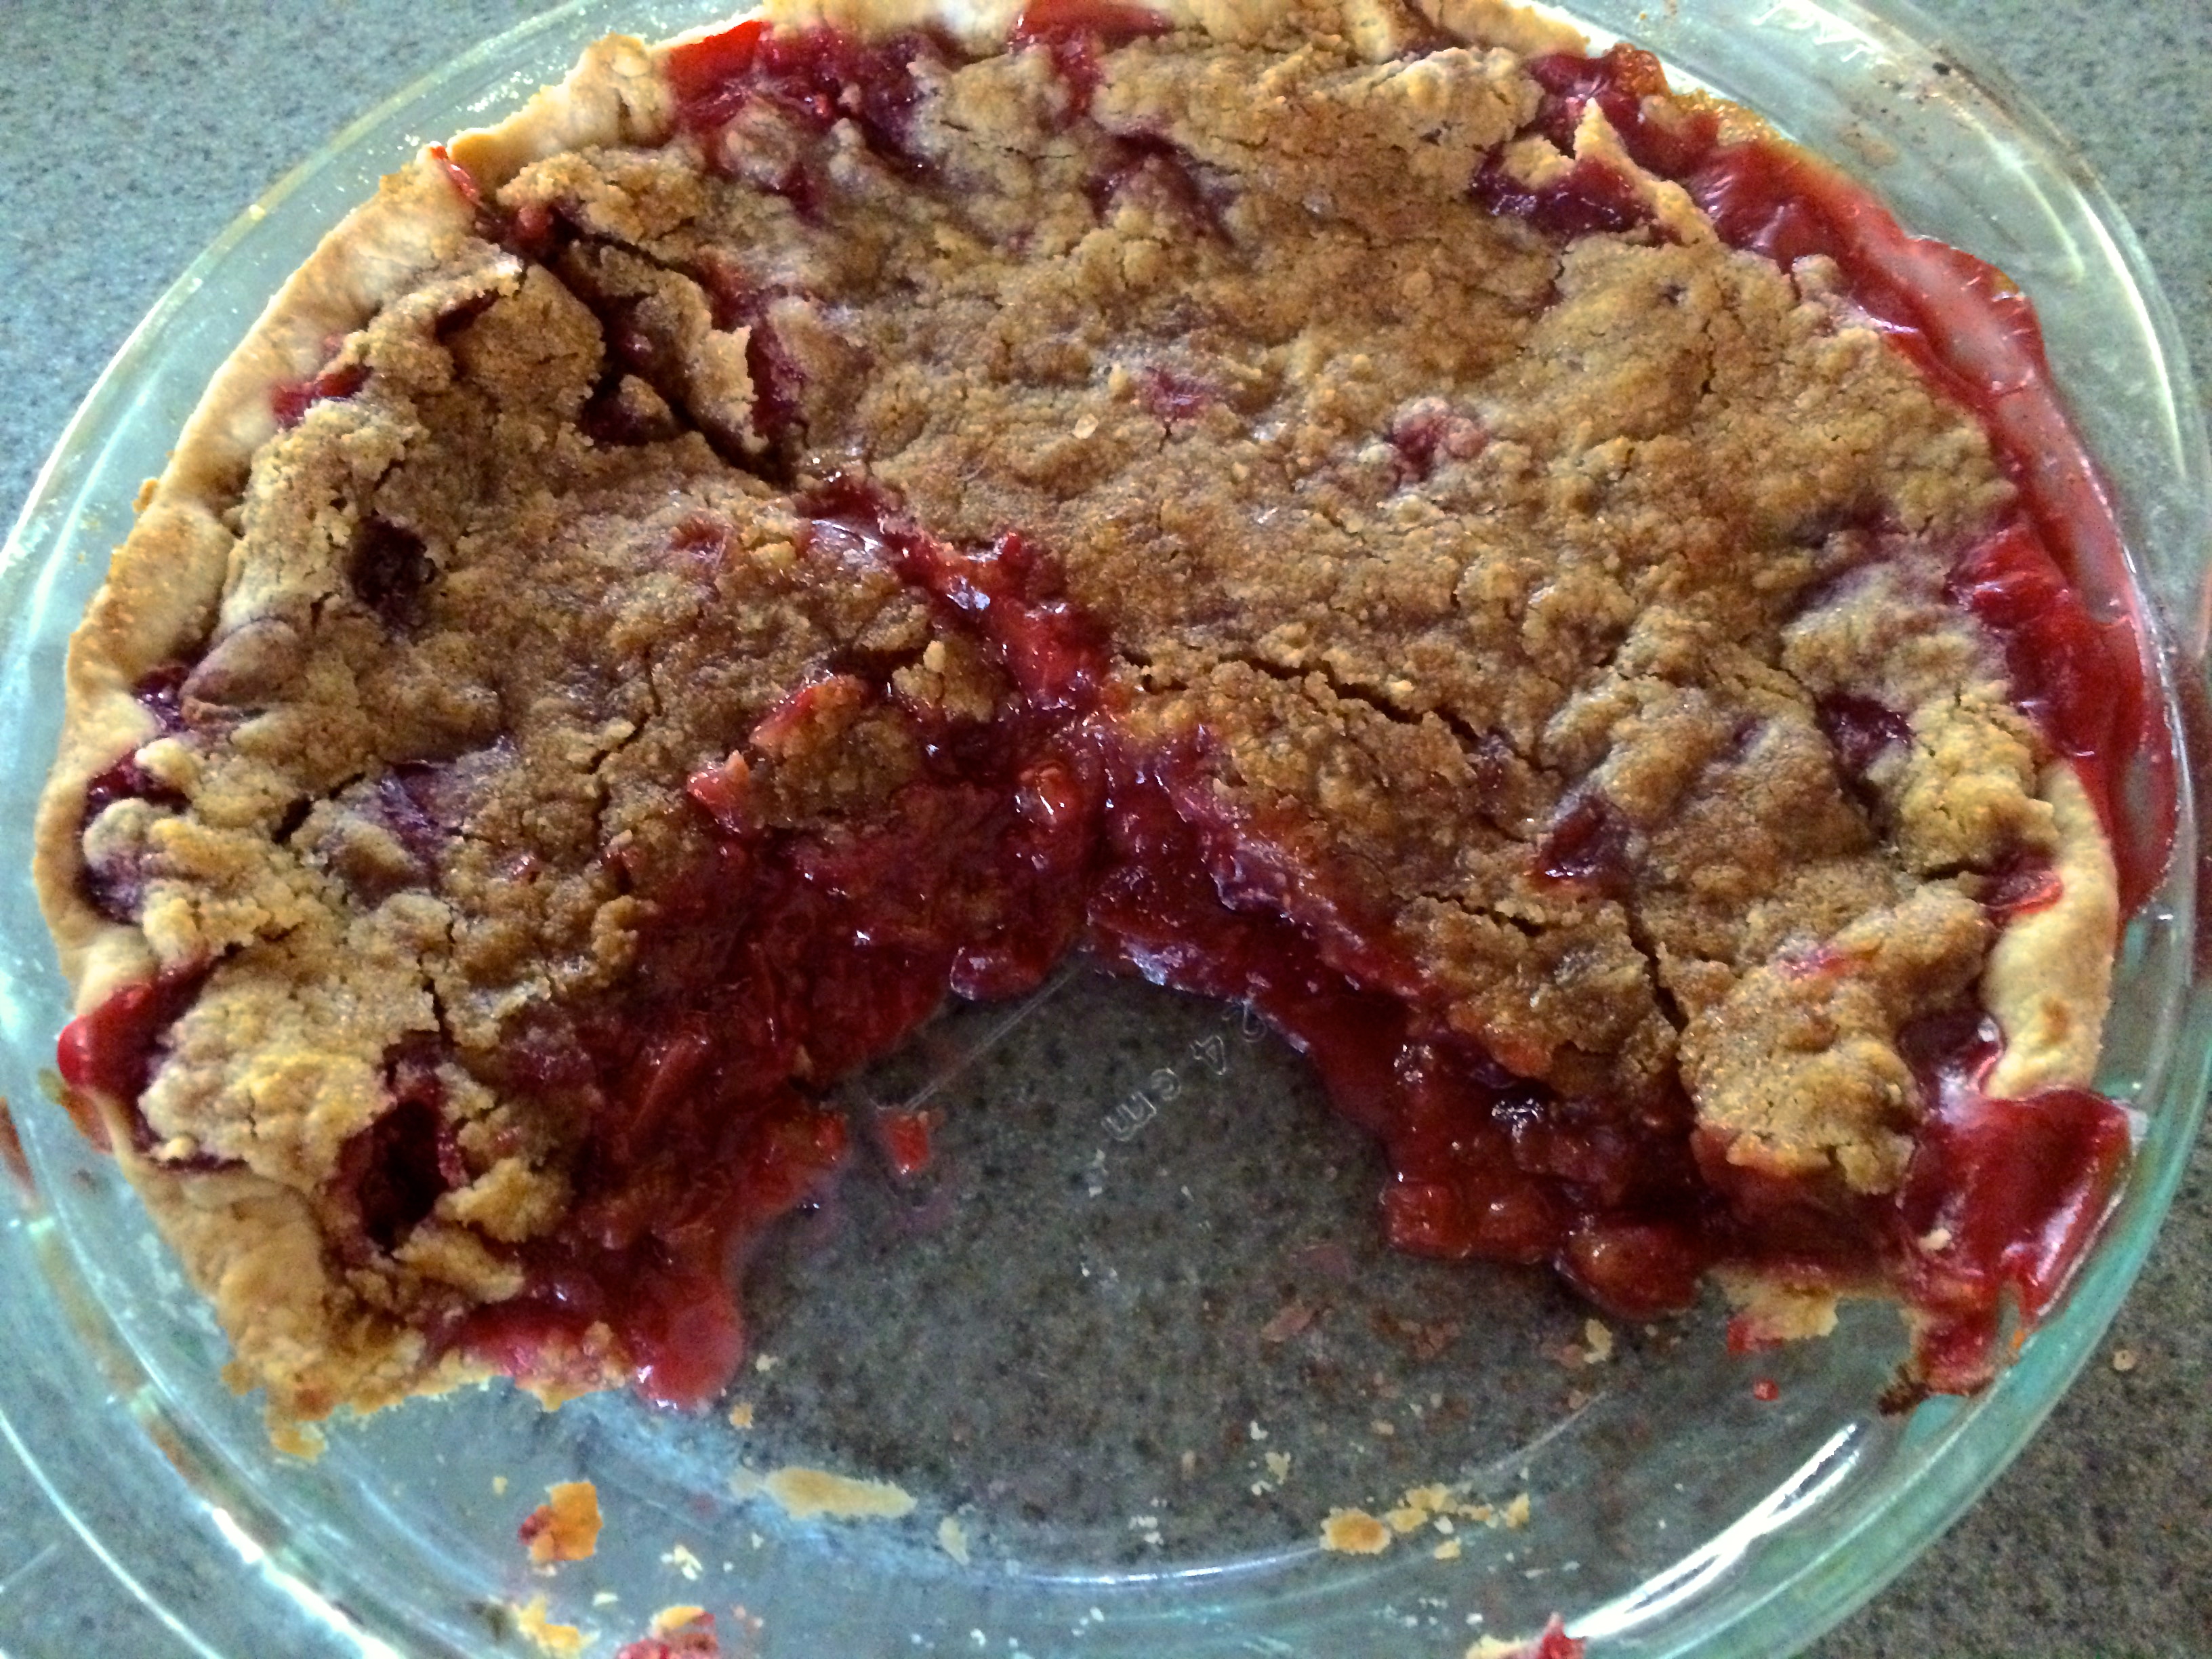
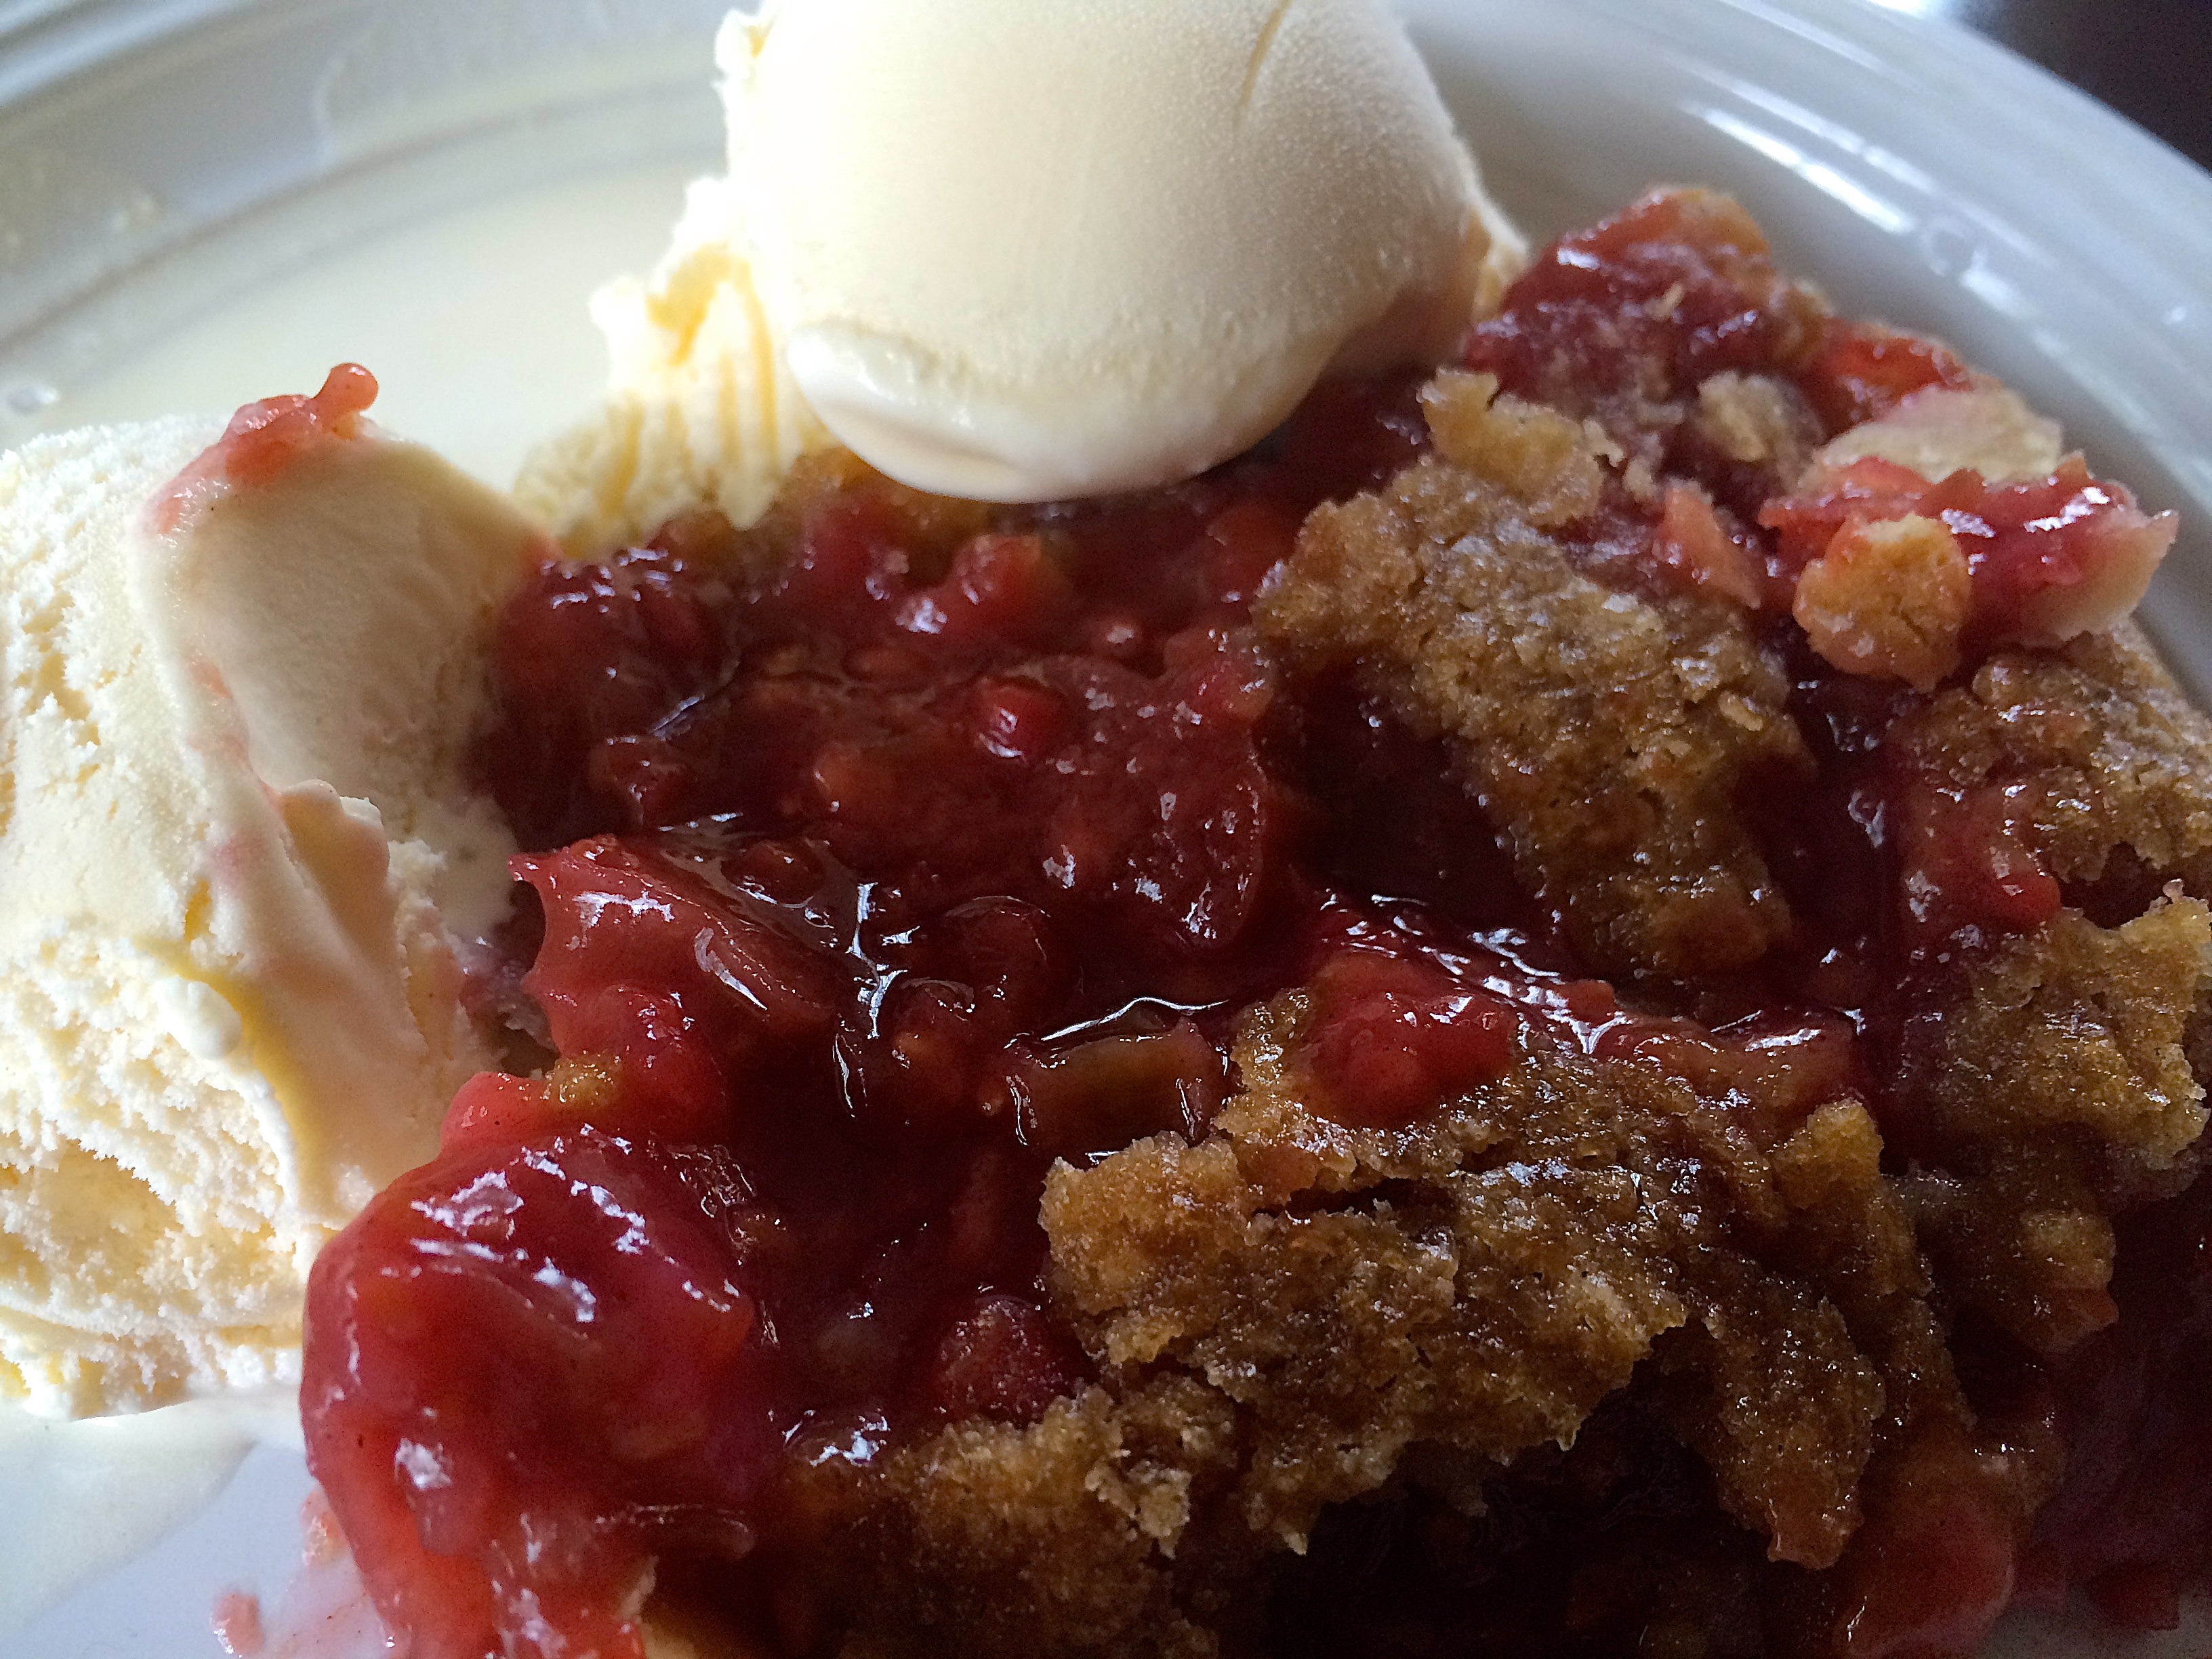
Assembly: Pour the prepared filling into the pastry lined pie plate. Top with crumb topping. Line edge of pie plate with foil to prevent overbrowning. Bake in a 375F oven for 25 minutes (50 minutes if using frozen fruit). Remove foil and bake for another 30-40 minutes until crust & topping are golden and filling is bubbly). Let cool on a wire rack for at least 2 hrs (this will prevent your pie from running all over the place). Serve with vanilla ice cream if desired.

IMG_2273


Boston Cream Pie, Deconstructed

I’ve been on vacation for about a month. Well, not exactly, but it feels as such. I  spent time in Florida, went turkey hunting (which I shall write about shortly), and went to Arizona. Thus, I have not been baking. As I set out to bake on Baking Sunday for the first time in a long time, I had no idea what I wanted to make.

I knew I didn’t want to make cookies or brownies as those are my go-to baked goods. I wanted to do something a bit different. Not necessarily fancy or complicated, but just not my norm. I was thinking cake. After much deliberation (yes I deliberated over this trivial matter) I decided to make Boston Cream Pie. I have never made one before so figured I should give it a go.

I prepped the filling and it looked superb. I prepped the batter and popped the cake in the oven. It came out looking amazing & smelled even better. I let it cool slightly and went to invert the pan and…it did not come out of the pan the way it was supposed to come out. All bakers have experienced this. Part of the bottom of the cake remained in the pan during the inversion process and it resulted in a split cake.

At first I thought it would be OK. I had to slice it in half anyway for the two layers required for the finished good but it had split in a way that this would not be possible.

I sat there grumpy, tapping my nails on the counter, & I tried to think of what I was going to do. I decided to just make Deconstructed Boston Cream Pie.  I don’t know if that exists or not but that’s what I did. I took my aggression out on the cake and crumbled it into various sized pieces. I made the glaze as planned. I then assembled my new creation by layering crumbs, filling, more crumbs, and then the glaze in muffin cups.

IMG_2244

It might not be what I intended to make, but kitchen mishaps are bound to happen. It’s all about adapting and making it work. True in the kitchen & true in life.

Recipe From Betty Crocker: Boston Cream Pie

Banana Pancakes

IMG_1939


It has been about 2 months since my fishing guide became a real fishing guide and consequently we do not get to spend much time together. He works long days every day and I am left to entertain myself. Don’t get me wrong, I love alone time. I am the type of person who would rather hang out by myself than go out on most occasions. But on Sundays, it does feel a bit lonely.

Sunday was always our day to relax (like most people I assume). We drink coffee together in the morning, have a nice brunch type breakfast, and then he would watch football and I would bake if it were that time of year which it currently is.

I have been baking despite his absence which is easy enough to do, but I do miss our Sunday brunches. It’s a little hard to pull off just for myself. Cooking a brunch for 2 is one thing and cooking a whole brunch for one is another. I know it can be done, but it just doesn’t have the same feeling.

This Sunday I decided to make Banana Pancakes. I have seen numerous recipes on the web and this once is my version of it. It is very simple but delicious. It is also a good recipe since it is easy to make for just one person and I know my fishing guide wouldn’t enjoy it as much as I do. It’s the perfect breakfast dish to give me that brunch type feel while he is gone.

Banana Pancakes

  • 1 small banana
  • 1 egg
  • 1/8 tsp baking powder
  • cinnamon & nutmeg
  • 1 tbsp peanut butter, optional
  • cooking spray or butter

In a bowl, mash a banana very well. Try to get rid of as many lumps as possible (a more ripe banana works very well). Beat one egg into the mashed banana. Add the baking powder and as much cinnamon and nutmeg as desired.

IMG_1938

Heat a skillet over medium-low to medium heat. Spray with cooking spray or melt butter if desired (I used spray as I was using peanut butter at the end). Pour 1/8 cup batter onto hot greased skillet and cook as if cooking a normal pancake (this will make about 6 pancakes. I find making the smaller pancakes works better for flipping). The edges with firm up and the batter will start to bubble.

IMG_1930

Flip with a spatula and cook the other side. Meanwhile, heat peanut butter on the stove or in a microwave until softened enough to drizzle (feel free to add a teaspoon of honey to this as well if desired). Drizzle peanut butter over pancakes if using (these are delicious plain if you do not like peanut butter). Enjoy eating well, even if it is by yourself.

IMG_1939


Cold Weather, Tropical Muffins

Winter is finally here in Northern Minnesota which I like to refer to as Almost Canada. It has been mild compared to last year when I moved up north. Last year was one of the coldest winters in awhile. This year it has been rather nice in terms of snow and freezing temperatures. But now winter is upon us.

IMG_1898

It snowed 8in the other day and today (Sunday) it is -15 to -30F for actual temperatures but it felt as cold as -50F. Burr. I am not complaining. If anyone should be complaining it is my fishing guide who became an actual fishing guide this year as he needed a job.

He gets up at 4:30 in the morning and many days he actually gets breakfast at work but it isn’t until 7:30 or 8 that he gets to eat. He has certain tasks he has to take care of first, so he needs a little bit of something to get him through the first few hours. That being said, he is not a big eater right away in the morning so he is not getting up to cook himself breakfast. He needs something that he can grab quickly.

I decided to make muffins. These are individually portioned so he can grab one or two and eat them as needed. The weather outside is terribly cold but these muffins remind you of warmer climates or warmer seasons to come.


Pineapple Muffins (makes 18 muffins or 1 loaf*) adapted from my Peach Bread recipe

2 cups flour
2/3 cup sugar
1 tsp baking powder
1/2 tsp baking soda
1/2 tsp salt
1/3 cup vegetable oil
2 eggs
1/2 cup pineapple juice
1/2 cup milk
1/2 cup to 2/3 cup diced pineapple
1/2 cup sliced almonds


IMG_1903

 
Preheat oven to 350F and grease a muffin tin or line with muffin cups. Mix the first 5 ingredients in a large bowl. Mix the oil, eggs, juice, & milk in a medium bowl. Add the wet ingredients to the dry and mix until just combined. Fold in the pineapple and almonds. Fill the muffin cups 2/3 full. Bake for 20-25 minutes or until a toothpick near the center comes out clean. Cool for 2 minutes in tin. Remove muffins and cool completely on a wire rack.

IMG_1905

*This recipe can also be used as a quick bread. Just pour batter into a greased loaf pan and bake for 50-60minutes or until a toothpick near center comes out clean. Cool for 10 minutes in pan on a wire rack. Remove bread from pan and cool completely on a wire rack before slicing.


Chocolate Coconut Christmas

I had grand plans for making many Christmas cookies this year. I wanted to do a cookie swap. No one else wanted too. We have a food week at work prior to Christmas so in a sense it was almost like a swap. I did make some cookies & baked goods that I don’t normally make: snickerdoodles, gingerbread men & cutouts, actual gingerbread, white chocolate gingerbread balls, and some chocolate coconut balls & cookies. The coconut balls were planned. The cookies that followed were not. I used the leftover filling to make the cookies. A complete accident, but one of the most delicious unplanned actions of my life. So while I didn’t get around to making all the cookies I wanted, I am quite satisfied with the results.

Filling:

  • 1 (14 oz.) can Sweetened Condensed Milk
  • 1 (14 oz.) package flaked coconut
  • 1 cup finely chopped pecans
  • 1 cup graham cracker crumbs
  • 1 cup mini semi-sweet chocolate chips (or coarsely chopped regular semisweet chocolate chips)

Combine all ingredients in a large bowl. Cover & refrigerate for at least 30 minutes.

IMG_1818

For Chocolate Coconut Balls:

  • Chocolate almond bark
  • shortening

Melt almond bark and add 1-2 tbsp shortening as needed to reach desired constancy. Roll the filling into 1 in balls and dip into chocolate. Place on a parchment lined cookie sheet & let cool completely. Store on the counter or in the fridge.

IMG_1813

For Cookies:

  • 1/2 cup butter, softened
  • 1/2 cup granulated sugar
  • 1/2 cup brown sugar, packed
  • 1/2 tsp baking powder
  • 1/4 tsp baking soda
  • 1 egg
  • 1 tsp vanilla
  • 1 1/4 cup flour
  • 1/4 cup cocoa powder

In a large mixing bowl, beat butter & sugars until combined. Beat in baking powder & soda. Beat in egg and vanilla. Scrape sides as needed. Beat in flour & cocoa powder. Dough will be moist.

IMG_1819

Preheat oven to 375F. Line two baking sheets with parchment paper.

Take some of the dough and roll into a 1-2in ball. Flatten on the parchment paper.

IMG_1826
Take a portion of the filling & form  into a 1/2-1 in ball. Place on dough & flatten slightly.

IMG_1827

Take the sides of the dough and form around the coconut.

IMG_1828

Bake for 8-12minutes depending on how big cookies are. Remove when cooked through but still soft. Allow to sit for 2 minutes (cookies will firm up). Place on a cooling rack to cool completely. Store on a counter in an airtight container for up to one week (the cookies didn’t make it to work as they were too delicious).

IMG_1833

Enjoy.

IMG_1838


Chocolate Pecan Pie Bars

I hadn’t baked since Halloween so knew that I needed bake some treats. Besides, all my Halloween candy was almost gone. With Thanksgiving approaching I wanted to make something a bit festive and asked my guy what he wanted. He said cookies or bars. I decided to make pecan pie bars but than added chocolate in a last minute decision cause I really wanted something chocolate as well. If you don’t want the chocolate than just add an extra 1/2-1 cup chopped pecans depending on how nutty you want it.

Chocolate Pecan Pie Bars (makes 32)

For the crust…

  • 2 sticks unsalted butter, softened
  • 2/3 cup brown sugar, packed
  • 2 1/2 cups flour
  • 1/2 tsp salt

For the filling…

  • 1 stick unsalted butter, softened
  • 3/4 cup brown sugar, packed
  • 1/2 cup corn syrup
  • 1 cup chopped pecans
  • 1 cup semi-sweet chocolate chips

Take a 9x13x2in pan and line with foil so that it has a slight overhang. Preheat the oven to 350F.

Crust: In a large bowl cream together the butter and brown sugar. Add the flour and salt and mix until crumbly. Press into the lined pan firmly. Bake for 20-25minutes until golden brown and no loose flour is visible.

Image 2


Filling: Meanwhile, in a medium saucepan melt butter with brown sugar and corn syrup over medium-low to medium heat.

Image

Add the chopped pecans.

Image 4

Pour over the crust and spread to all sides.

Image 3

Top with chocolate.

Image 1

Bake for 20-25 minutes and remove to cool completely in the pan. Remove the bars via the foil overhang and cut into bars. Place back into pan for storage. Enjoy.

Image 5


Chocolate Beet Cupcakes

This post is a bit delayed as I wrote it around Halloween. Just decorate them however you desire or not at all. I enjoyed them the best with no frosting.


As I had made Bloody Beet Cake I knew I needed to make chocolate beet cupcakes. I have this problem. Once I find something I have to go all out and keep trying different variations. This time, it is baking with beets. I threw together these cupcakes and was blown away. I think these might the best cupcakes I have ever made. I always have problems with trying cupcake recipes and they end up being dry or just not that great. These are neither. They are moist (I hate that word except for cake descriptions), fluffy, and super chocolately. I strongly suggest doubling or tripling the recipe.

I also made the same recipe but instead of butter I used 1/3 cup vegetable oil. I added all the dry ingredients to a bowl and then added all the wet ingredients on top. I just beat them until mixed and poured into a prepared muffin tin. The baking time is also the same. I do think the ones with butter were a smidge better, but they were both scrumptious.


Chocolate Beet Cupcakes (makes 1 dozen)

  • 6 tbsp butter
  • 1 cup sugar
  • 1/2 cup beet puree
  • 1/2 cup coffee
  • 1 cup all-purpose flour
  • 1/3 cup cocoa powder
  • 3/4 tsp baking powder
  • 1/2 tsp baking soda
  • 1/2 tsp salt
  • 1 egg
  • 1/3 cup chocolate chips
  • frosting (optional)

Preheat oven to 350F. Line a muffin tin with paper liners. Beat butter until soft. Beat in sugar until creamy. Add beet puree & coffee and mix until just combined. Add all dry ingredients and mix until incorporated. Fold in chocolate chips. Bake for 15-20 minutes or until tops are spongey and a toothpick inserted near the center comes out clean.

Feel free to frost with your favorite frosting. I did a few with cream cheese frosting & Halloween decorations as well. In my opinion though, I think they are amazing plain.

IMG_1651


IMG_1654


Bloody Beet Cake

IMG_1638


I just posted about Gory Cupcakes that I made two years ago which inspired this dessert. I wanted to make some elaborate cake or dessert but was not feeling that ambitious to take on such an endeavor. I decided that I should just stick to something that I knew would end up good. Since edible blood is the easiest Halloween item to make, I decided to make a blood splattered cake. As I had also just received a surplus of beets from a co-worker I knew a beet cake was in order. I had never made a beet cake but figured it would be similar to carrot cake or zucchini cake.

This cake is like a cross between a carrot cake & red velvet cake but without the food coloring in the batter. If I had made this for a party I would have added the red dye to get the extreme visual of red cake to blood splattered frosting. No one will know that there are beets in this cake. It is so light & fluffy and sweet that everyone will gobble it down. Be warned, after storing in the fridge it does become dense. Still delicious, but dense. Enjoy.

Bloody Beet Cake

  • 3/4 cup butter, plus more for greasing pans
  • 1 3/4 cup sugar
  • 3 eggs
  • 1 cup beet puree
  • 3/4 cup milk
  • 1 tsp white vinegar
  • 1 tbsp + 1tsp lemon juice
  • 1 tsp vanilla
  • 2 cups cake flour
  • 3 tbsp cocoa powder
  • 1 tsp salt
  • 1 tsp baking powder
  • 1/2 tsp baking soda
  • cream cheese frosting
    • 1 8oz pkg cream cheese (I used 1/3 less fat)
    • 1 tbsp milk
    • 1 tsp vanilla
    • 4 cups powdered sugar
  • blood
    • 2 tbsp corn syrup
    • 1 tbsp water
    • 2 tbsp corn starch
    • red, blue, green food coloring
    • chocolate syrup

Beet Puree: Trim off ends and peel 1-2 beets. Chop into chunks, place in a pot, and cover with water. Bring to a boil & boil until tender (about 30-45minutes depending on size of beets). Drain and place in a food processor & chop until pieces are very fine. Remove beets from the processor. Place one cup of this back into the processor and add milk, vanilla, vinegar, & lemon juice. Puree until smooth. Reserve the other beet puree for another use (feel free to make as much puree as you want by chopping more beets).

Preheat oven to 350F. Grease two 8-9in round cake pans with butter. Line with parchment paper and grease again.

In a large bowl, beat butter until fluffy. Add the sugar and beat until creamy. Beat in the eggs one at a time until just incorporated.  Add the beet mixture & mix until combined. Add all of the dry ingredients and mix until just incorporated scraping the sides as needed*. Pour into prepared cake pans.

*Note that if you want an intense red in the batter, as in a traditional red velvet cake, add a tsp of red food coloring to the batter at this point.

Bake for 25-30 minutes or until a toothpick inserted near the center comes out clean. Cool for 10 minutes on a wire rack. Remove from pans and cool completely. Place in the fridge or freezer for 30-60 minutes.

Frosting: In a large bowl beat the cream cheese, milk, & vanilla until light & fluffy. Add the powdered sugar in 1 cup increments and beat until desired texture is achieved.

Blood: Mix the corn syrup, water, and corn starch until desired consistency is achieved by adding more water or corn starch as needed. Add red food coloring until a deep red is achieved. Add 1-2 drops of blue &/or green food coloring (I did 2 drops of each). Add chocolate syrup to make a more blood-like color if needed (not very much is needed – don’t overdo it).

Assembly: Skim off the tops of the cakes if needed to make them flat. Frost the top of one with some frosting. Add the other cake, top side down, on top of this frosted cake. Add frosting to the top and spread in a even layer and coat the sides. Dip a pastry brush or tooth brush into the blood & flick at the cake to create a splattered blood look.

Serve at a party or just enjoy your creation.


IMG_1642

Pumpkin Cookies Revisited

IMG_1590


Seeing as how my last batch of Pumpkin Cookies was so temperamental in baking, I decided to try again. These cookies are much easier to bake and figure out when done. The are very cake-like in texture and taste great the day of or even a week later which is important to me in a cookie. I cannot stand making stuff that is only good for a day.

Pumpkin Cookies (Makes approx 2 dozen)

  • 1 cup all-pupose flour
  • 1 tsp ground cinnamon
  • few dashes each nutmeg & clove
  • 1/2 tsp baking soda
  • 1/2 cup butter (1 stick)
  • 1/4 cup granulated sugar
  • 1/4 cup packed brown sugar
  • 1/2 cup canned pumpkin
  • 1 egg
  • 1 tsp vanilla extract
  • 1 cup semi-sweet chocolate chips
  • 1/3 cup chopped pecans

Preheat the oven to 350F. Line two baking sheets with parchment paper. Combine the flour, spices, & baking soda in a medium bowl. Beat the butter and both sugars in a large bowl until creamy. Beat in the pumpkin, egg, & vanilla until combined. Gradually beat in flour mixture. Fold in chips & nuts. Drop by rounded spoonfuls onto prepared baking sheets. Bake for 10-12 minutes or until set and lightly browned. Let cool for 2 minutes on baking sheets & then let cool completely on a wire rack.

Divvy up the cookies so that they don’t all get eaten (I use yogurt & cottage cheese containers).


IMG_1586

Zucchini Bread Battle


IMG_1561


I received a giant zucchini from a co-worker. You know how it is, everyone gets sick of their zucchini crop and gives them away. Even though I grew my own for the first time this year, I didn’t get as much as I wanted, so I was happy to take everyone else’s surplus zucchini.

I decided to try two different breads. I cannot help myself. Making two different versions of food items has become a habit. One has twice as much eggs & oil as the other and uses almonds instead of walnuts & pecans. It also uses just baking soda instead of a baking soda & powder combo.

Depending on who you ask you get different results as to a favorite. It is a 50-50 tie more or less. In the future, I will use a combination of both depending on the ingredients I have on hand. I liked the look of version one in terms of rising so will most likely go with the baking soda only but liked the walnuts & pecan blend over the almonds. In terms of eggs & oil, the extra oil didn’t make too much of a difference in moisture but the extra egg might have affected the rising of the bread so maybe I will play around with that some more. With that being said, both are delicious & I encourage you to make them or play around with your own recipes.

Zucchini Bread trial 1 (Right side of picture)

  • 1 1/2 cups flour
  • 1 tsp cinnamon
  • dash (or two) nutmeg & clove
  • 1/2 tsp salt
  • 1 tsp baking soda
  • 1 cup sugar
  • 1/2 cup oil
  • 2 eggs
  • 1 cup shredded zucchini
  • 1/3 cup sliced almonds

Preheat oven to 350F. Grease a loaf pan with butter. Mix the first 5 ingredients in a medium bowl. Mix the rest of the ingredients in another bowl. Add the wet ingredients to the dry. Fold in the almonds. Bake for 50-60 minutes or until a toothpick inserted near the center comes out clean. Cool on a wire rack for 10 minutes in the pan. Remove from the pan and let cool completely before slicing.

IMG_1581

 Zucchini Bread trial 2 (Left side of picture)

  • 1 1/2 cups flour
  • 1 tsp cinnamon
  • dash (or two) nutmeg & clove
  • 1/2 tsp salt
  • 1/2 tsp baking soda
  • 1/4 tsp baking powder
  • 1 cup sugar
  • 1/4 cup cooking oil
  • 1 egg
  • 1 cup shredded zucchini
  • 1/3 cup chopped walnuts or pecans (I did a blend)

Preheat oven to 350F. Grease a loaf pan with butter. Mix the ingredients from the flour through the baking powder in a medium bowl. Mix the rest of the ingredients in another bowl. Add the wet ingredients to the dry. Fold in the nuts. Bake for 50-60 minutes or until a toothpick inserted near the center comes out clean. Cool on a wire rack for 10 minutes in the pan. Remove from the pan and let cool completely before slicing.

IMG_1582