Summer of Rhubarb: Rhubarb Torte


us

It has been a long time since I have had time for anything let alone time to bake. This is my first creation on my first Baking Sunday in a long time. The reason I have been absent is because I was busy planning a wedding and European honeymoon. I love planning. I always say that if I weren’t a chemist that I would be an event planner.

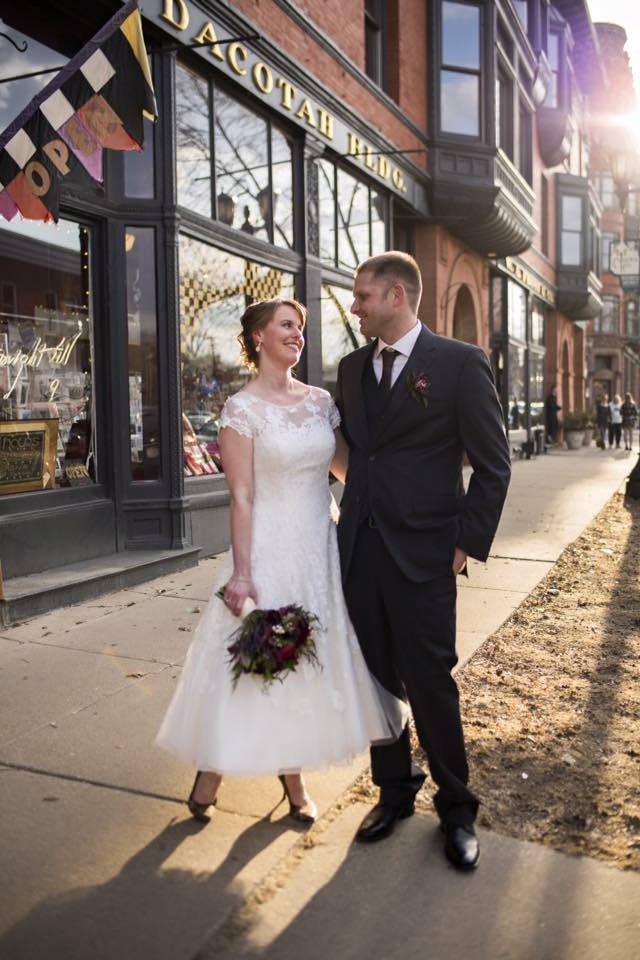
Our wedding was small but that doesn’t mean I had any less work to do. The only thing I didn’t have to deal with was the processional and music that coincides with that as well as bridesmaids dresses or bridesmaid flowers since I didn’t have any of those (honestly bridesmaid flowers are super easy because you just make them similar to the bride’s bouquet but have less flowers or simpler flowers). My flowers I spent a lot of time designing. I had a florist do the final arrangement but I gave specific flowers with colors and just told her (Kim from Artemisia) to arrange them.

flowers

Everything else I had to plan and I even had to write an entire ceremony since we did not have a church wedding which is not very easy to do. In addition, finding a venue for a small wedding (50 or less) is very difficult. All venues hold 100-300 so finding one with charm is not an easy task.

We ended up finding W.A. Frost which turned out to be absolutely amazing. It’s a small restaurant in historic St. Paul full of charm & beauty.

IMG_4794

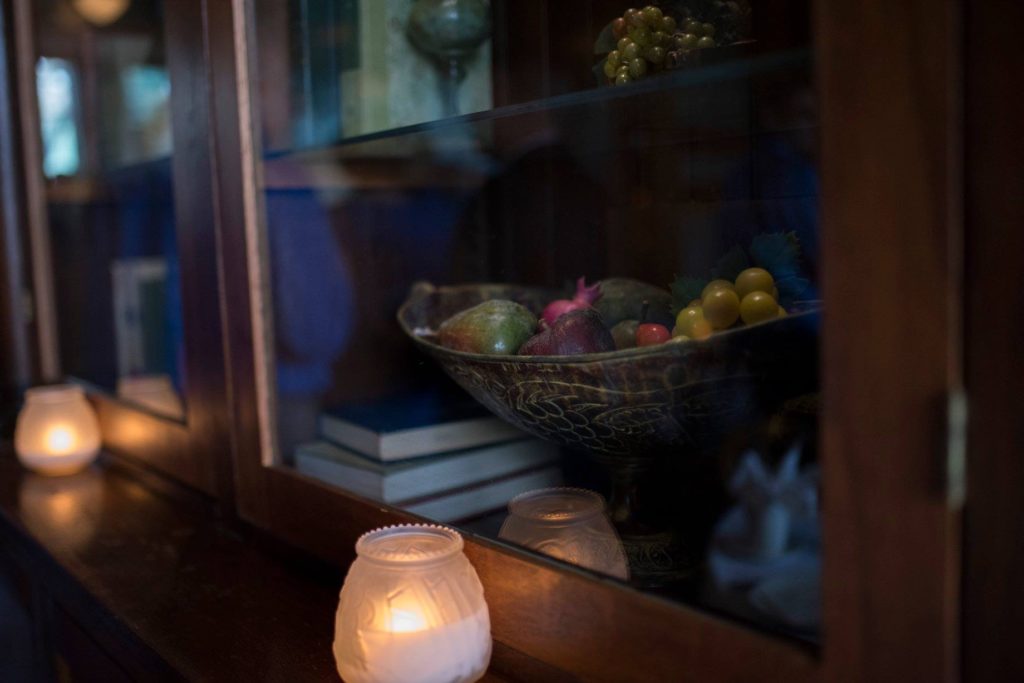
It is gorgeous inside and no decorations were needed.

IMG_4791

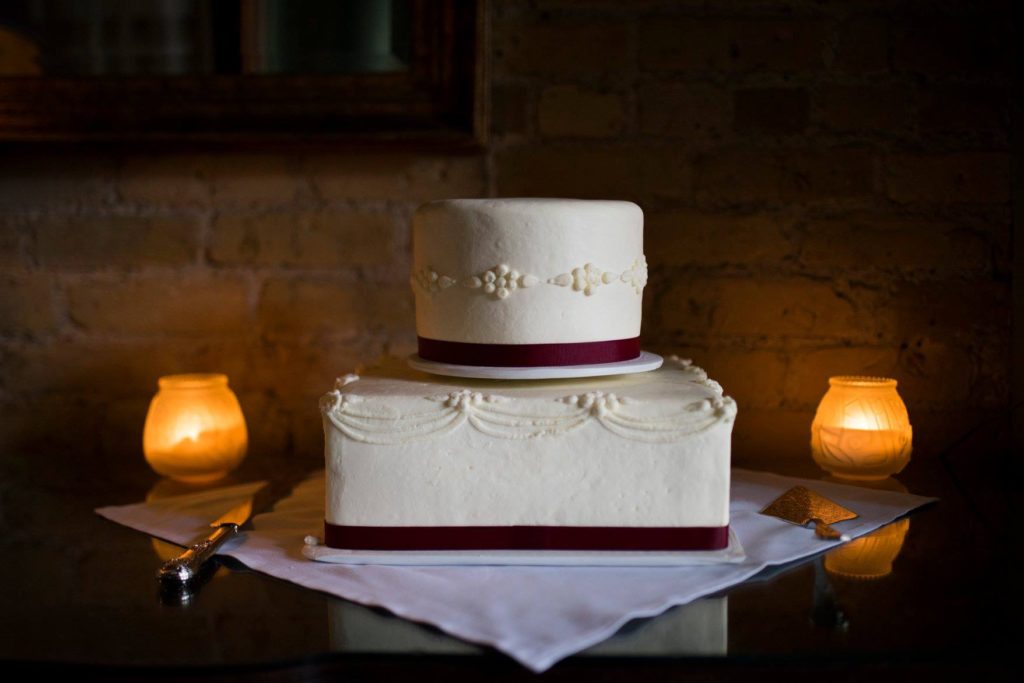
The two rooms we rented held 57 max so it was perfect. We went there for lunch before we picked it and I tried the bouillabaisse and my guy got a cheeseburger. We figured that if they could cook a high-end dish and a simple cheeseburger that no matter what we ordered for the reception would be fantastic. We weren’t disappointed. Everything was delicious. For the night of we went with a walleye dish, a pork dish, as well as a bistro steak. I had the steak the night of and it was incredible. For our cake we went with tiramisu for our top layer and strawberry lemon for the bottom layer from Buttercream. Buttercream is expensive but it is worth it. They really are the best for wedding cakes in Minnesota.

cake

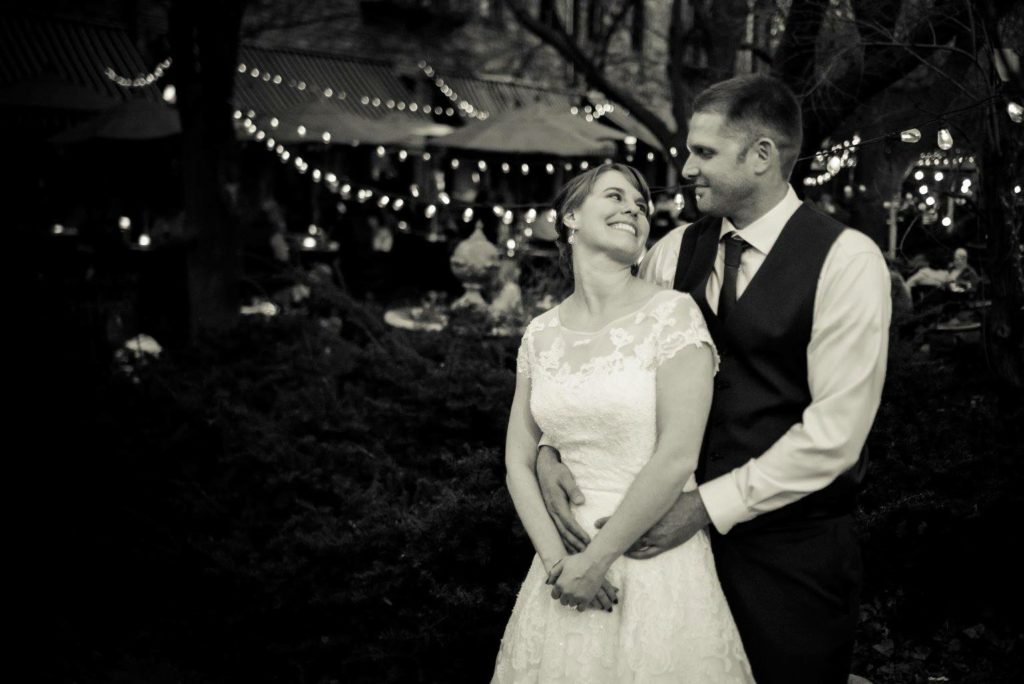
I should also mention that my photographer (Angela from Angela Divine Photography) was absolutely amazing and all my wedding photos are from her. I told her we only needed a few hours of coverage and she did better than I could have imagined. I knew I wanted her once I saw her portfolio as she did many small weddings, and with our wedding being under 50 it was a perfect match.

I could talk about all the other details of event planning but this post would go on forever. Needless to say it takes a lot of time to research options for every single item for a wedding and a European trip. There is a lot to consider but just take it one thing at a time while always thinking about the next 20 tasks coming up if that makes any sense. I guess that’s why I am good at planning. I’m great at multitasking & thinking about the future while enjoying & living in the present.

As of now, my rhubarb is growing like crazy. I will have plenty of things to make rhubarb-wise in the future so prepare yourself. Maybe I could actually remember to take a decent photograph of my baked goods before they all get eaten.

Rhubarb Torte

For the crust

  • 1 1/2 C flour
  • 7 T sugar
  • 1 1/2 sticks cold butter, cut into cubes

Heat the oven to 350°F. In a large mixing bowl, combine the flour and sugar. Cut in the butter as if you’re making a pie crust. Press the dough into a 9- by 13-inch pan.

For the custard

  •  2 eggs
  • 3/4 C granulated sugar
  • 3/4 C brown sugar
  • 1 tsp vanilla
  • 1 C flour
  • 3/4 t baking soda
  • 1/2 t salt
  • 3 C fresh rhubarb (I used the red variety)

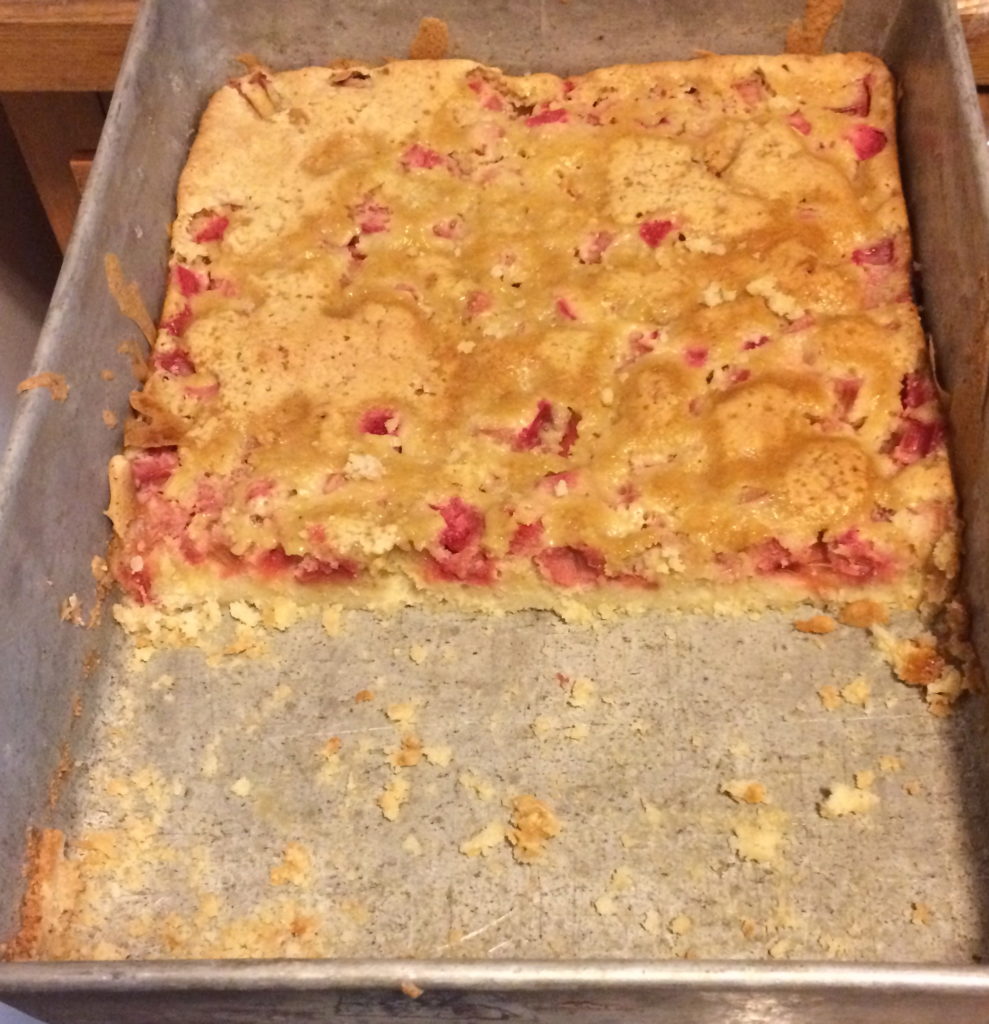
In a large mixing bowl, beat the eggs and sugar until combined. Stir in the vanilla. Stir in the flour, baking soda, & salt. Stir in the rhubarb. Let sit for 30 minutes. Pour the custard into the crust, and bake for 35–45 minutes, until the torte is set and slightly golden, not toasty brown. Store any leftovers, covered, at room temperature.

IMG_4649

Summer of Rhubarb: Rhubarb Upside-Down Cake

IMG_2413

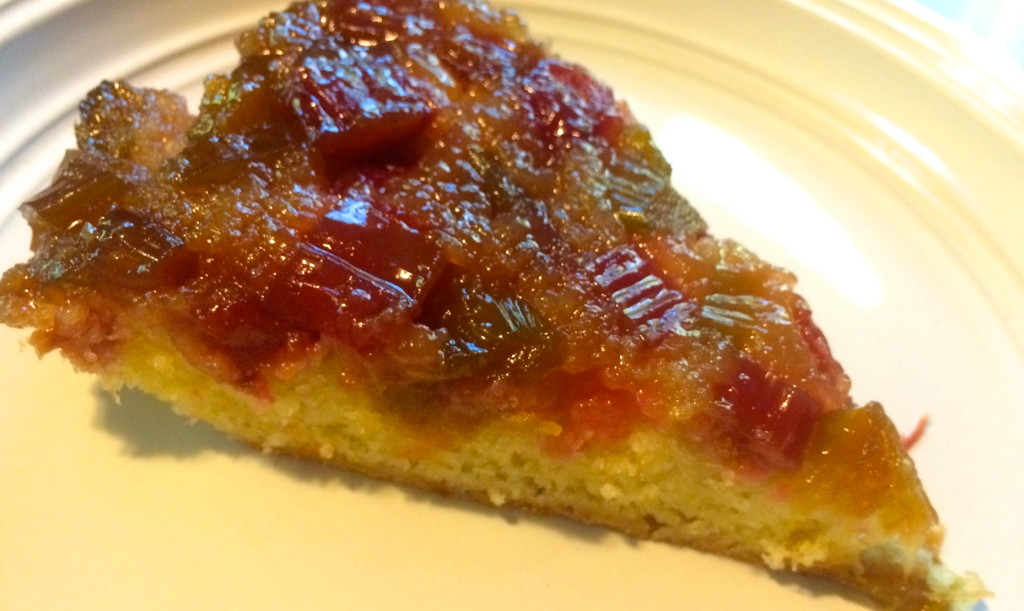
It’s that time of year again…Summer of Rhubarb time. There is a period of time where you could sit outside and literally watch your rhubarb grow. It happens that quickly. I actually made this last year but never got around to posting it. I was busy planning a wedding and a european honeymoon so I didn’t have much free time or ambition for anything else.

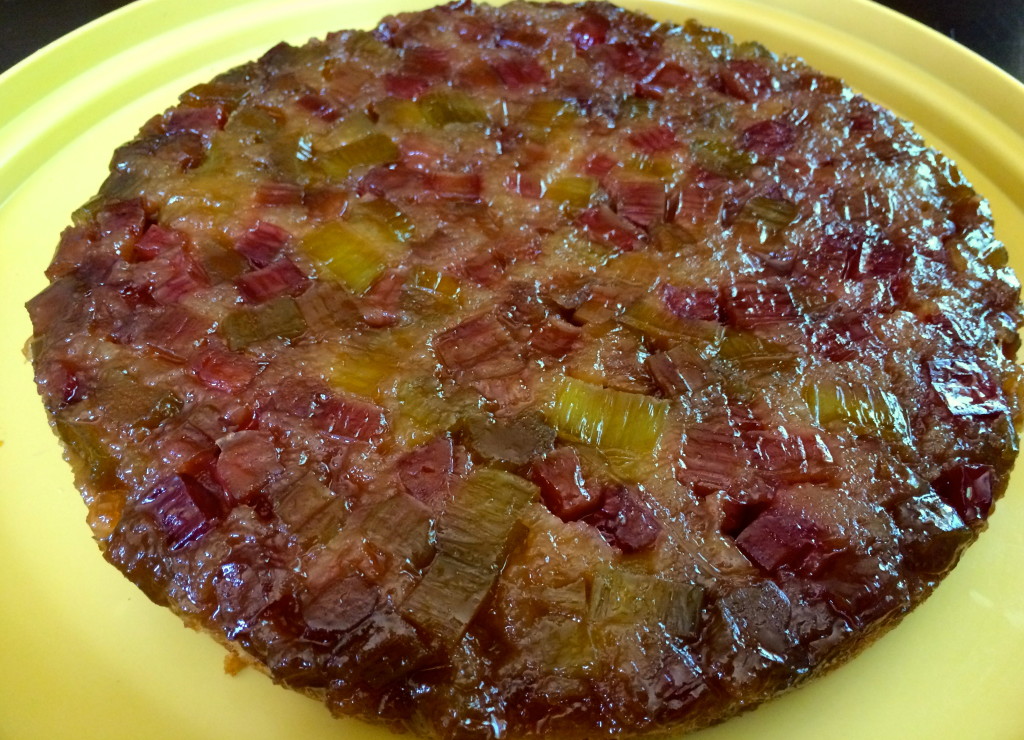
This cake seems ambitious but is really very easy. Every time I go to invert an upside-down cake I am fearful that it won’t come out. That it will remain stuck in the pan and I will have a crumbled cake mess. Every time, however, it slides out beautifully and I have a moment of pure satisfaction & baker’s bliss.

Upside-Down Rhubarb Cake

  • 3 tbsp butter, melted
  • 2/3 cup packed brown sugar
  • 2 1/2 cup fresh or frozen* rhubarb, diced (I used 1 3/4 cup red rhubarb and 3/4 cup green rhubarb)
  • 1.5 tbsp granulated sugar
  • 6 tbsp butter, softened
  • 3/4 cup sugar
  • 1.5 tsp vanilla
  • 2 eggs, separated
  • 1/4 tsp cream of tartar
  • 1 cup flour
  • 1 1/2 tsp baking powder
  • 1/2 tsp salt
  • 1/4 cup milk

*Note that if you are using frozen rhubarb thaw completely first and drain off excess liquid.

Preheat oven to 325F. Grease the bottom and sides of a 9in round cake pan with butter. Line with parchment paper. Grease the parchment paper with butter.

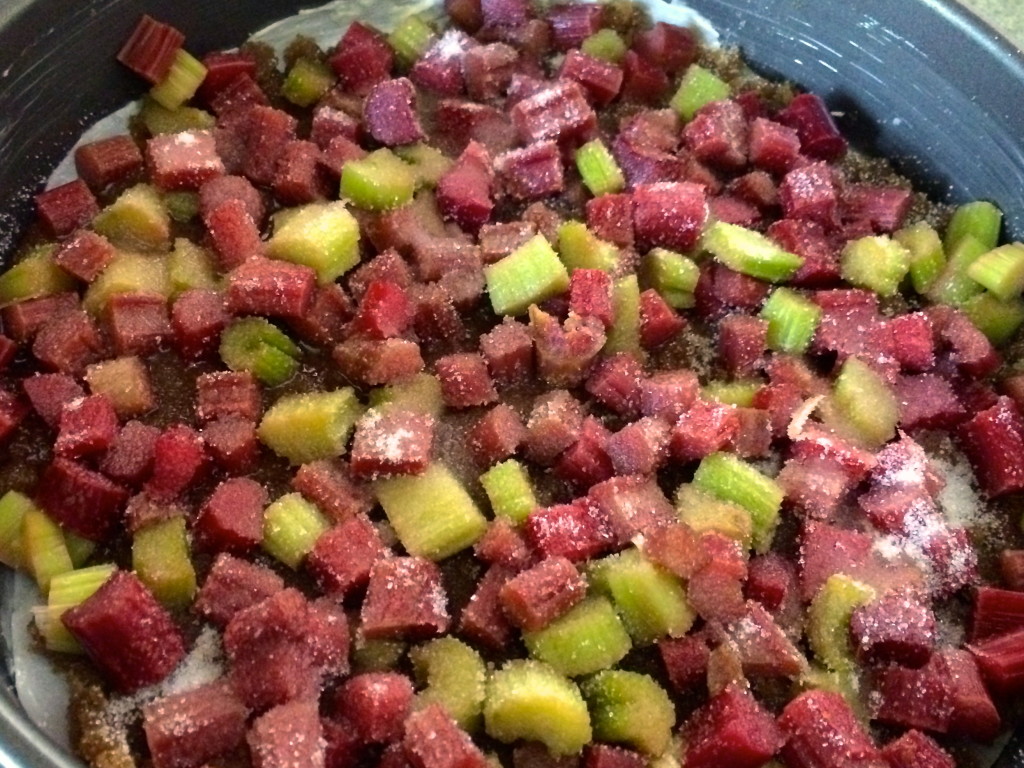
In a small bowl combine the melted butter and brown sugar. Spread over the greased parchment paper. Place rhubarb over sugar mixture. Sprinkles granulated sugar over rhubarb.

IMG_2399

In a medium bowl, cream together the softened butter and sugar. Beat in egg yolks and vanilla. Add the flour, baking powder and salt. Mix until combined. Add the milk. Mix until combined.

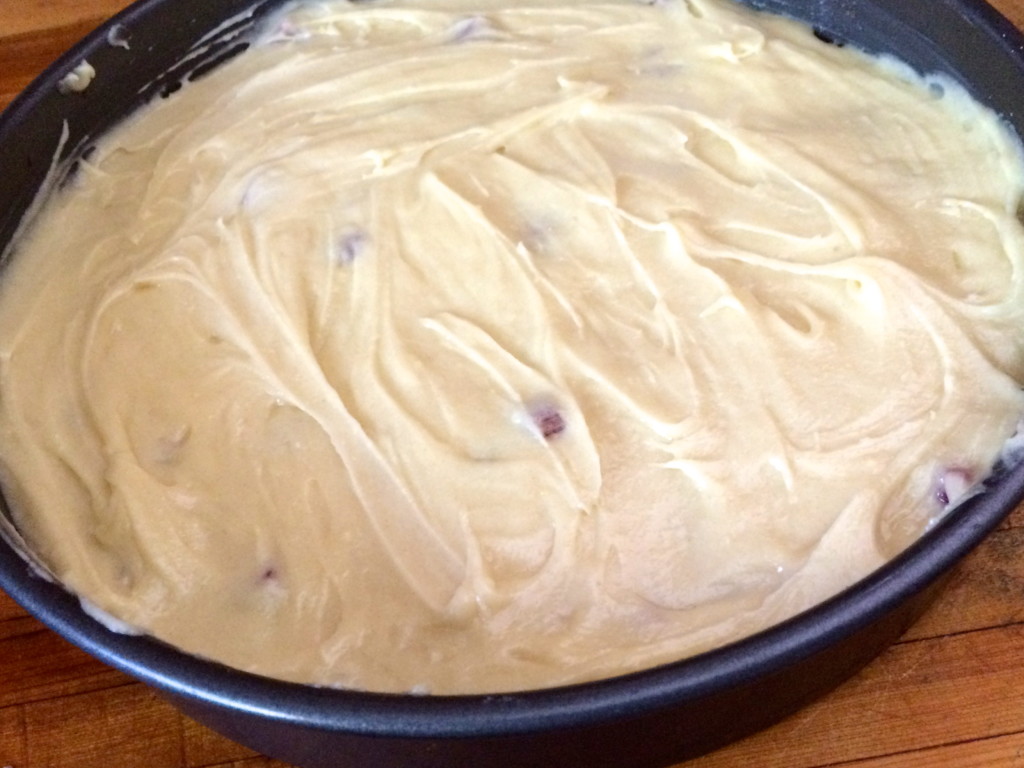
In a medium bowl beat egg whites and tartar until stiff peaks form. Fold into the batter gently. Pour over rhubarb.

IMG_2403

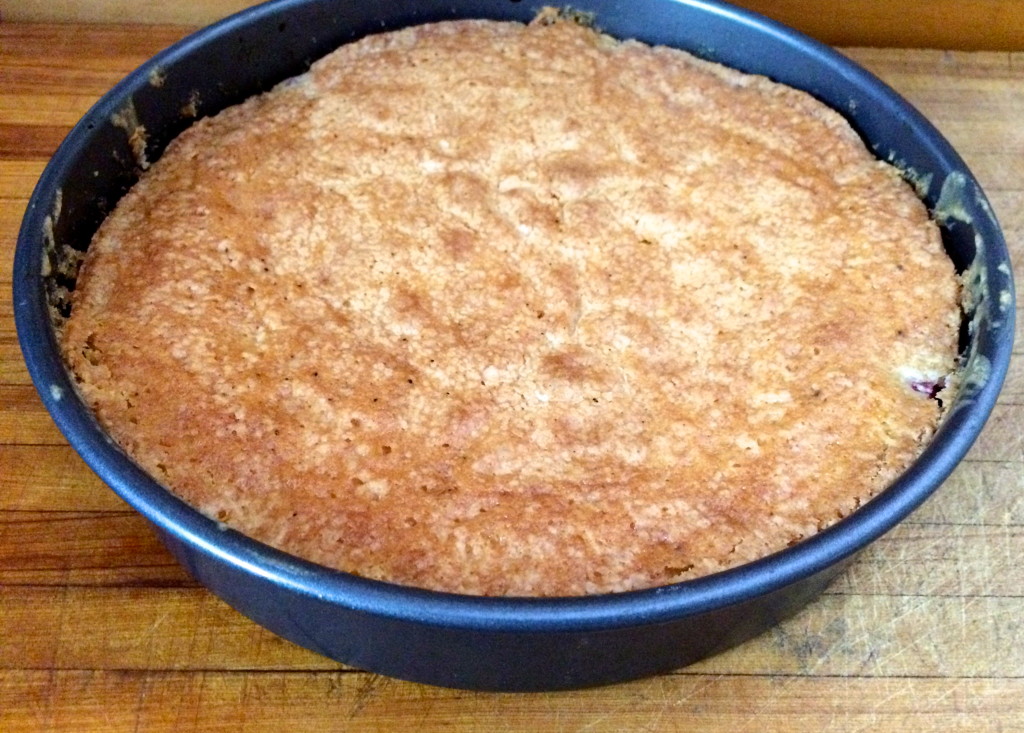
Bake for 55 minutes or until top is golden and lightly springs back when touched or a toothpick inserted comes out clean.

IMG_2406

Invert the cake.

IMG_2410

Be proud. Be happy. Serve with whipped cream or ice cream if desired.

IMG_2413

Key Lime Pie


IMG_2351


I love working out. I love how I feel afterwards. I love how it makes my body & mind feel great. I love feeling strong. I also hate working out. Mainly because I hate the concept of working out. I think it stems from being in dance my whole life. I never had to work out. When I was a child I had gym class, played outside, and danced. Let’s be honest, kids don’t need to work out. They are simply very active. I feel that many adults can learn from this.

As I have gotten older I still like being active but I don’t really enjoy most workouts. A problem many people experience. I prefer to take classes or do videos. I like to do things outdoors. I also try to walk to work whenever I can. If I walk to and from work I get over 3.5 miles in. I consider that my “workout” for the day.

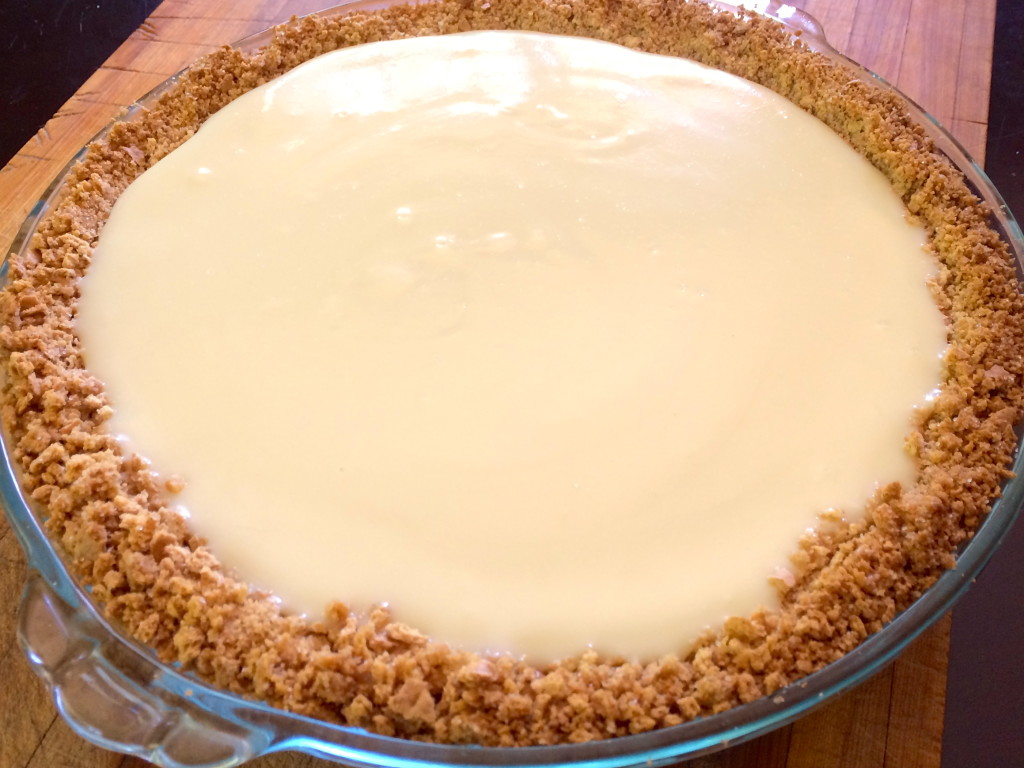
As I was trying to force myself to commit to a workout on Sunday, I thought about just going for a walk instead. I decided to walk into town to get some sweetened condensed milk to make a key lime pie. Workout done. Bonus, I got to bake a pie and then enjoy eating it as well.

Key Lime Pie

Crust

  • 18 graham crackers
  • 1/3 cup butter, melted
  • 1/3 cup sugar

Filling

  • 2 cans sweetened condensed milk
  • 1/2 cup sour cream
  • 3/4 cup lime juice

Crumble graham crackers. Mix in sugar and then melted butter. Press into pie plate. Bake in a 350F oven for 5-8 minutes until golden brown & set. Cool slightly.

Mix filling ingredients together. Pour into crust. Bake for 15-20 minutes or until filling is set.

IMG_2351

Summer of Rhubarb: Pound Cake with Rhubarb Sauce

IMG_2306


In for a penny, in for a pound.

A phrase I am not too familiar with. I am not that type of a person. I don’t have an all or nothing mentality. I am fine with moderation. I am content with not taking high-stakes risks. Although sometimes you do have to take them. There are moments when the world presents you with opportunities which are all or nothing.

That’s what happened to me 2 years ago. I went ice fishing up north with my guy and said that I wanted to move there. He agreed. We wanted to leave the cities, the constant rushing around, the rat-race as they say. I jokingly began looking for jobs and realized that there were opportunities for me as a chemist in this small town in Almost Canada.

Then I got the job offer. Now things were real. It wasn’t just a dream or fantasy any longer. My guy and I had to make a choice. Do we do it? Get up and move? Change everything? Risk losing everything?

For me the risks were not that great. I had a job offer. I could easily pack up and move. My guy, however, had a house and job in the cities. He had to be willing to lose everything. We both knew that it was now or never and decided to go for it. It was time to hit the reset button.

This was easier for me. I accepted the job. I took a pay cut. I cashed out my 401K. I bought a house. I started over. My guy had a lot to lose. He did end up losing his job. And now the prospect of losing his house and credit is very real.

That was a risk he was willing to take. A risk that is becoming reality. Everything that he spent his whole life working for is disappearing.

We both went all in…In for a penny, in for a pound. I cannot thank him enough. I appreciate everything he has done. The reset button for me was fairly quick and painless. For him it has been a slow process and is still on-going. He was willing to lose everything to slow things down and move to Almost Canada with me. To actually enjoy more of life. I know when it is all said and done, by losing all these things we both are gaining so much more.


Pound Cake

  • 1 stick butter, softened
  • 1 1/2 cups granulated sugar
  • 3 eggs
  • 1 1/2 cups all-purpose flour
  • 1/2 tsp salt
  • 1/2 tsp baking powder
  • 1/2 cup whipping cream
  • 1 tsp vanilla

Cream together the butter and sugar until the mixture is light & fluffy (about 3-5 minutes). Mix in the eggs one at a time scraping the sides of the bowl as needed. Add the flour, salt, and baking powder all at once. Mix until combined. Add the whipping cream and mix until just incorporated. Stir in the vanilla. Pour into a buttered & lightly floured loaf pan. Place in a cold oven. Set the oven to 325F and bake for 80 minutes. Remove from the oven and let cool in pan on a wire rack for 10-15 minutes. Remove from pan and let cool completely on a wire rack.

IMG_2305

Rhubarb Sauce

  • 3 cups fresh or frozen rhubarb
  • 1 cup fresh or frozen raspberries
  • 1/2 cup water
  • 1/2 cup granulated sugar
  • 2 tbsp corn starch
  • ginger and/or cinnamon

Place the fruit (I used frozen) and water in a medium saucepan and bring to a boil. Reduce heat and simmer for 5 minutes. Stir together the sugar & corn starch. Stir the mixture into the fruit. Cook for 2-3 minutes. Stir in ginger and/or cinnamon if desired (I did a few dashes of both).

Note that this recipe makes a lot of sauce. Use as a topping for ice cream or in other baked goods such as Oatmeal Rhubarb Bars which is what I did with mine.

Whipped Cream

  • 2 tbsp sugar
  • 1 cup heavy whipping cream
  • 1/2 tsp vanilla

Place bowl and metal whisk in freezer for 10-15 minutes. Place sugar, cream, and vanilla in bowl. Whisk until mixture forms stiff peaks. Use immediately or place in the fridge.

Summer of Rhubarb: Rhubarb-Raspberry Pie


IMG_2271


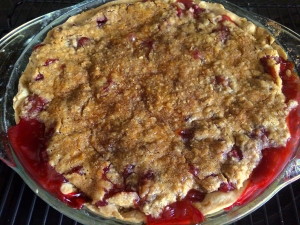
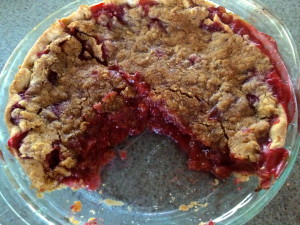
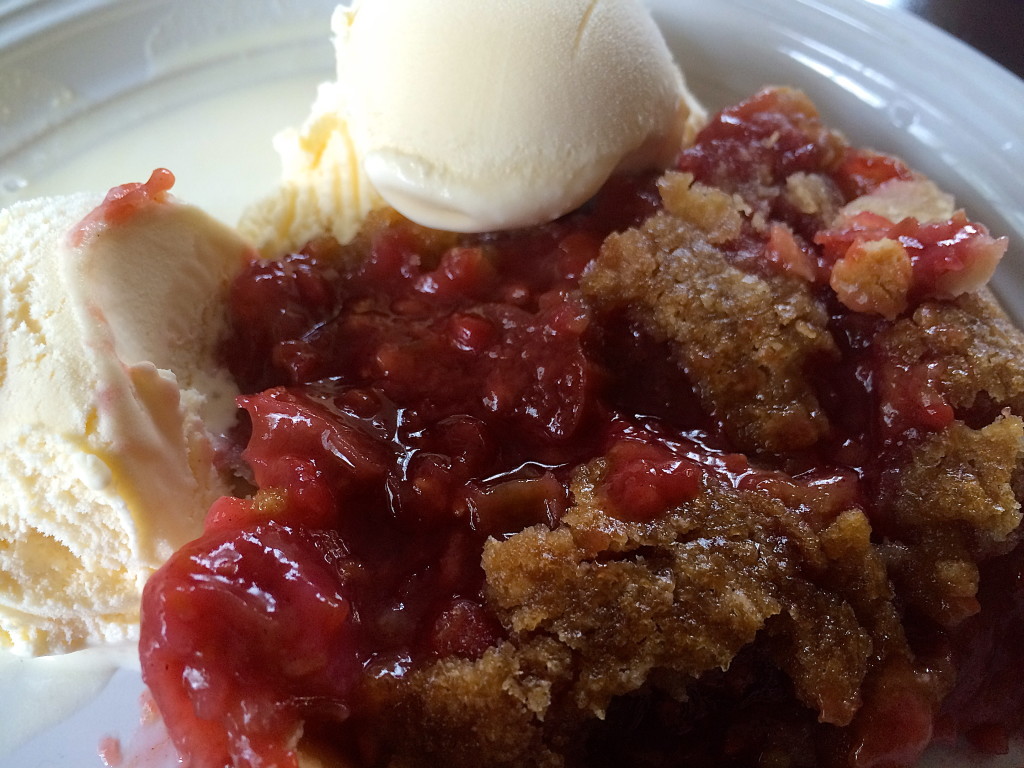
Memorial Weekend is the kick-off to summer. Fishing, gardening, barbecues, and fruit pies. In Minnesota, rhubarb pies are very common and for me, summer is also about rhubarb. It was a no-brainer that for my Baking Sunday this memorial weekend I decided to make a Rhubarb-Raspberry Pie using some frozen rhubarb that I had from last summer.

What a great way to kick-off the Summer of Rhubarb.

IMG_2275

Rhubarb-Raspberry Pie

  • For the crust… (use store-bought or your favorite recipe. This is my quick go-to cause I always have these ingredients in my pantry)
    • 1 1/4 cups all-pupose flour
    • 1/4 tsp salt
    • 1/3 cup shortening
    • cold water
  • For the filling…
    • 4 cups fresh or frozen rhubarb
    • 2 cups fresh or frozen raspberries
    • 1/2 tsp cinnamon
    • 3/4 cup sugar
    • 1/3 cup flour
  • For the crumb topping…
    • 1/2 cup flour
    • 1/2 cup packed brown sugar
    • 3 tbsp cold butter


Crust: Combine the flour and salt in a medium bowl. Cut in the shortening until the mixture is in pea-size chunks. Add cold water a tablespoon at a time, pushing the moistened dough to the sides. Add enough water until the dough is moist enough to hold a ball shape. Lightly flour a clean surface and roll out the dough to be 1/8 in thick. Line a 9in pie plate with pastry. Crimp edge as desired.

Filling: Stir together the sugar, flour, & cinnamon. Add the fruit. Gently toss until coated (if using frozen fruit let stand for 45 minutes until the fruit is partially thawed but still icy).

Crumb topping: Stir together the flour & sugar in a medium bowl. Cut in the butter until the mixture resembles coarse crumbs.

Assembly: Pour the prepared filling into the pastry lined pie plate. Top with crumb topping. Line edge of pie plate with foil to prevent overbrowning. Bake in a 375F oven for 25 minutes (50 minutes if using frozen fruit). Remove foil and bake for another 30-40 minutes until crust & topping are golden and filling is bubbly). Let cool on a wire rack for at least 2 hrs (this will prevent your pie from running all over the place). Serve with vanilla ice cream if desired.

IMG_2273


Banana Pancakes

IMG_1939


It has been about 2 months since my fishing guide became a real fishing guide and consequently we do not get to spend much time together. He works long days every day and I am left to entertain myself. Don’t get me wrong, I love alone time. I am the type of person who would rather hang out by myself than go out on most occasions. But on Sundays, it does feel a bit lonely.

Sunday was always our day to relax (like most people I assume). We drink coffee together in the morning, have a nice brunch type breakfast, and then he would watch football and I would bake if it were that time of year which it currently is.

I have been baking despite his absence which is easy enough to do, but I do miss our Sunday brunches. It’s a little hard to pull off just for myself. Cooking a brunch for 2 is one thing and cooking a whole brunch for one is another. I know it can be done, but it just doesn’t have the same feeling.

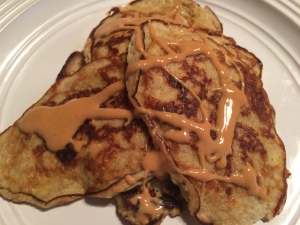
This Sunday I decided to make Banana Pancakes. I have seen numerous recipes on the web and this once is my version of it. It is very simple but delicious. It is also a good recipe since it is easy to make for just one person and I know my fishing guide wouldn’t enjoy it as much as I do. It’s the perfect breakfast dish to give me that brunch type feel while he is gone.

Banana Pancakes

  • 1 small banana
  • 1 egg
  • 1/8 tsp baking powder
  • cinnamon & nutmeg
  • 1 tbsp peanut butter, optional
  • cooking spray or butter

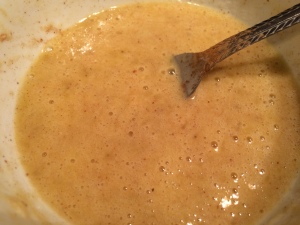
In a bowl, mash a banana very well. Try to get rid of as many lumps as possible (a more ripe banana works very well). Beat one egg into the mashed banana. Add the baking powder and as much cinnamon and nutmeg as desired.

IMG_1938

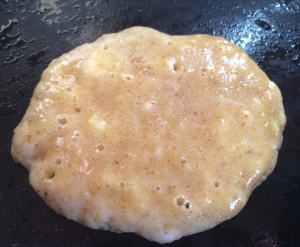
Heat a skillet over medium-low to medium heat. Spray with cooking spray or melt butter if desired (I used spray as I was using peanut butter at the end). Pour 1/8 cup batter onto hot greased skillet and cook as if cooking a normal pancake (this will make about 6 pancakes. I find making the smaller pancakes works better for flipping). The edges with firm up and the batter will start to bubble.

IMG_1930

Flip with a spatula and cook the other side. Meanwhile, heat peanut butter on the stove or in a microwave until softened enough to drizzle (feel free to add a teaspoon of honey to this as well if desired). Drizzle peanut butter over pancakes if using (these are delicious plain if you do not like peanut butter). Enjoy eating well, even if it is by yourself.

IMG_1939


Cold Weather, Tropical Muffins

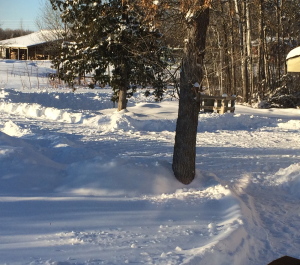
Winter is finally here in Northern Minnesota which I like to refer to as Almost Canada. It has been mild compared to last year when I moved up north. Last year was one of the coldest winters in awhile. This year it has been rather nice in terms of snow and freezing temperatures. But now winter is upon us.

IMG_1898

It snowed 8in the other day and today (Sunday) it is -15 to -30F for actual temperatures but it felt as cold as -50F. Burr. I am not complaining. If anyone should be complaining it is my fishing guide who became an actual fishing guide this year as he needed a job.

He gets up at 4:30 in the morning and many days he actually gets breakfast at work but it isn’t until 7:30 or 8 that he gets to eat. He has certain tasks he has to take care of first, so he needs a little bit of something to get him through the first few hours. That being said, he is not a big eater right away in the morning so he is not getting up to cook himself breakfast. He needs something that he can grab quickly.

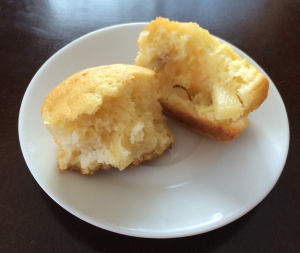
I decided to make muffins. These are individually portioned so he can grab one or two and eat them as needed. The weather outside is terribly cold but these muffins remind you of warmer climates or warmer seasons to come.


Pineapple Muffins (makes 18 muffins or 1 loaf*) adapted from my Peach Bread recipe

2 cups flour
2/3 cup sugar
1 tsp baking powder
1/2 tsp baking soda
1/2 tsp salt
1/3 cup vegetable oil
2 eggs
1/2 cup pineapple juice
1/2 cup milk
1/2 cup to 2/3 cup diced pineapple
1/2 cup sliced almonds


IMG_1903

 
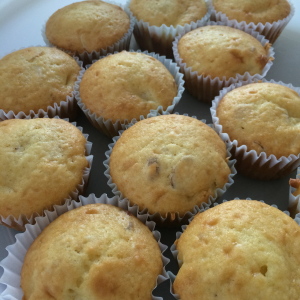
Preheat oven to 350F and grease a muffin tin or line with muffin cups. Mix the first 5 ingredients in a large bowl. Mix the oil, eggs, juice, & milk in a medium bowl. Add the wet ingredients to the dry and mix until just combined. Fold in the pineapple and almonds. Fill the muffin cups 2/3 full. Bake for 20-25 minutes or until a toothpick near the center comes out clean. Cool for 2 minutes in tin. Remove muffins and cool completely on a wire rack.

IMG_1905

*This recipe can also be used as a quick bread. Just pour batter into a greased loaf pan and bake for 50-60minutes or until a toothpick near center comes out clean. Cool for 10 minutes in pan on a wire rack. Remove bread from pan and cool completely on a wire rack before slicing.


Apricot Glazed Grouse

I have lived in Minnesota my whole life but recently moved to northern Minnesota, or as I like to say, Almost Canada. The house I bought is on 1.5 acres which isn’t much land but is enough to shoot small critters or birds. Which is exactly what my guy did.

He was eating cereal and looking out the window. He saw a bird in a tree, went & grabbed my .22, and shot it. It was a grouse. It was going to be dinner. I was going to cook it.


IMG_1670


I have eaten grouse once before and if I hadn’t known it was grouse I would have thought it was chicken. There is no wild game flavor in this bird. I decided to make an apricot glazed grouse since I didn’t have to worry about masking a game flavor. I served it with sweet potatoes and roasted broccoli. It was delicious. There are no photos of the dinner, but it looked like glazed chicken with the mentioned sides.

Apricot Glazed Grouse (serves 2)

  • 1-2 grouse, cleaned & cut into bite sized pieces or strips
  • apricot/peach jelly or preserves (I used jalapeno apricot jelly)
  • salt & pepper to taste
  • 1-2 tsp olive oil
  • sides of your choice

Preheat oven to 375F. Line a baking sheet with foil or parchment paper for easy cleanup. Place 2-3 tbsp. jelly in a small bowl. Add salt & pepper to taste. Add 1-2 tsp olive oil. Place the grouse on the baking sheet and coat with jelly mixture. Bake for 10-12 minutes. Glaze the grouse with more of the jelly mixture & broil for 3-5 minutes until grouse is cooked through and glaze is slightly caramelized. Serve with sides of your choice.


Pumpkin Cookies

IMG_1263


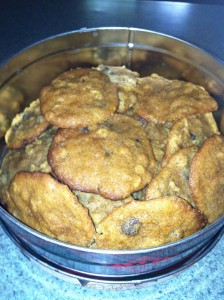
As I had leftover canned pumpkin from the Pumpkin Mac & Cheese I knew a dessert was in order. I have made plenty of breads, cupcakes, and cakes so wanted to try something new and pumpkin cookies were created.

I love cookies. They are probably one of my favorite desserts. They keep well for about a weeks worth of treats & they freeze well for later yumminess. They are also portion controlled which is a good thing if you love sweets.

Pumpkin Cookies (makes about 3 dozen)

  • 2 sticks butter, room temperature
  • 1 cup granulated sugar
  • 1 cup brown sugar, packed
  • 1 cup canned pumpkin
  • 1 egg
  • 1 tsp vanilla extract
  • 2 cups all-purpose flour
  • 1 tsp baking soda
  • 1 1/2 tsp cinnamon
  • pinch each ginger, nutmeg, allspice, & cloves
  • 1/2 tsp salt
  • 1 cup oats
  • 1 cup semi-sweet chocolate hips
  • 1/2 cup dried cranberries
  1. Preheat the oven to 350F. Line 2-3 baking sheets with parchment paper (If you only have one, be sure to rinse the cookie sheet after it has been used to cool it back down before lining it again).
  2. In a large bowl cream the butter & both sugars until light & fluffy. Add the pumpkin, egg, & vanilla and mix until combined.
  3. In a medium bowl mix the flour, baking soda, salt & spices. Slowly add this to the wet ingredients & mix until combined.
  4. Stir in the oats, chocolate chips, & cranberries.
  5. Drop rounded spoonfuls on the baking sheets 2in apart. Bake for 12-14 minutes until tops are golden & edges are starting to set (they will still be very soft & fall apart easily so care must be taken). Remove from the oven and let cool for 5 minutes on the pans. Slide parchment paper with cookies onto a wire rack & let cool completely.
  6. Transfer to containers & eat within a week.

IMG_1260

Summer of Rhubarb: Oatmeal Rhubarb Bars

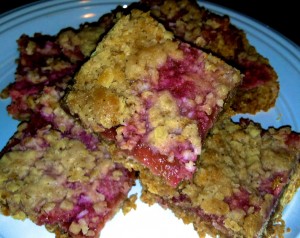
Seeing as how I had leftover Rhubarb Sauce from my Mustard Sage Pork Roast, I knew another dessert was in order. Since I had made coffee cake & a crisp, I decided I would more or less combine the two recipes & make oatmeal bars. These are great! They can be eaten plain or with ice cream. Also, they can be made with whatever filling you desire. Any fruit will do. Use the same amount of sugar for raspberries, but if using peaches, blueberries, or strawberries only use 1/4 cup sugar.

Oatmeal Rhubarb Bars

  • 1 cup all-purpose flour
  • 1 cup quick cooking rolled oats
  • 2/3 cup packed brown sugar
  • 1/4 tsp baking soda
  • few dashes cinnamon
  • dash or two nutmeg
  • dash all-spice
  • dash cloves
  • 1 stick (1/2 cup) butter
  • approx. 2 cups rhubarb sauce (2 cups rhubarb & 1/4 cup water brought to a boil & simmered for 5 minutes. Add 1/3 cup sugar & two tbsp. corn starch & cook for 2 more minutes)

Preheat the oven to 350F. Combine all the ingredients except the butter & rhubarb sauce in to a medium sized bowl & stir to combine. Cut in the butter until the mixture resembles coarse crumbs. Reserve 1/2 cup of this mixture. Press the rest into a 9x9x2in baking pan. Top with rhubarb sauce & sprinkle remaining crumb mixture on top. Bake for 30-35 minutes until the topping is golden brown.

IMG_1343